< Work Day 15 Work Day 17>
Work Day # 16 - January 2, 2009 (3.5 hrs)
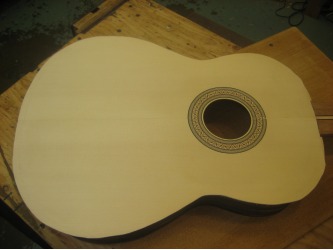
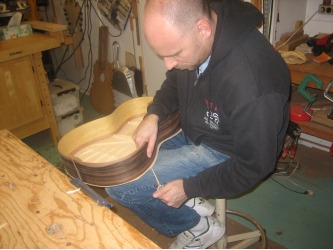
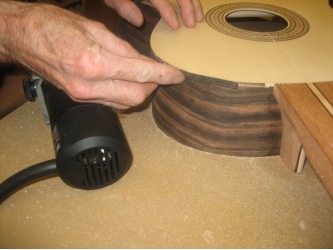
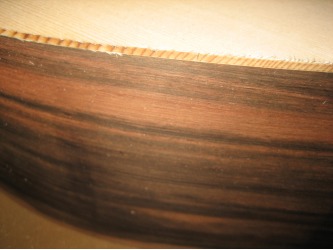
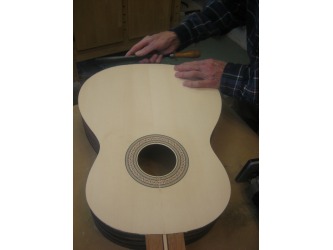
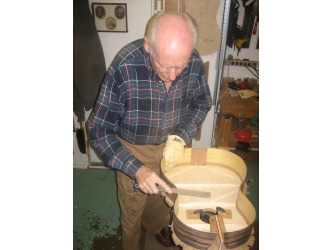
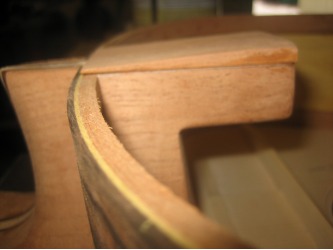
With the top glued we started by trimming the edge of the top to the sides. This can be done a number of ways. We used an old school and new school method to do it.
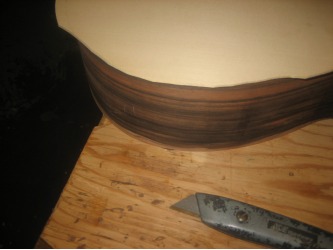
We started with a utility knife and whittled away most of the excess. One thing to keep in mind when using the utility knife is the grain of the top. When you are cutting with the grain, it would be really easy to slice off more than expected which would take of a slice of the top past the sides. So when going with the grain make sure and take small steps.
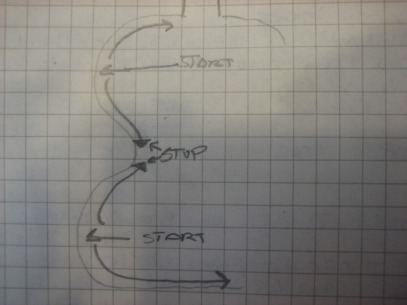
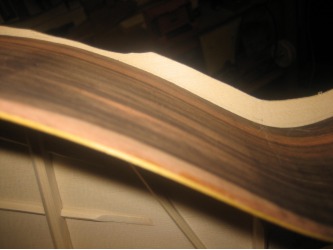
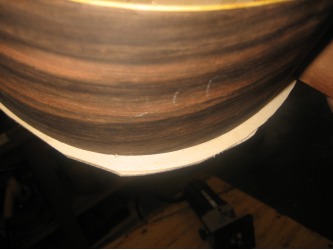
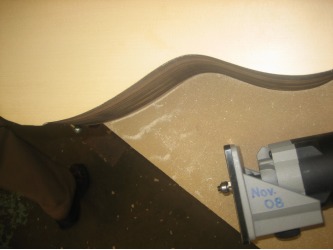
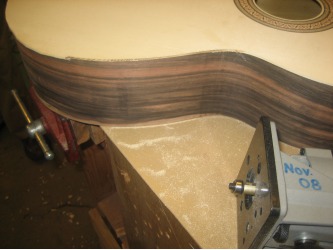
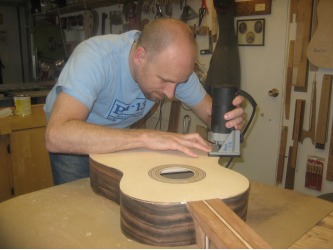
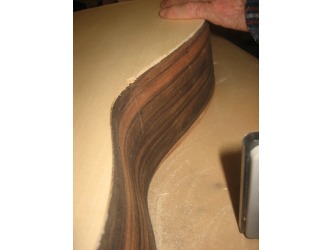
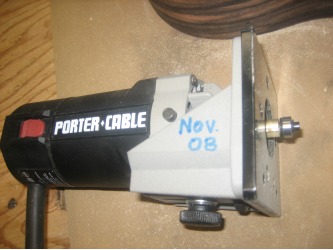
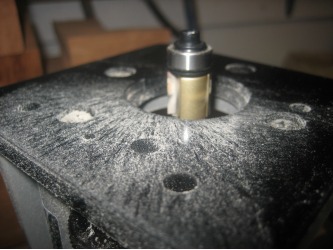
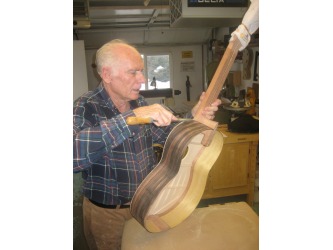
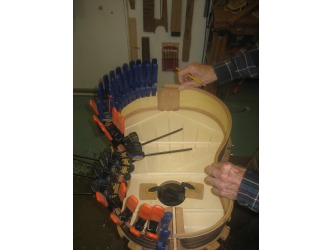
After we trimmed the top with the knife we finished it with a router using a finish cut bit. This made the edge of the top flush with the sides. Again, be careful of the vertical grain. Dad recommends starting in the center of the bends and going up, then back to the center and go down as shown here.
Dad also recommends just taking it slowly...no need to rush with the router.
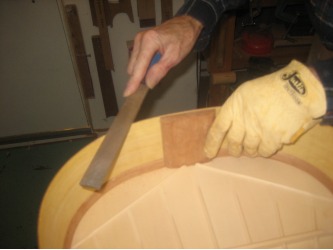
After we finished with the router, we filed the edge a bit just to clean it up. When filing on the top at this point, make sure to only file in one direction...down...meaning from the top down. If you file from the bottom, you run the risk of chipping the top.
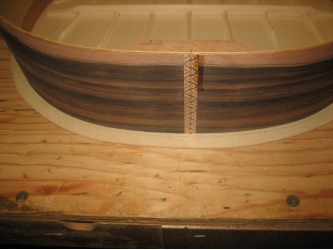
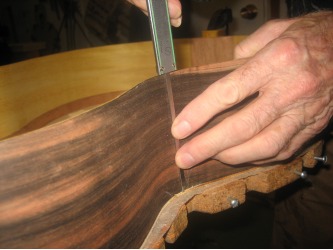
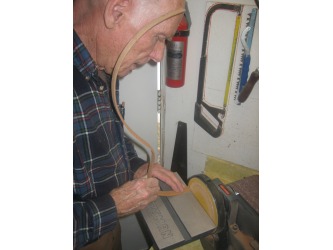
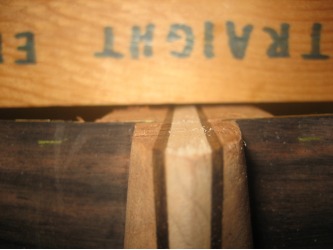
Now we start profiling the sides to receive the back. The sides taper from 90mm at the front, to 94mm at the waist and 96mm at the bottom. We took measurements to see where we were then used rasps and the sanding glass to bring the sides to the correct heights. We also made sure the sides were flush with the end block.
After the sides were set, we sanded the side linings one more time with some 150 grit as well.
Next we moved to the other set of linings. These linings were made back on day work day 11.
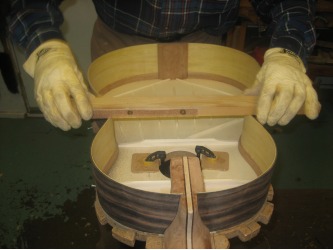
First set the lining in at the waist where it fits most naturally, then mark the lining and the side. From the center, we worked our way to the end block and marked where we needed to cut the lining. We used the bandsaw to make the cut.
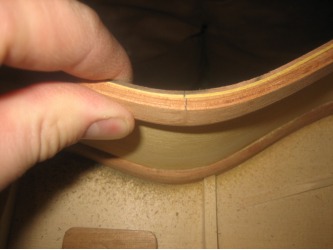
Then we fit the lining in again and marked the lining where it meets the neck. Keep in mind the lining will need a bit of an angle on it to match the angle of the heel. Sizing the lining is trial and error...make a small cut, refit, and cut again if necessary. You want the lining to fit snug, but not put any pressure on the sides.
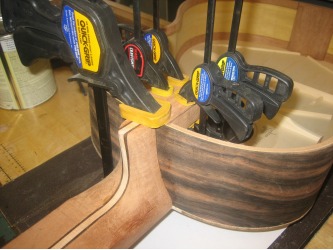
With one lining trimmed, we glued it in then sized and glued the second one. When gluing, it's ok if the lining is a little high in relation to the side, it can be sanded down, but you don't want the lining to be glued in below the side. Also, don't forget to add a little glue to the edges that meet the end block and heel. We'll let these glue for at least an hour.
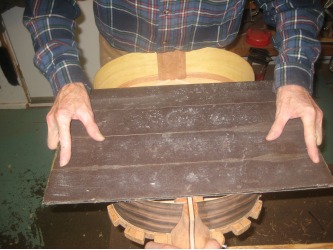
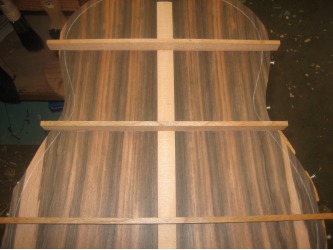
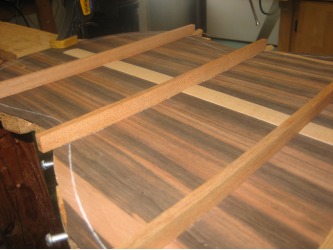
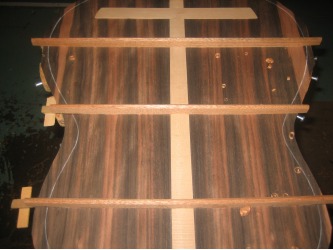
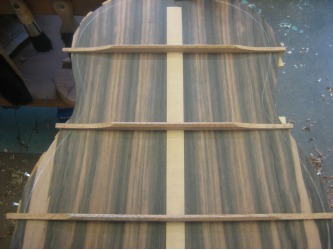
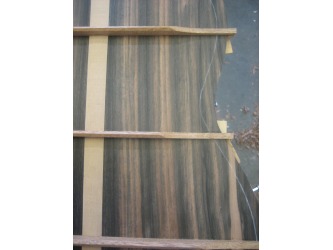
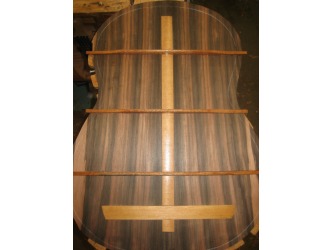
While the linings glued, we worked on the back. We need to profile the braces before it's ready to glue. Profiling the braces is the same for the back as it is for the top (which we did on work day 13).
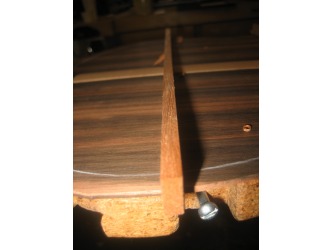
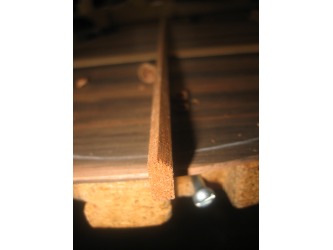
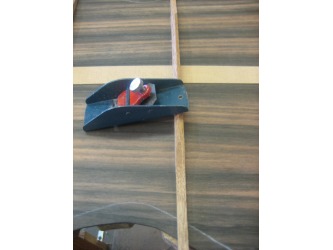
We started by getting the braces down to the 14mm height Bogdanovich recommends. Starting out, our braces are about 22mm high. We used a plane to bring them down to 14mm. Since the back is curved, we really just need the 14mm at the center. Hannabach, in fact, starts shaping the braces at an angle keeping the center high. Because you don't want the profiled edge of the brace to be curved like the back is.
After the height is set, we used the smaller plane to bring them to a point and to finish, we used a chisel to scallop the edges. We finished shaping them with some 150 sand paper.
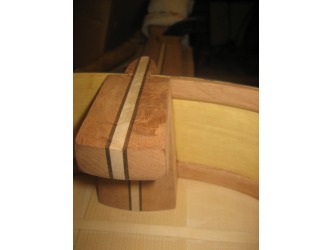
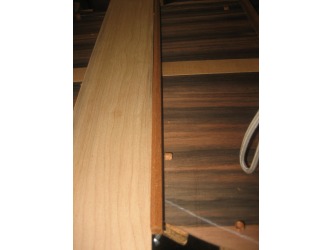
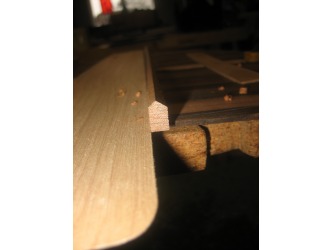
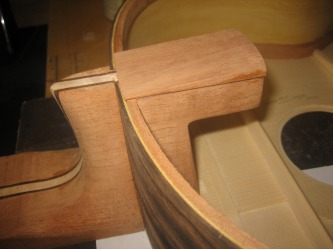
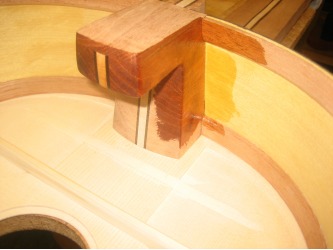
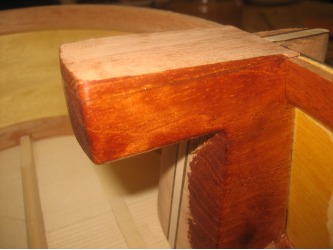
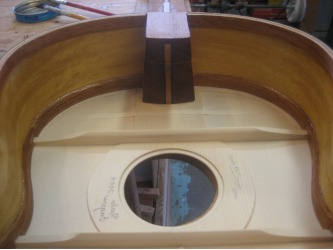
Now with the second set of linings glued in, we made a patch for the heel that we can easily profile for the back to glue against. The patch is made from an extra piece of the curly Spanish cedar we used for the neck.
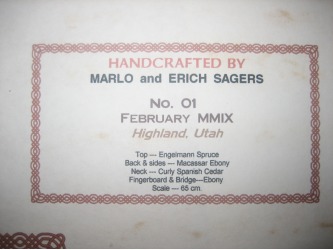
While the heel patch was gluing, I went in on Dad's computer and created the label that will be glued to the back before we glue the back on. I made two...the border is the only difference. I haven't decided which one I'll use.
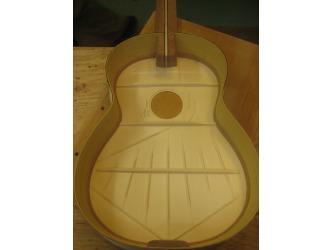
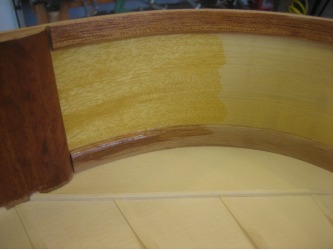
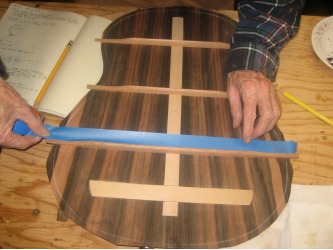
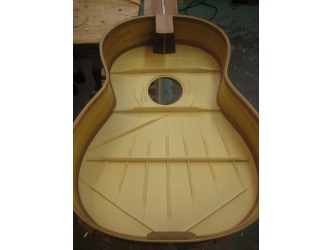
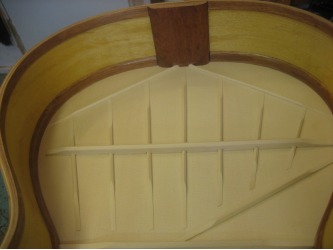
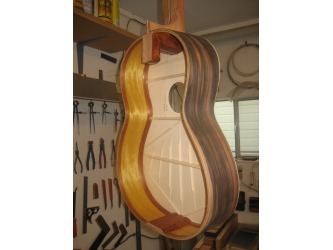
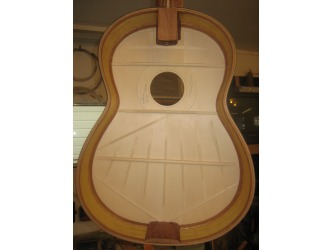
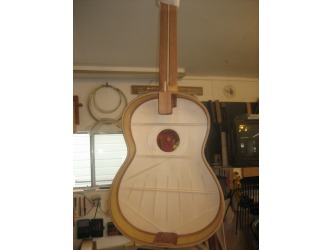
With the patch now glued. We finished the work day by shellacing the sides, linings, heel, and braces on the back. This is something Bogdanovich does and Dad likes this touch. When looking at the back and sides through the sound hole, a little bit of shine on the inside looks nice. Careful not to get shellac on any of the gluing surfaces. We taped off the cross braces on the back, but the rest of the shellacing was done freehand.
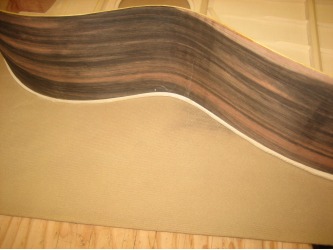
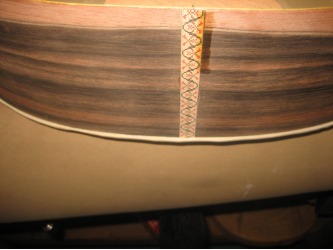
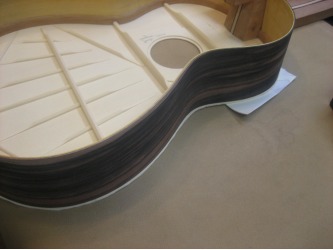
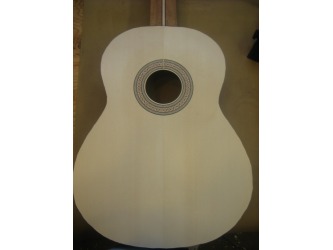
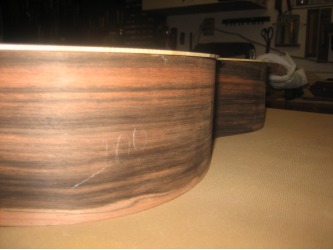
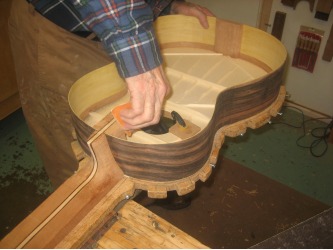
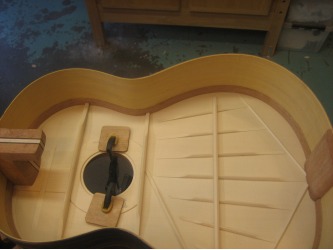
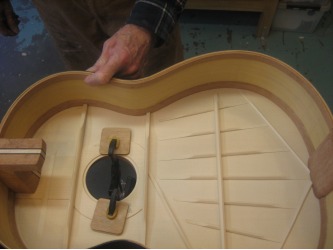
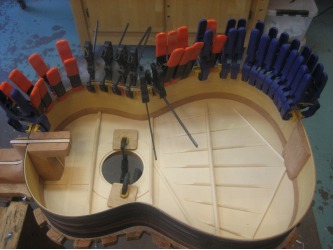
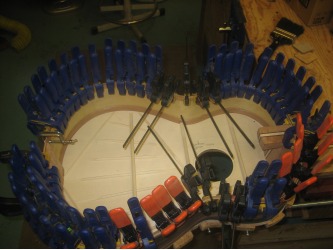
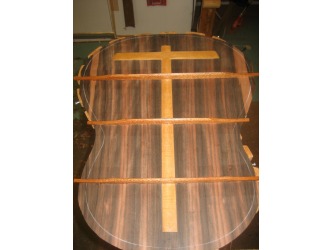
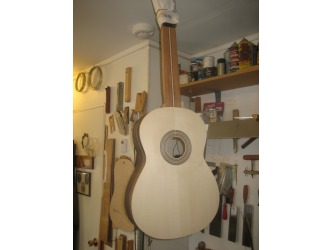
And a few more shots of where we are at now...and a video.
