< Work Day 14 Work Day 16>
Work Day # 15 - December 31, 2008 (3.5 hrs)
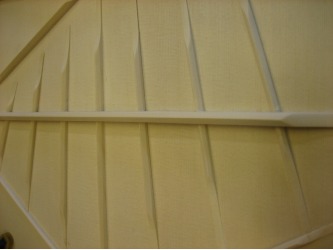
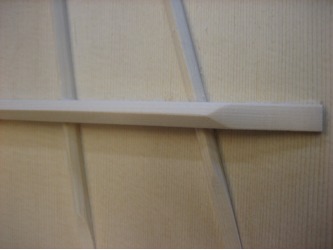
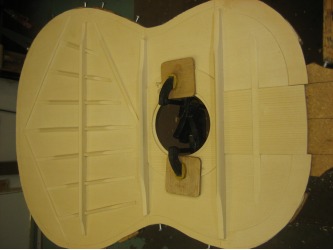
This work day we worked on getting the top and sides ready to be glued together. First we shaped the bridge cross brace, thinned the top patch, and finished the prepping the neck.
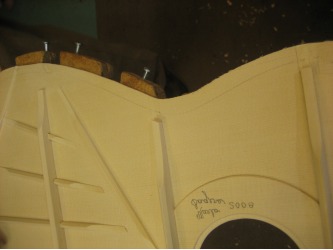
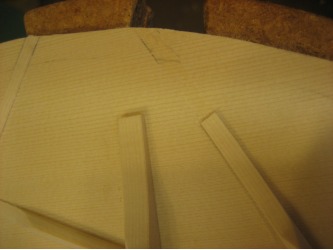
Like the other braces on the top, we brought the brace to a point and scalloped the ends.
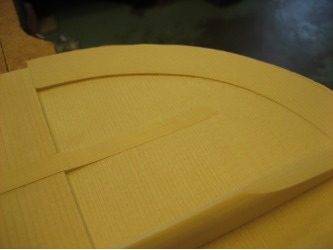
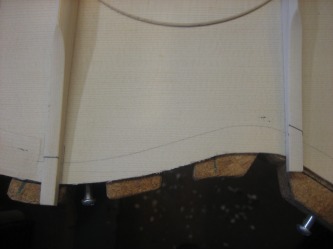
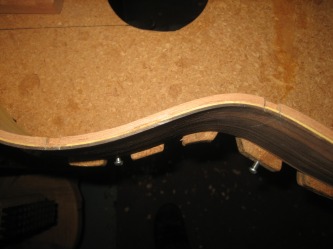
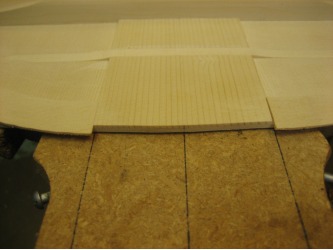
We tapered the curved patches on the top as well to compensate for the gap we have between the top and sides.
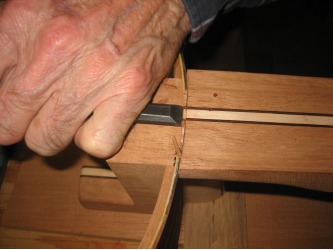
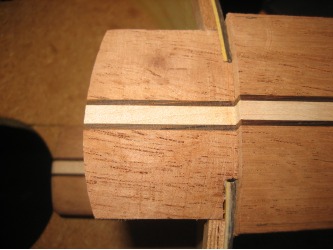
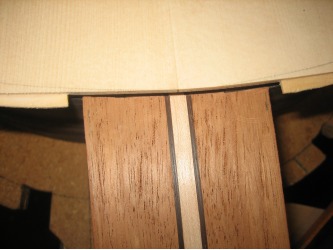
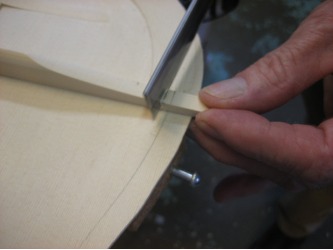
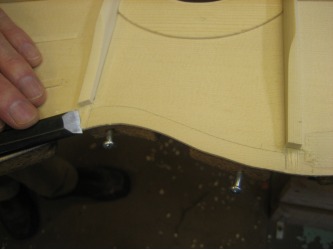
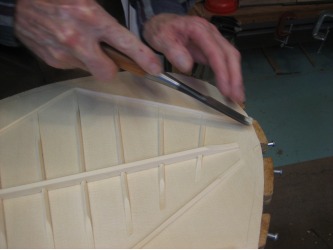
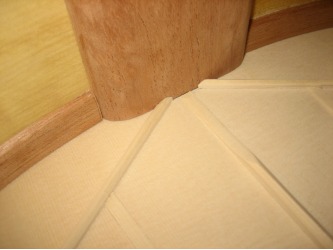
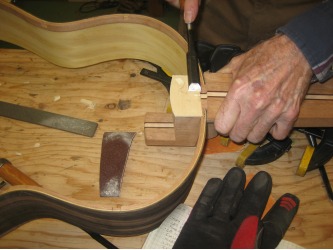
Then we took out a little material on the neck to receive the top. Dad first scored the the line w/ a knife then chiseled out the material.
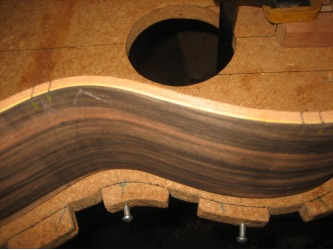
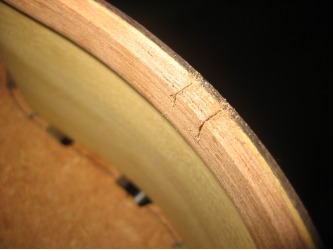
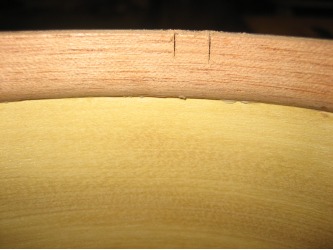
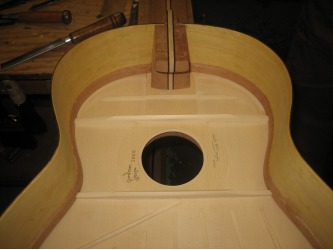
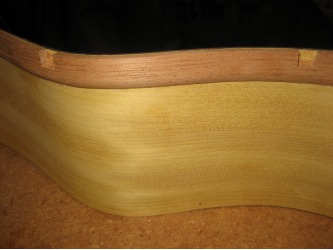
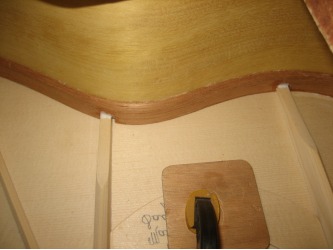
Next we notch the linings to receive the cross braces of the top.
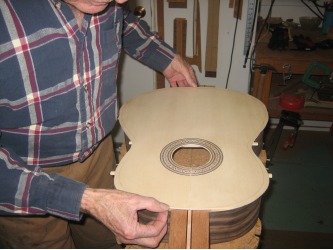
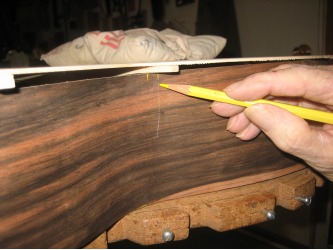
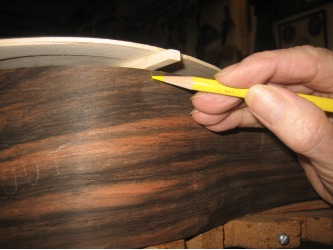
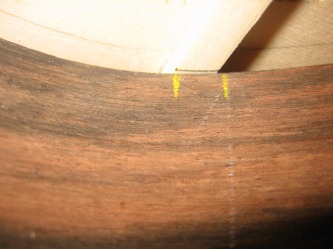
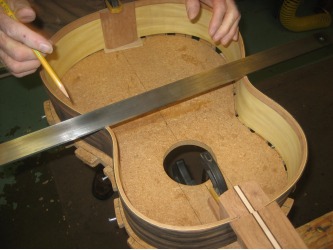
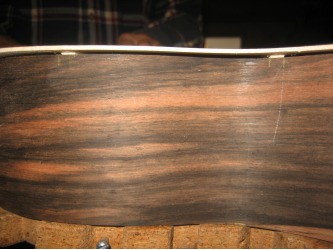
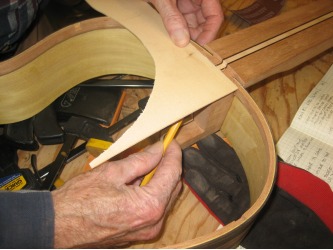
Lay the top on the sides and neck where it will ultimately go making sure it is lined up straight from front to back. Once it's lined up, use a pencil to mark the sides where the cross braces lay. Also, draw a line on the cross brace as well.
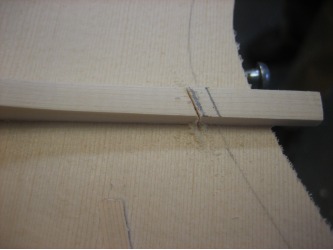
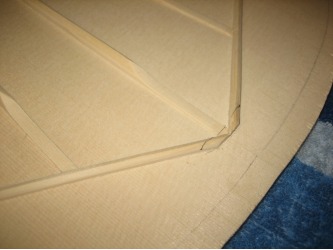
Then we measured the thickness of the side (3mm) and drew a line on the cross brace. Using that line as a guide, we made the cuts to trim the braces. Hannabach recommends to cut even a tiny bit more off the length of the cross brace to allow for expansion...so we did that as well.
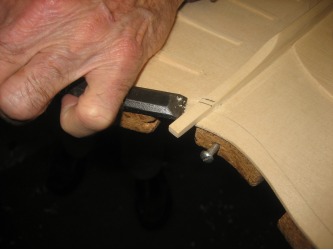
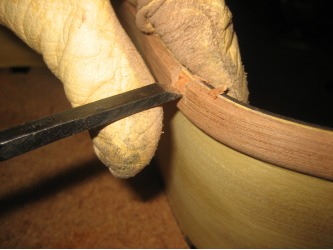
With the cuts made, we took a chisel and hammer and chipped out the ends of the brace then cleaned the left over out with the chisel. We also had to trim the braces at the bottom of the top where they meet the end block.
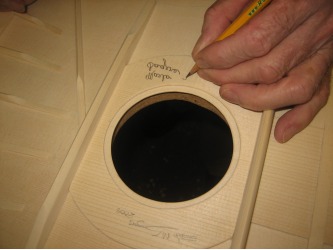
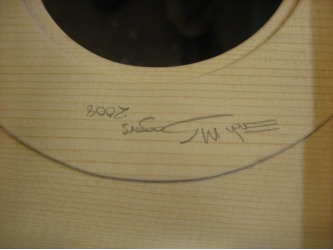
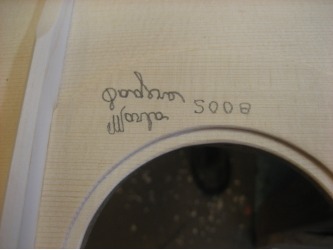
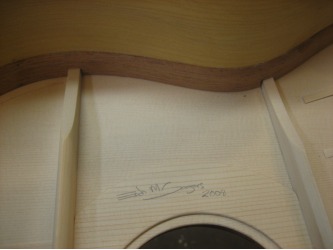
With that, the top was ready to go...so we signed it! Dad signed his name backwards so it will read correctly when viewed w/ a mirror through the sound hole.
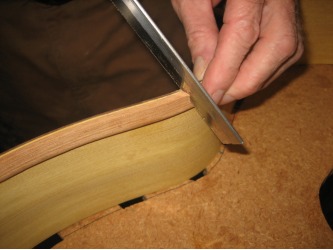
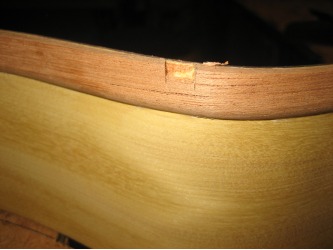
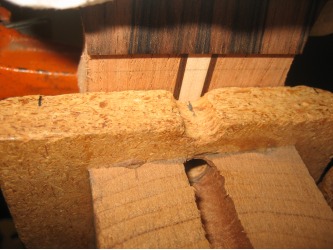
Next we notched the linings in the sides. With the lines we drew earlier, we finished marking where the notches needed to be. Then w/ the little saw, we cut at an angle just the lining. After the cuts, we used the 1/4" chisel to carve out the notches. We carved out just a bit...then we'll put the top in place and check the depth.
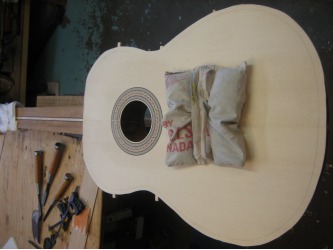
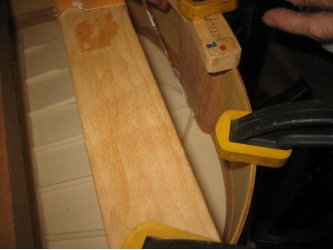
With the notches set to the correct depth and width, we dry fit the top to see if we needed to adjust anything else. And we found we had a little space between the patch at the top of the top and the heel of the neck. You want to make sure the neck sits flush and flat on the top. To take up the space, we glued a piece of spruce to the heel and tapered it to fill the gap.
Once that little piece was tapered, we did another dry fit to see if we were ready to glue it down and we found that everything lined up quite nicely.
Just before applying the glue, we made one last check of the top to see if we needed to sand anything, or remove any pencil marks or glue...
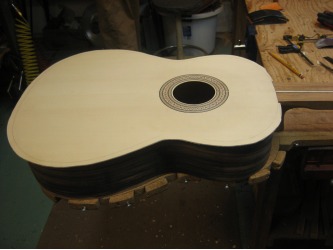
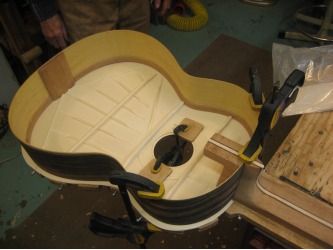
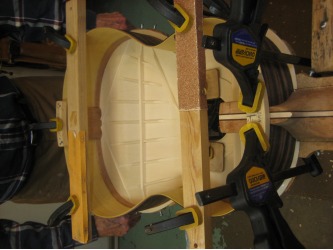
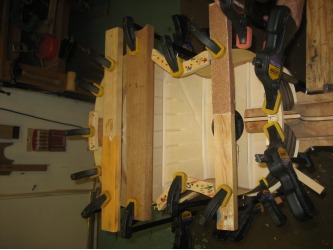
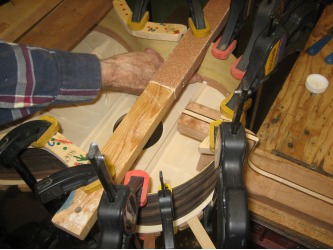
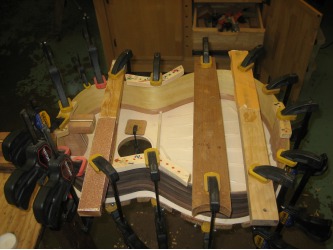
Now it was time for glue. First we clamped the top to the template making sure to line it up as straight as possible with the center lines on the template.
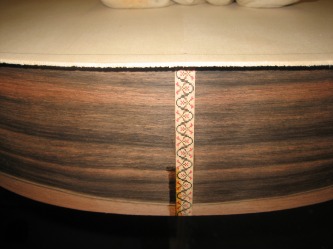
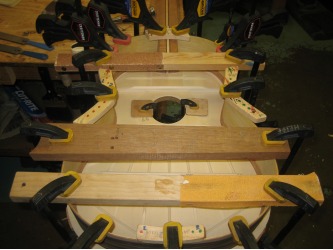
The glue is applied to the heel and sides and then set on the top. While clamping make sure to line up the top from front to back and line the neck up near the nut w/ the center lines on the template.
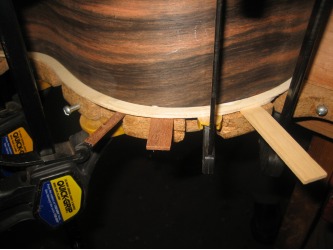
Along with a bunch of clamps we used a few wedges to curve the top to the side. Once it was clamped up, we were done for today. Dad will let it set up for at least a couple of hours then bring it from the shop into his house. After each work day, Dad brings the pieces into the house so they stay a more consistent temperature.
