< Work Day 10 Work Day 12>
Work Day # 11 - November 25, 2008 (5 hrs)
We continued work on the sides and started on the linings.
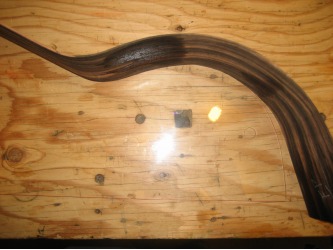
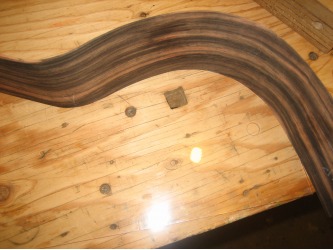
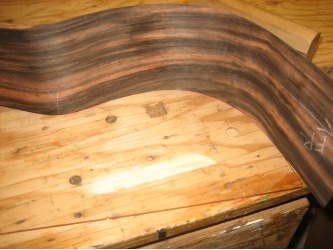
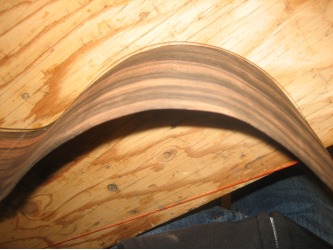
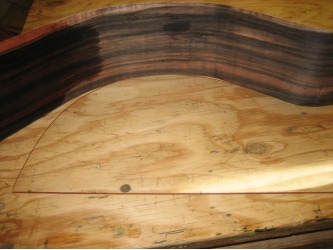
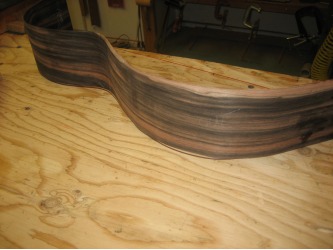
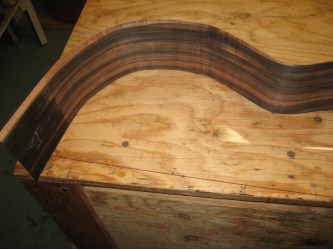
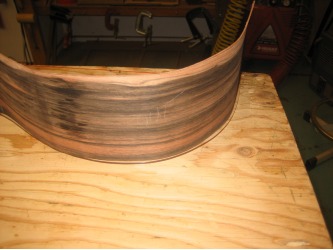
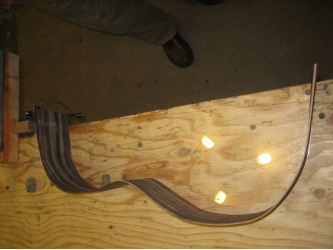
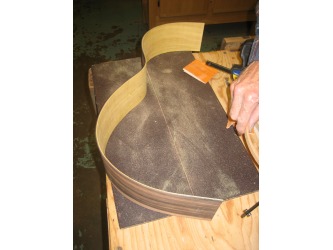
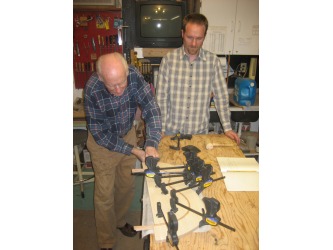
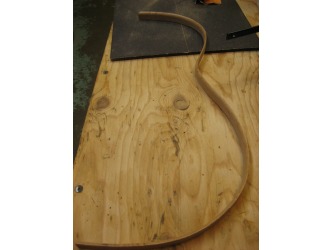
With the first side glued together with the laminate, we could prep the second side and get it in the mold. The yellow heart laminate was already bent, so we just needed to bend the other macassar ebony side. I took a shot at bending the side. It turned out OK...luckily we are finishing the sides in the mold so my bends don't have to be perfect. I can't imagine trying to bend a set of sides on the iron alone like dad and Hannabach do.
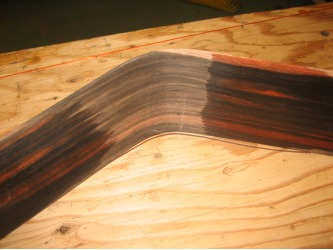
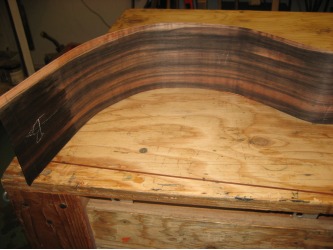
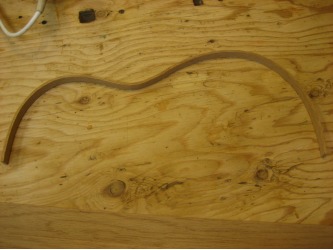
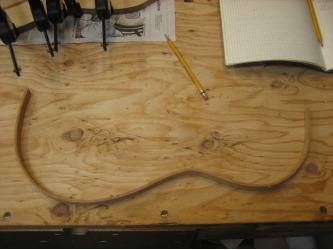
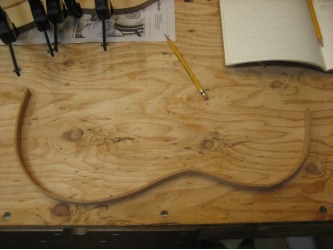
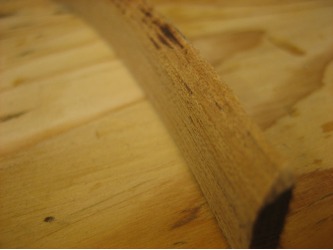
Here is a look at the side we glued on the last work day. It turned out really nice.
With the second side in the mold, we moved on to the cedar linings. The linings are glued to the top and bottom edge of both sides to strengthen the sides. Bogdanovich uses a laminate method to make the linings. The lining is made up of four thin strips that are 5/8" tall and 1.1mm thick glued together using a mold. They stay in the mold for approx. 4 hours and don't require any pre-bending. Simply apply the glue and stick them together.
Hannabach's linings are made from one solid piece and bent using the bending iron. Hannabach glues the lining to the side AFTER the side has been glued to the neck and the bottom block. Once the lining is glued to the side, he shapes it with a knife and kerf's it. Kerfing is cutting a slot about every 1/2" in the lining (but the cut doesn't go all the way through the lining.
We are going to use the Bogdanovich laminate method.
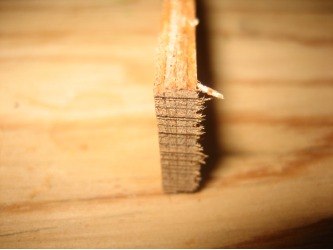
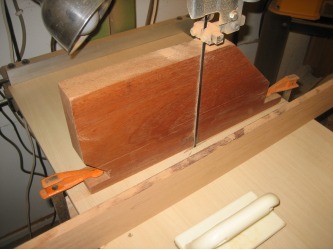
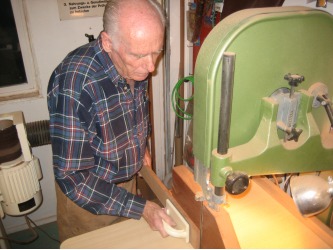
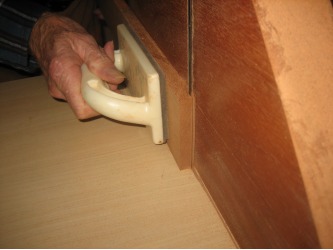
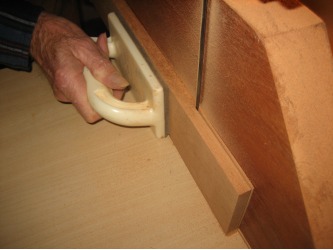
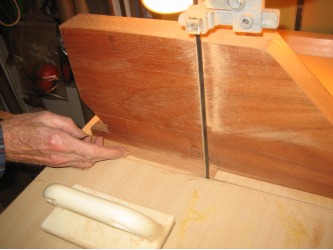
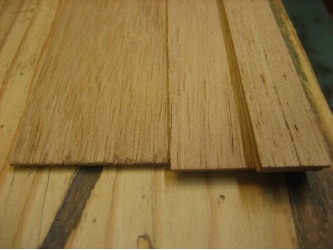
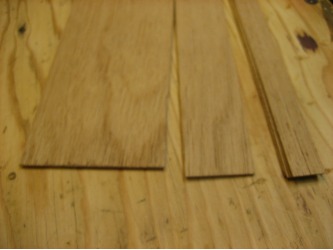
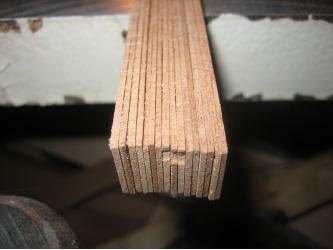
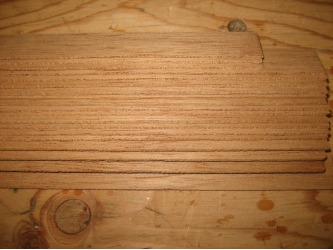
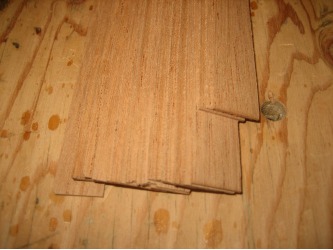
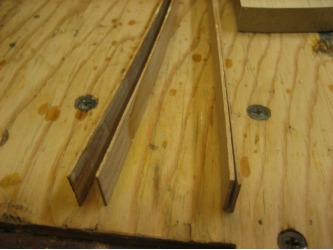
Bogdanovich's recommends cutting a piece of cedar into a 3" x 1" x 3' block then slicing it into thin strips. These thin strips are cut using the bandsaw. They end up about 3mm thick after the cut. Once they are cut, we run them through the drum sander to thin them down to 1.1mm. Once we have 4 slices thinned, we sandwich them together and cut them to 5/8". And that will be one set to be glued together for one lining.
Cutting all 16 lining slices took about 3 hours...on paper it seems like it should be a quick process. But it definitely isn't!
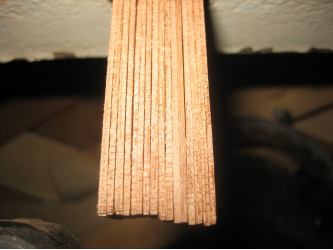
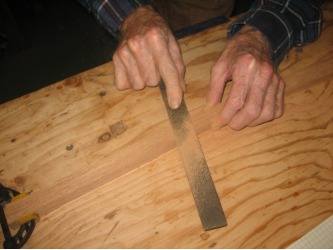
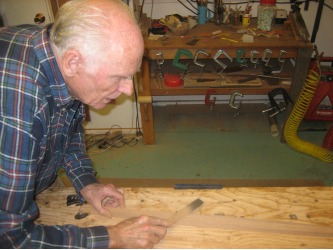
With all the lining slices cut, we started gluing them. Just before the glue, we clamped all 16 slices together and smoothed them out using a rasp and sandpaper.
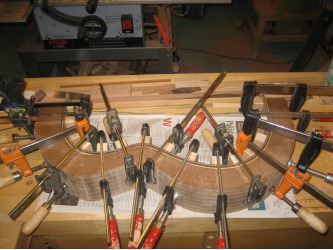
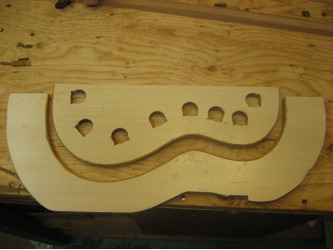
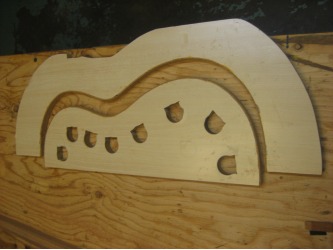
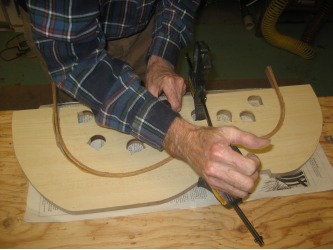
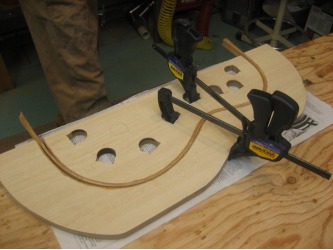
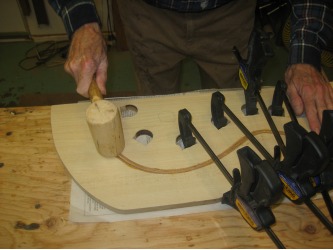
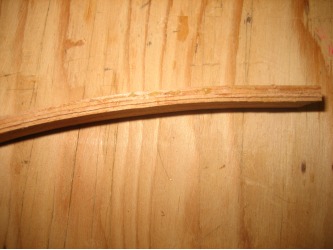
Apply the glue to one side of 3 of the 4 slices, stick them together and push them into the mold. With a little bit of pressure on the mold, take a wood hammer and hit the top of the lining to make sure they are sitting flat in the mold. Clamp up the mold nice and tight and let it sit for 4 hours. THis process is repeated 3 more times for a total of 4 linings.
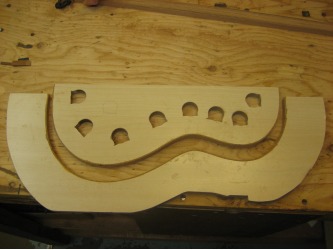
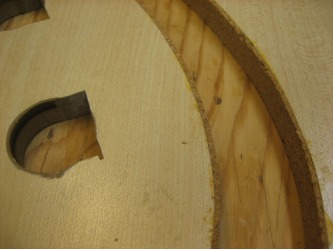
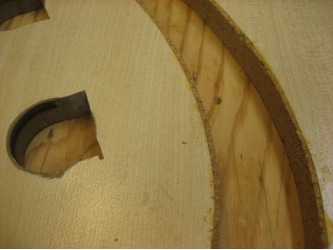
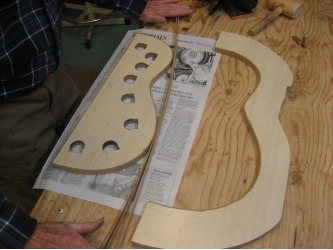
Dad's mold is made from some leftover pressboard from a cabinet maker friend of ours. The edges of the mold are lined with cork.
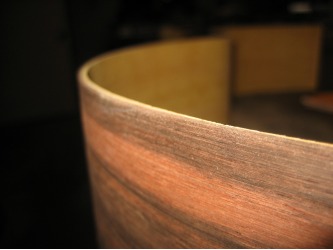
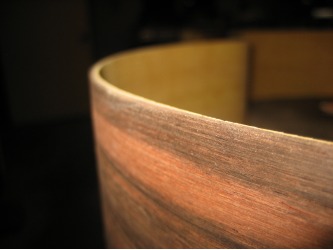
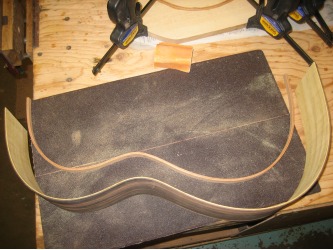
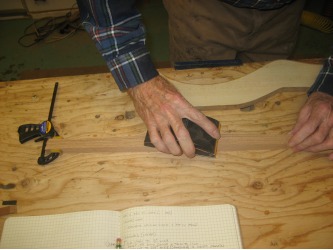
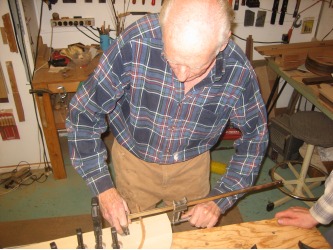
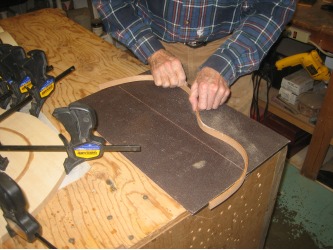
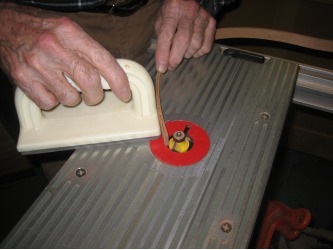
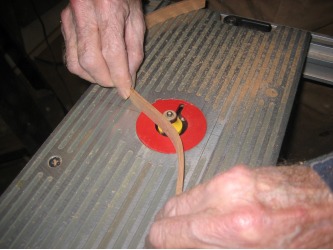
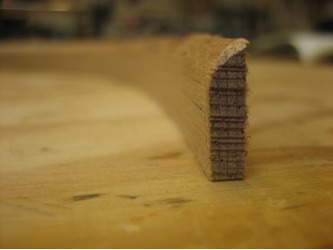
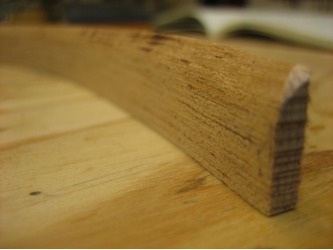
After one of the linings is set up, we sanded the top and bottom flat on the sanding glass then took it over to the router to round one edge. We used a 1/4" round-over bit. We made two passes across the router bit. Next step will be to glue the lining to the side, but since our second side was in the mold we had to stop there.
