< Work Day 12 Work Day 14>
Work Day # 13 - December 11, 2008 (5 hrs)
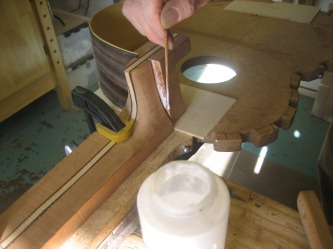
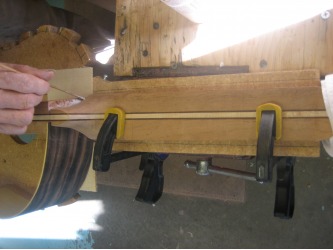
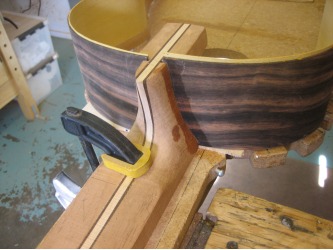
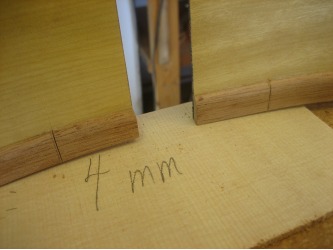
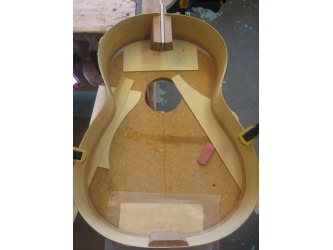
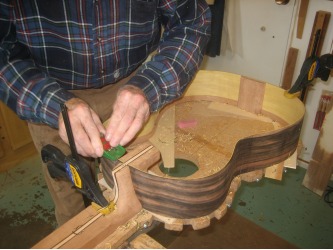
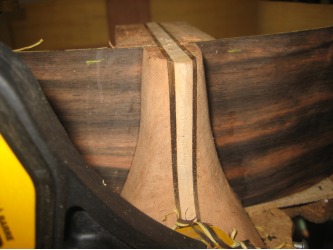
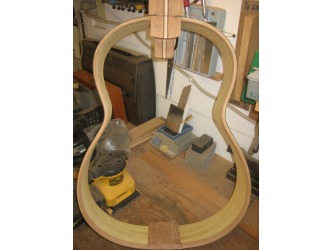
We began by fitting the second side by following the same steps as outlined in Work Day # 12. The only variation was gluing. We used 4mm spacers under the neck and sides and clamped the sides to a template.
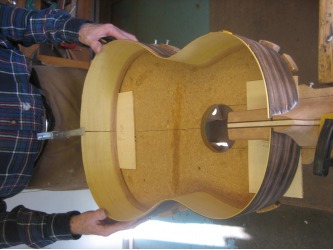
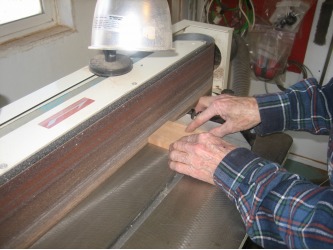
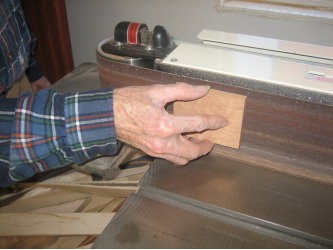
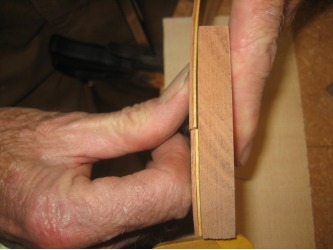
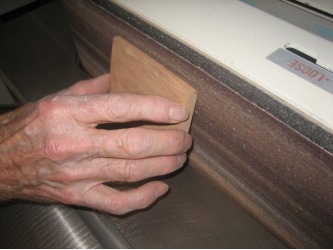
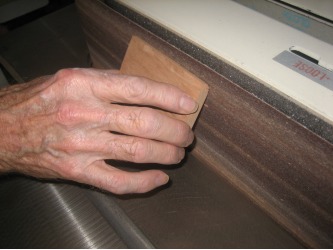
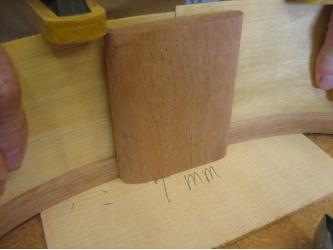
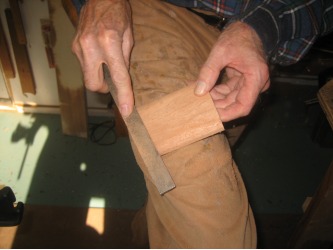
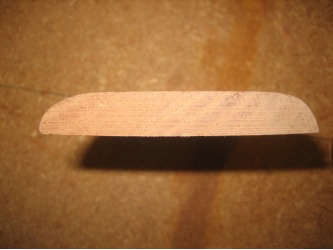
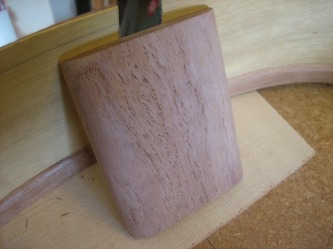
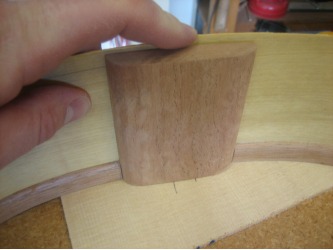
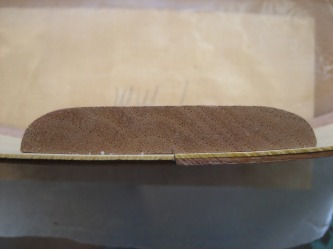
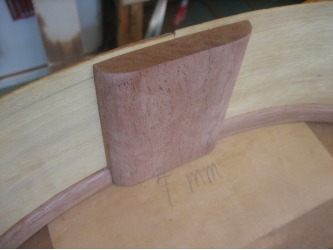
With both sides now glued into the neck we were ready to glue the end block. The end block is a piece of Spanish cedar 96mm tall X 76mm wide X 1/2" thick. Before gluing however, it needs to be shaped. First we squared it on the belt sander. Then, one side of the end block needs to be rounded to match the curve of the sides where they meet. We used the belt sander for that as well.
Then on the front side of the block, we used the belt sander to round the edges to make it look nice.
Some builders use an end block that is much wider and thicker. We based our measurements off of Bogdanovich's.
We want to make sure now as well to get the height as close to where it needs to be now before gluing the end block. It is much easier to work now than when it's attached to the sides. The width of the sides at the bottom of the guitar is 96mm. So we cut the end block to about 96.5mm.
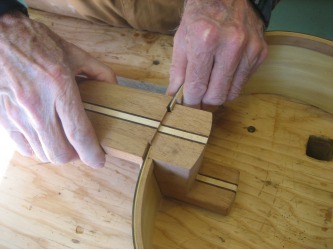
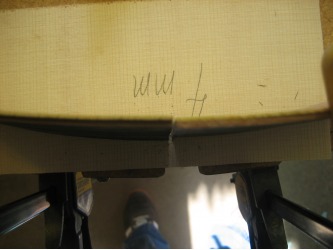
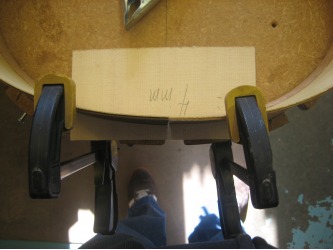
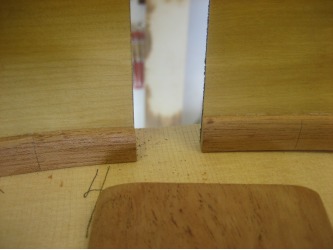
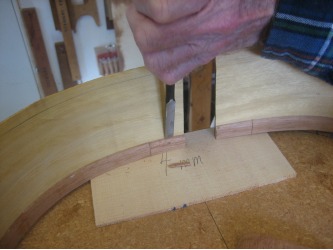
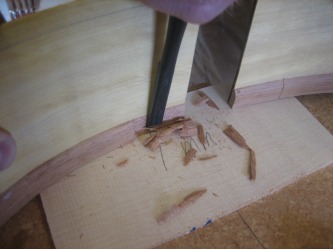
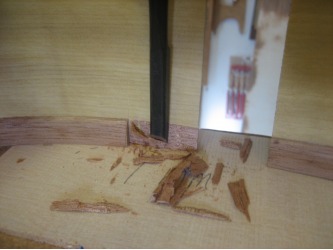
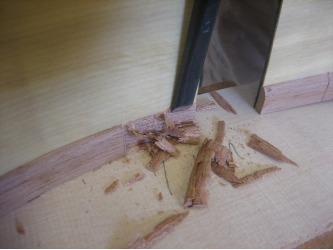
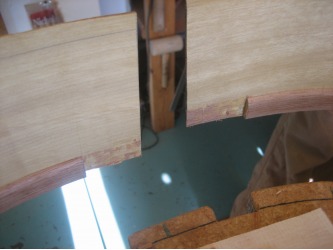
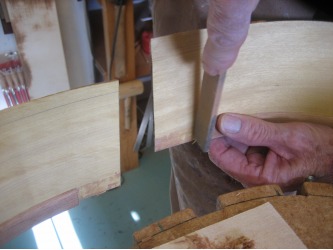
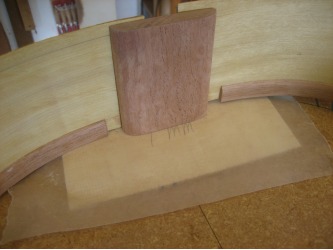
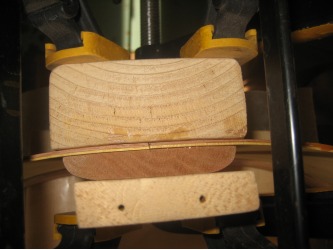
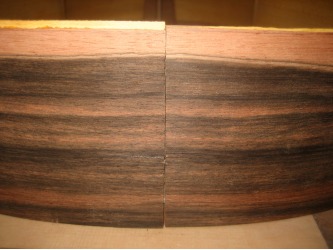
Before gluing, we need to trim back a little bit of the lining so the end block sits flat against the sides. Find the center of the width of the end block and line that up where the sides meet. Then mark the lining. We first cut the lining w/ a small mitre saw then chisled out the lining and finished with a file. You want to make sure the sides meet as flush as possible. And if things went well during the building of the sides, then the grain of the sides will line up for you.
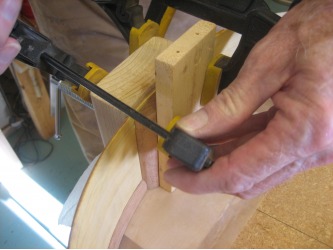
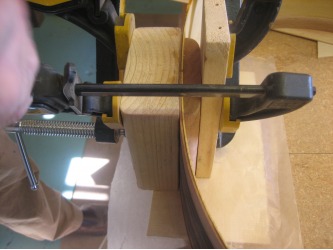
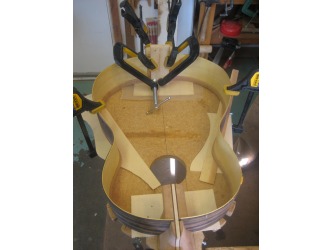
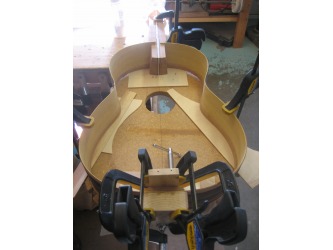
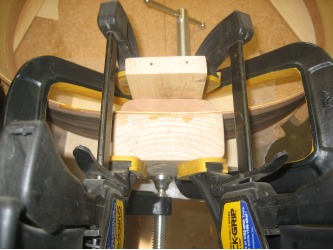
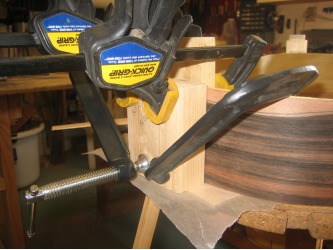
With everything lined up, put some wax paper under the sides and end block and some between the clamping block and the sides and clamp it! Also, make sure the end block is sitting flat on your 4mm shim under the sides. Let the end block glue for at least 30 mins...remembering to remove any excess glue that might squish out.
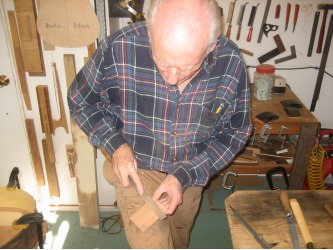
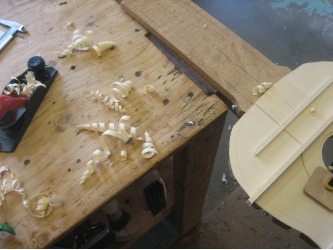
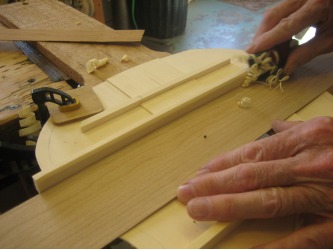
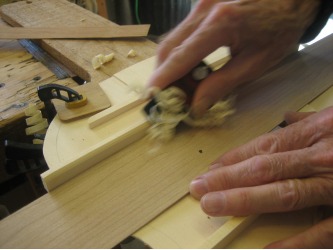
While the end block was gluing, dad worked on trimming down the sides which will be 96mm at the bottom, 94mm at the waist and 90mm at the heel. He marked where we needed to trim and used a hand plane. After a bit of trimming, we decided to wait and finish it once the top was glued on. With the top on, the sides are more rigid and easier to work.
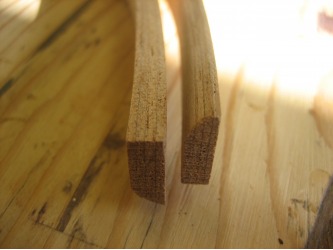
While he was doing that, I used the router and rounded the set of linings that will be glued on the other edge of the side.
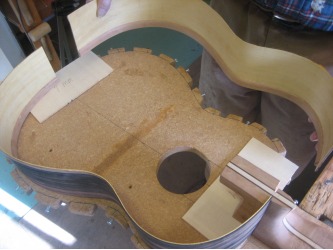
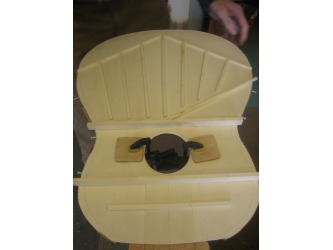
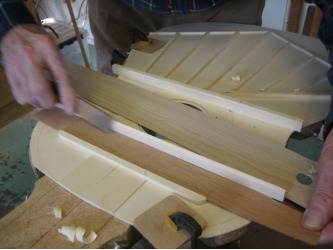
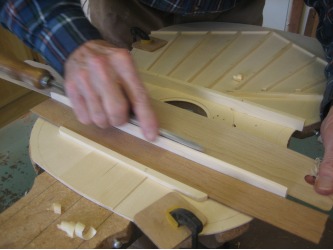
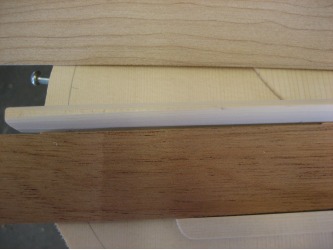
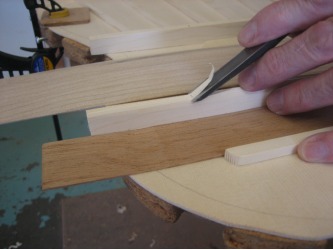
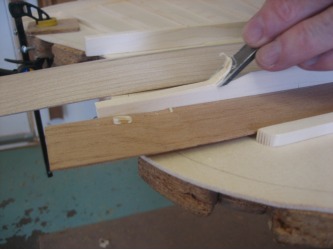
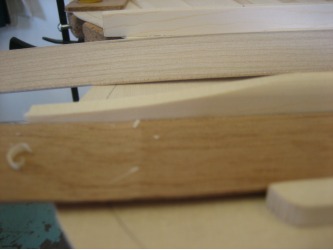
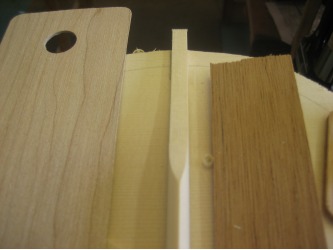
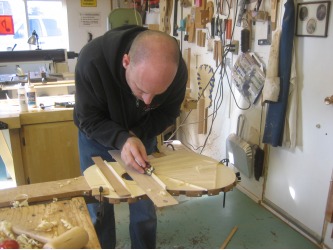
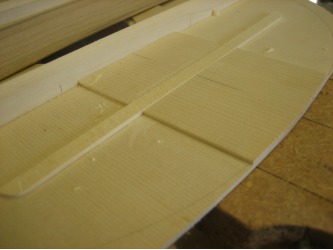
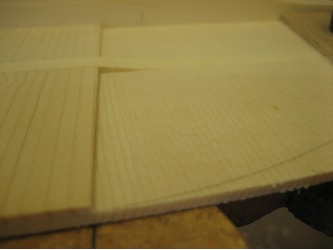
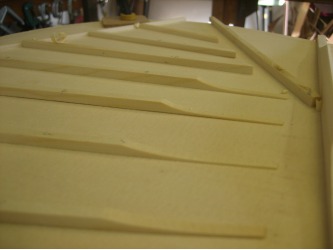
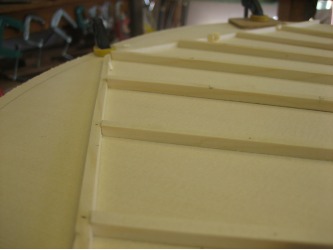
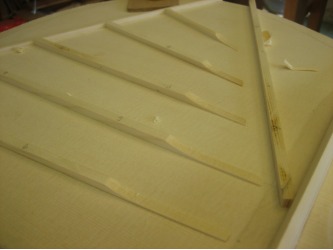
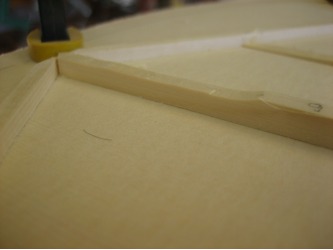
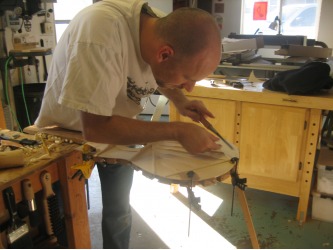
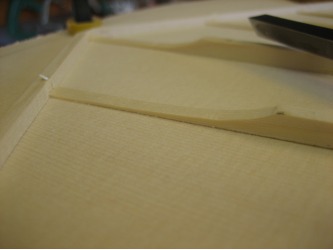
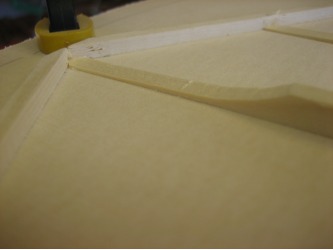
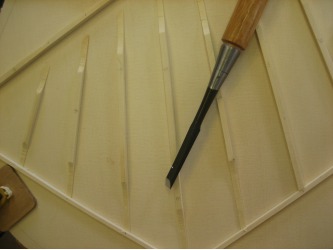
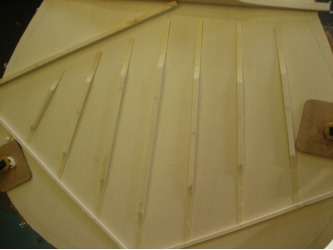
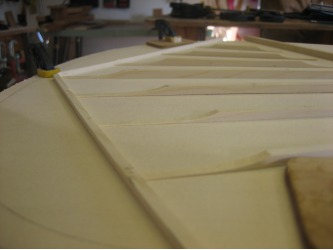
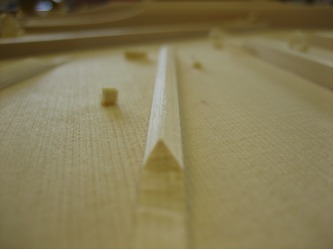
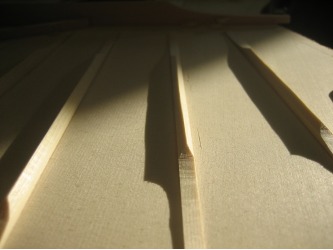
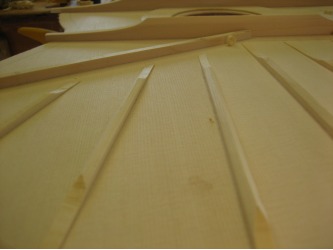
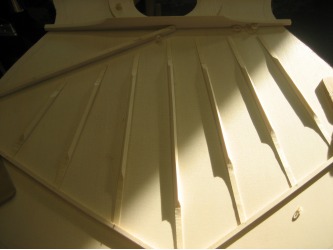
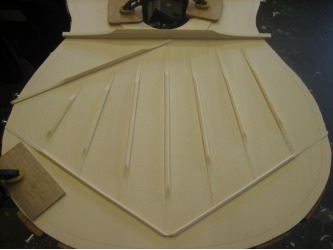
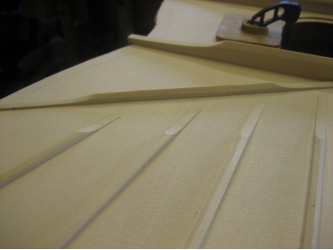
Now we get back to the top...we left it not quite finished on Work Day #4. Before we can glue the top down, we need to shape the fan braces. They are shaped top a point on top then scalloped on the edges. To make the point, we can use a small plane or a sharp chisel. We used the plane on the thicker cross braces and a chisel everywhere else. Also on the large cross braces, we purposely cut them taller before they were glued to the top. So the first step with those two braces was to bring them down to a height of 16mm with a plane...and that 16mm only needed to be in the middle of the brace as we will scallop the ends.
On the 16mm tall cross braces, we measured in 60mm on each side as a starting point for the scallop. And at the end of the scallop, the thickness was about 1/4".
On the smaller braces (5mm and 6mm tall) we brought the end of the scallop down to about 1mm. And the length of the scallop varied by brace. I did use a caliper to measure the length per brace so the scallops would be symmetrical.
You can either cut the scallop first then bring up the point or do the point first then cut the scallop. I did it both ways and found them both to work equally well. This was a time consuming process...especially for me. I was going a lot slower than dad would have since I've never done this before and I didn't want to have the chisel slip and gouge the top.
Once the braces are shaped, I hit them w/ 100 then 220 grit sand paper to finish smoothing them out.
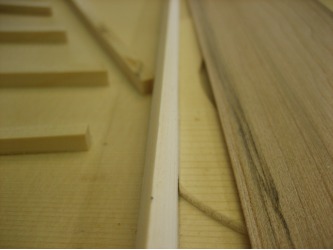
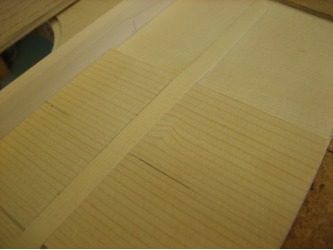
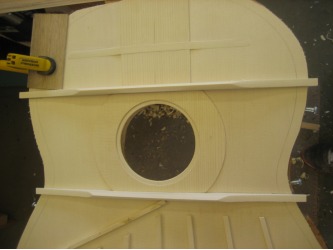
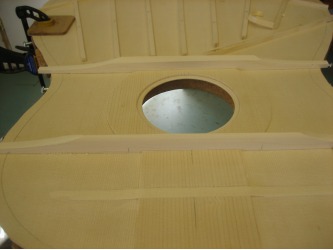
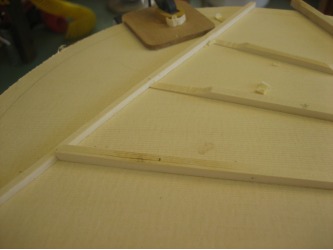
The last brace for the top is the cross brace directly under the bridge. This brace is fitted last because you need to have all the fan braces profiled/shaped before this last brace goes on. This under-the-bridge brace will be notched to fit over the vertical fan braces. We start with a piece of engleman spruce that is 7mm wide X 12mm high and long enough to fit about an inch past the outside braces.
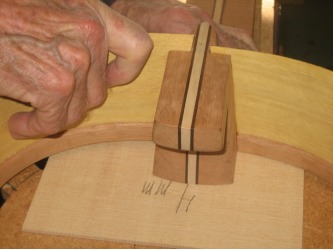
For placement, we measure from the 12th fret down 32.5cm and that is where this cross brace will end up. We lay the brace across the vertical braces, square it, and mark where it crosses the smaller fan braces. Mark it on both sides. After it's marked, connect the lines from either side of the brace and that'll give you the angle to cut for the slot which will fit over the vertical braces.
For this work day, we stopped after we marked the brace. Next time we'll finish that brace and add a patch to the top edge of the top and glue down the top!
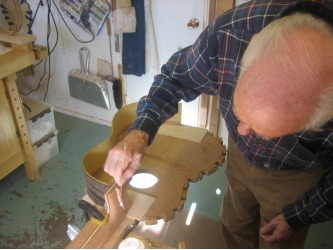
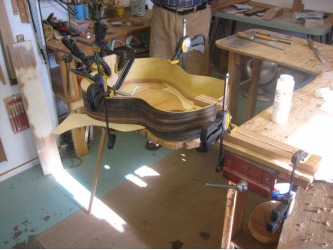
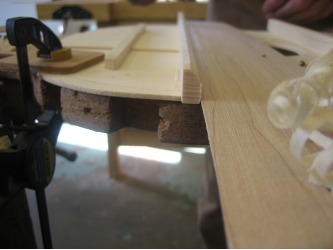
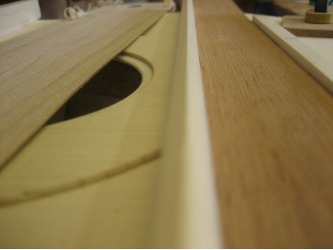
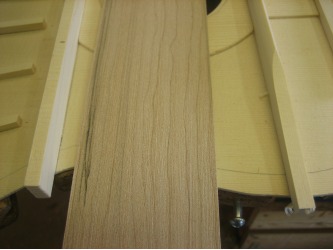
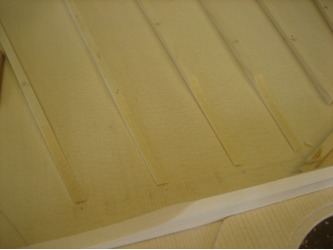
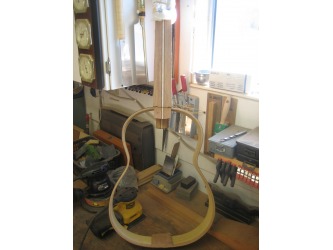
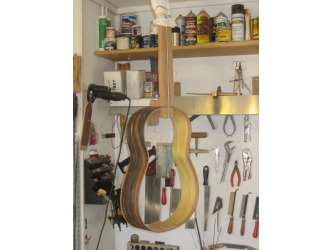
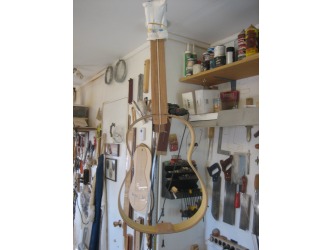
And below are just a few more pics...one of the things I remmeber growing up is seeing a partially finished guitar hanging from the ceiling...and I'm excited that we are now at that point in the build.
