< Work Day 16 Work Day 18>
Work Day # 17 - January 8, 2009 (3.5 hrs)
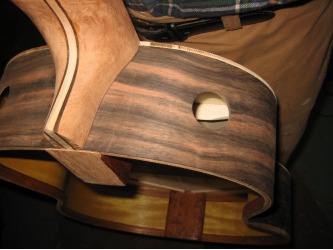
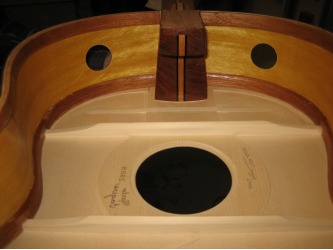
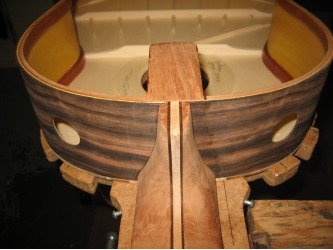
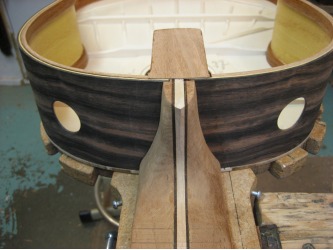
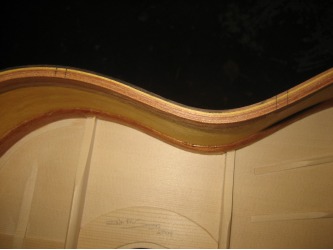
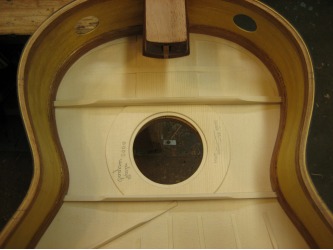
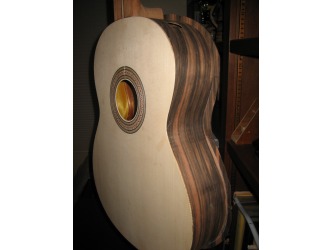
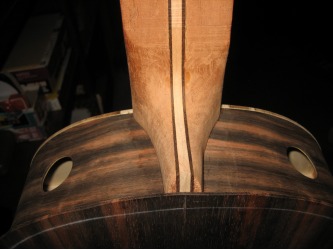
We started by figuring out where we wanted the sound ports to go and how big they should be. Sound ports help the player hear the instrument and give the instrument a bigger sound. As with many of the building techniques, there are many opinions on sound ports...how big, where placed etc.
We know they do improve the sound and we like the way they look...so size and placement are important from an aesthetic perspective.
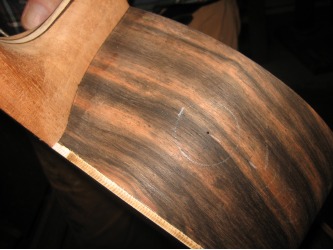
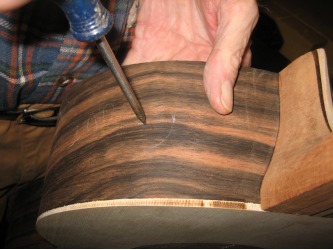
The thickness of the guitar is 95mm including the top and back, so I wanted the sound ports to balance that width. So dividing by 3 gives us 31.6mm...which gave me the diameter of the sound ports. With the sound ports centered, the same amount of material will be left on either side.
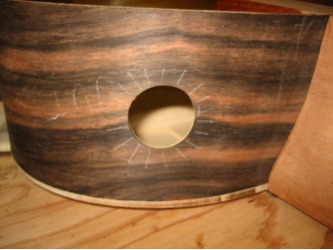
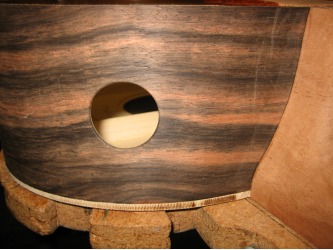
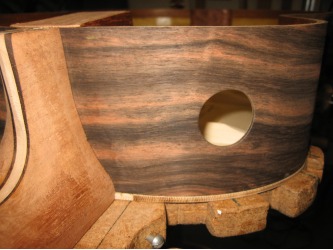
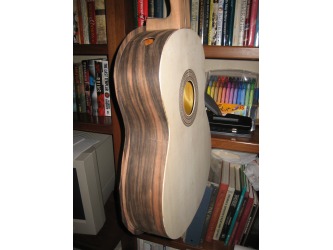
So we made a mark in the center of the side (at 47.5mm) and drew the circles. As far as placement from the neck goes, we made it so the outside edge of the port is 2.5" from the neck.
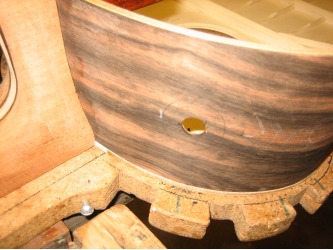
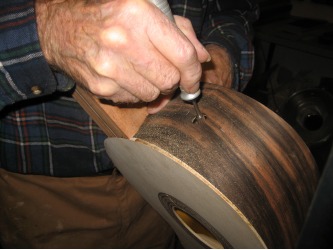
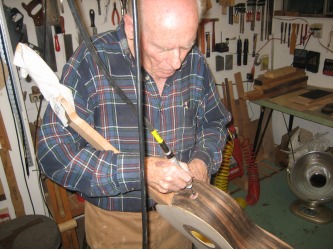
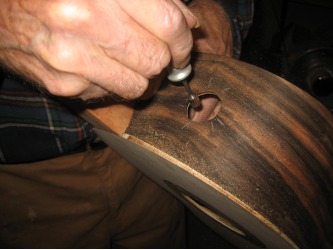
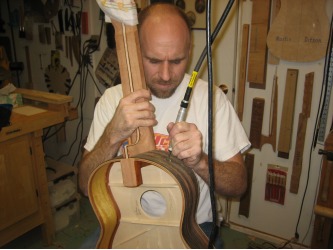
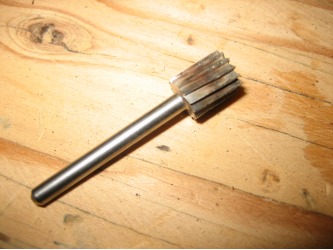
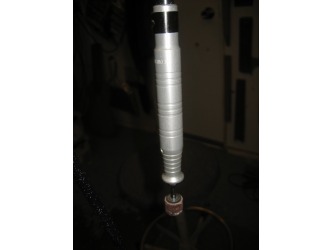
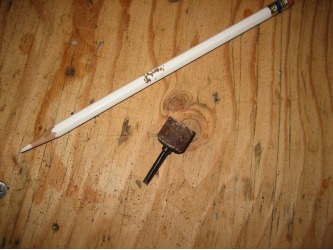
We first drilled a hole w/ the biggest drill Dad had then cleaned out the rest of the material with a cutting bit and the Foredom Flex-Shaft tool. Once we were close to the line, we switched out the cutting bit for a sanding disc.
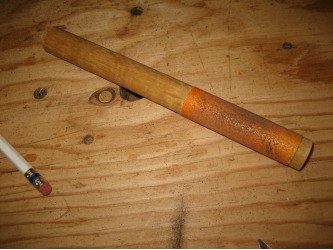
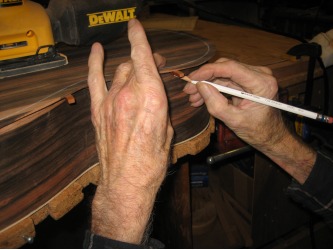
To finish off the shape of the ports, we used a dowel w/ 100 grit paper glued to it. After that, we used a file and sandpaper to round and smooth the edge of the ports.
Sound ports are finished...now we need to get the back ready to glue on.
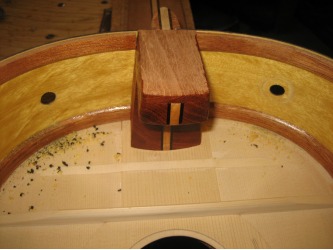
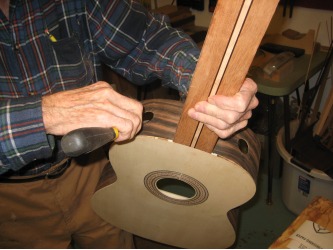
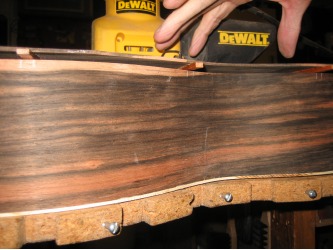
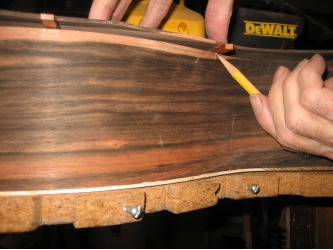
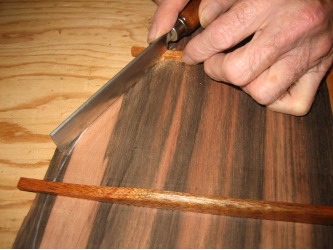
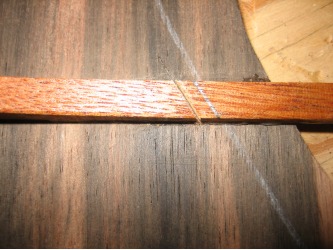
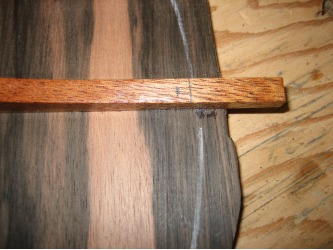
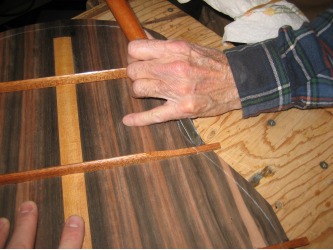
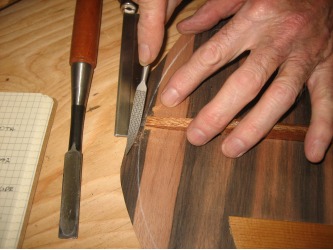
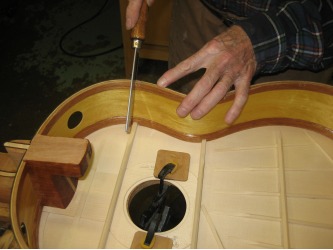
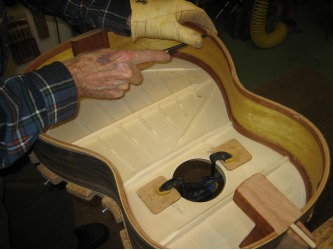
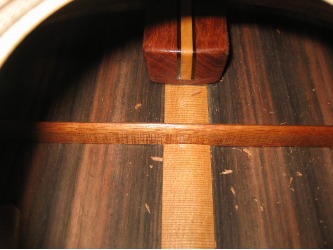
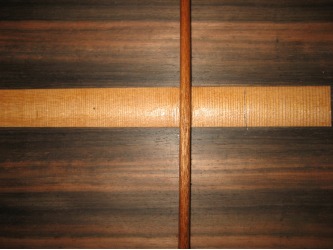
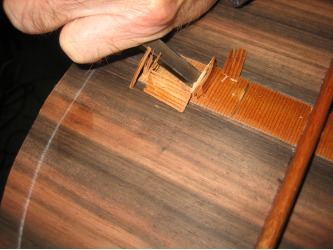
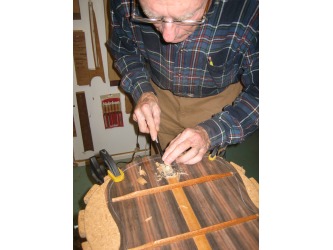
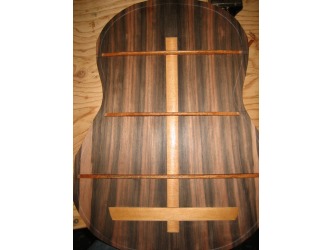
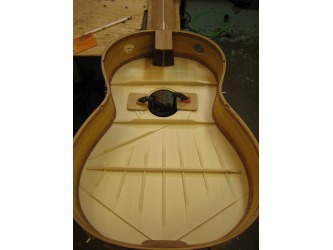
First we line up the back to mark the cross braces and linings as we did with top on work day 15. Since the sides are 3mm thick, we need to make our cuts on the cross braces 3mm further in. After we make the cuts, we use the chisel and hammer to break off the excess. Then use the chisel and a fine riffler file to clean off whatever is left.
From the marks on the sides, we use them as a guide to cut the lining, then chisel out the slot to receive the cross braces. Make sure the cuts are wide and deep enough to receive the cross braces. This is usually done in a few tries removing a little bit of material at a time. Make sure you use a glove on the hand that supports the sides when using the chisel. You will inevitably slip and hit your hand with the chisel...I did this time and since I had a glove on, no blood!
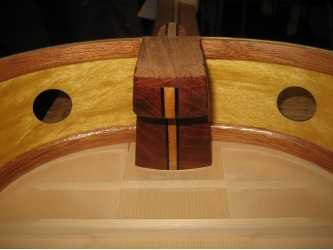
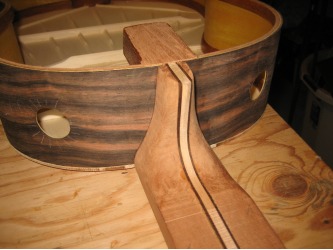
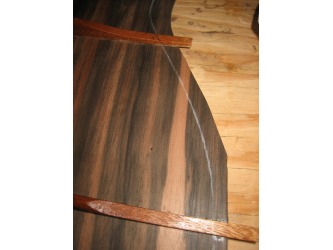
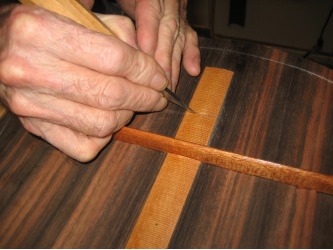
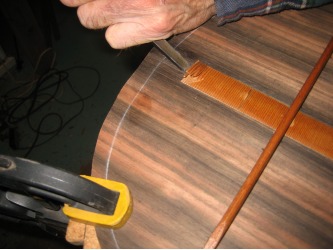
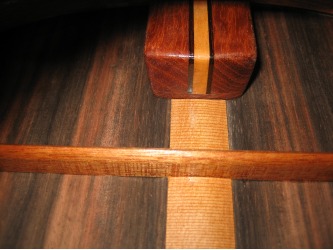
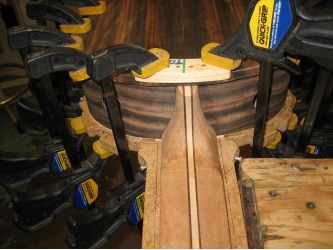
With the back dropping into the slots we flipped the guitar over to mark where the heel overlaps the center strip on the back. With that marked, we used a knife to make the cut (which is slightly curved), then a hammer and chisel to remove the extra length of the center strip. We finished with sandpaper to remove the glue, etc.
Two things to go before we can glue on the back. First, we need to shape the patch on the heel and second, glue on the label to the back.
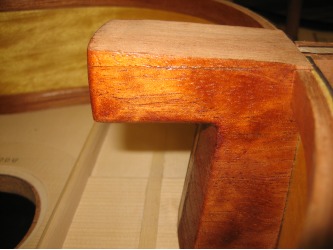
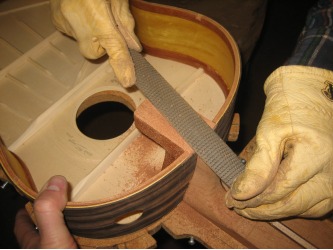
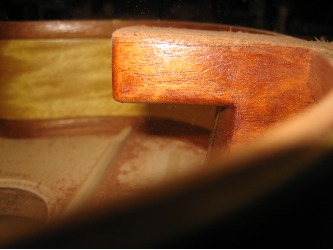
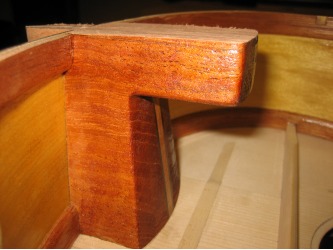
Shaping the patch, we used files and a sanding block. We want the patch to have a very slight curve in it and to be just high enough to touch the back when it is glued down.
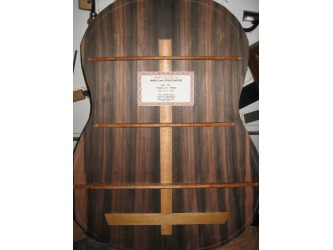
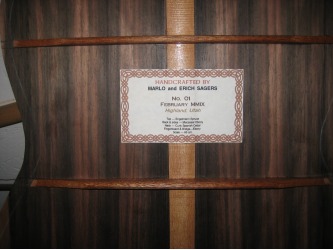
With the patch shaped, we put on the back and flipped over the guitar and put a small mark on the center strip in the center of the sound hole. This will mark where the center of the label will go.
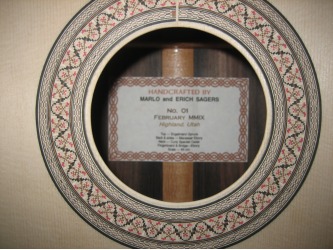
We cut out the label, covered the back with glue sent it down. Work it down from the center out.
With a final check of the back and inside of the top, we are ready to glue down the top.
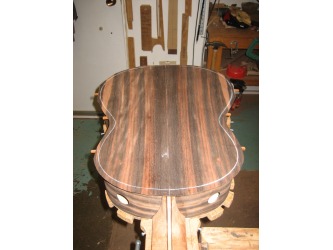
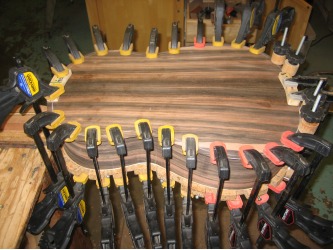
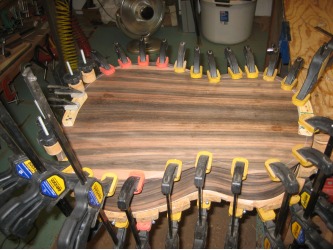
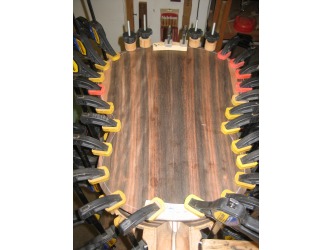
Put the glue down quickly and don't use too much since it's next to impossible to remove the squish out. Start clamping from the front and work down each side simultaneously to the bottom. We'll let it glue for at least an hour, then bring it back into the house...and that's it for this work day!
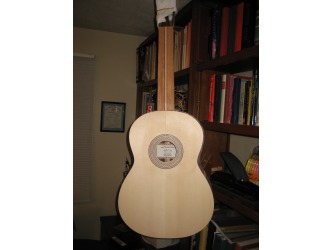
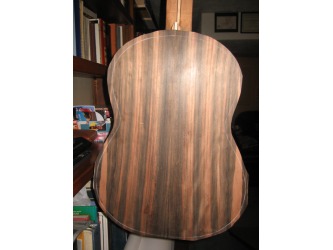
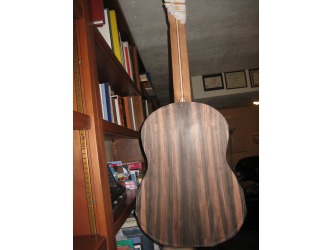
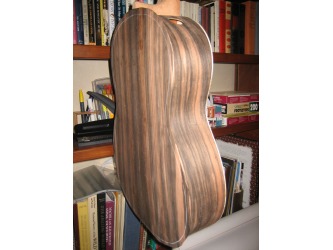
And a look with the clamps off...
