< Work Day 21 Work Day 23>
Work Day # 22 - January 24, 2009 (3.5 hrs)
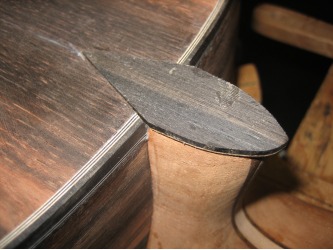
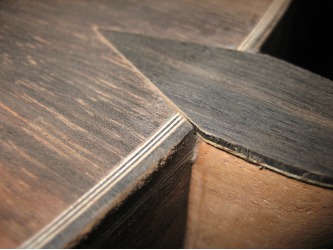
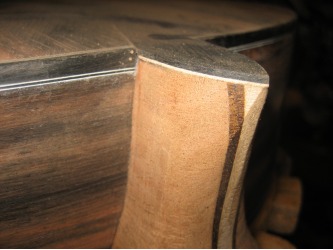
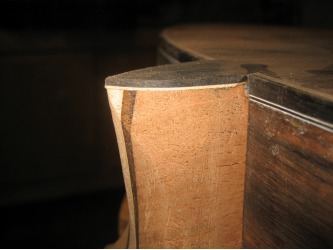
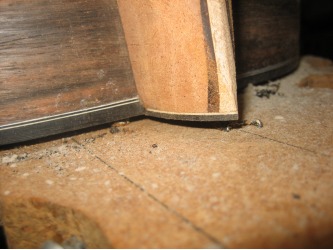
We started today shaping the heel cap. I used the scraper to bring it down flush with the back and a #5 rasp to shape the tip. When filing, just keep an eye on the symmetry of the point. Also, make sure the ebony is the same thickness on the heel. Use the thin maple strip as a reference.
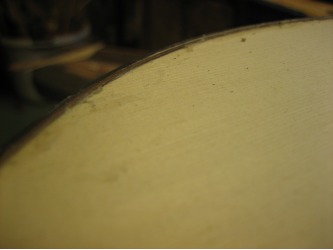
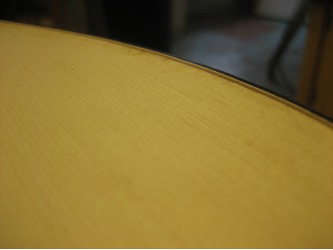
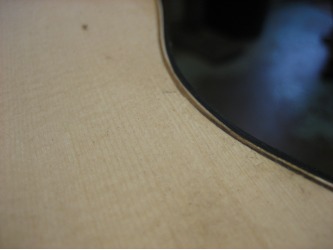
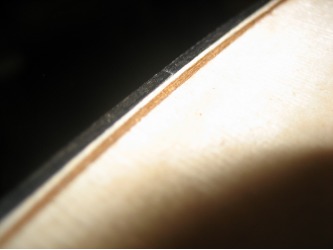
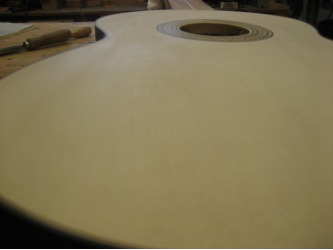
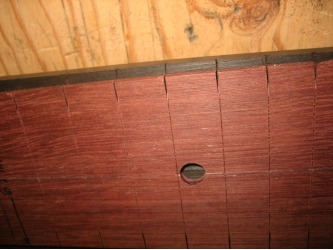
After the heel cap is shaped, we flipped over the guitar and trimmed the binding on the top. This I did w/ the scraper. Using the scraper is slick. It leaves such a nice finish...but you have to be careful not to gouge the top.
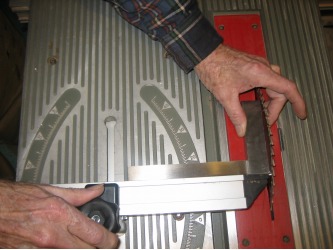
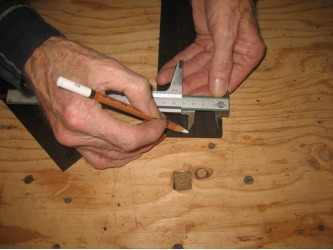
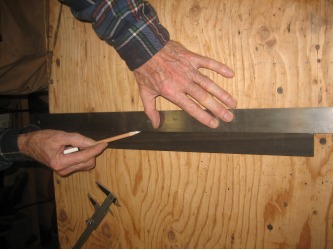
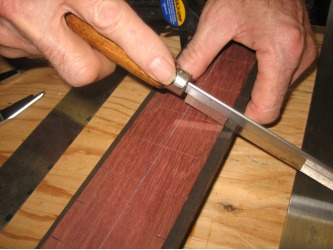
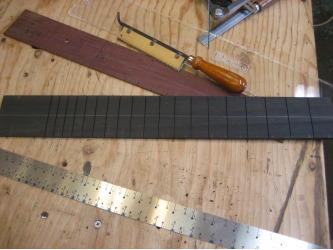
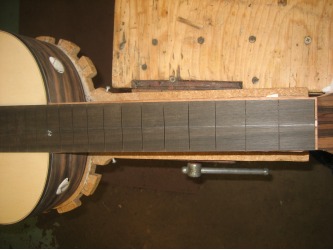
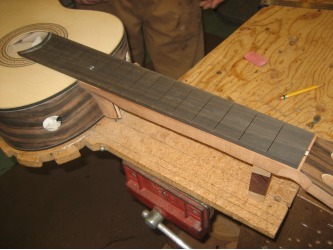
Now we moved on to the fret board. We first needed to lay out the frets. There are several ways of doing this. We used a template dad had made. First, mark a line down the center of the fret board. But before that, make sure the fret board is square and at the correct thickness. We thicknessed the fret board on Work Day #20 to just over 7mm. So today we just squared the ends with the table saw.
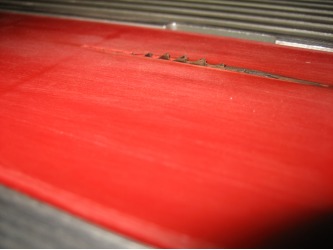
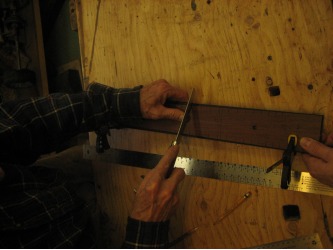
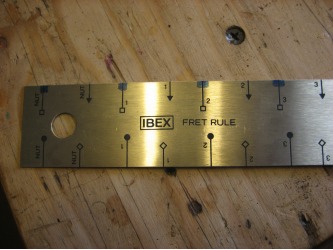
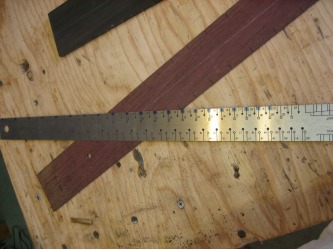
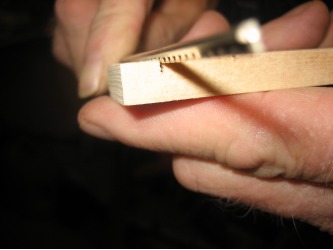
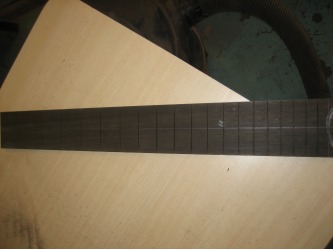
Ok...so after we have a center line, we clamped on the template and made a small cut where the fret will go. After we made the cuts, we checked their spacing with a fret rule and found the template to be different than the rule. So we decided to trust the rule and adjust the spacing.
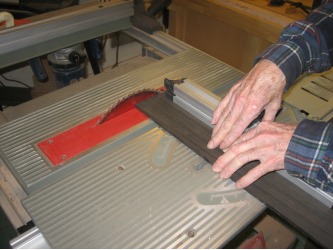
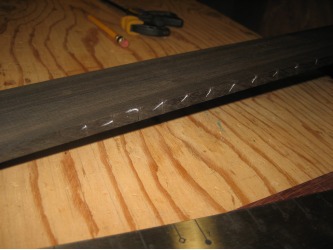
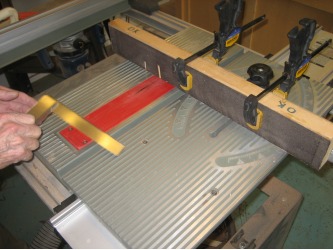
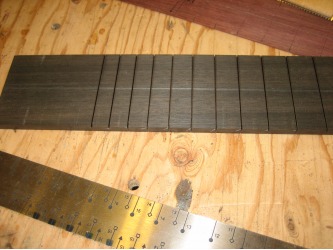
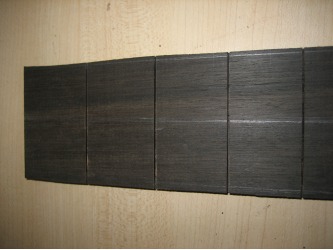
Next we set up the table saw with the fret blade (much smaller and thinner than a standard table saw blade) and jig to push the fret board across. You want to make sure everything is square so the fret channels are as straight as possible.
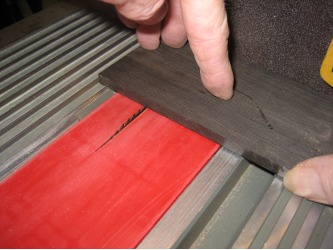
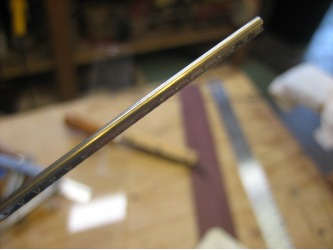
Before making the cuts in the fret board, take a piece of scrap and make a cut to determine the height of the blade. We are using a standard fret wire that is 2.2mm wide (some wire is 2mm wide, but dad likes the extra width of the 2.2mm). And you want the cuts to be as deep or just a hair deeper than the bottom tab of the wire.
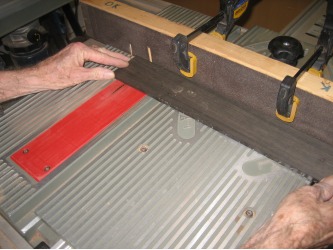
Once the height of the blade is set, we can start cutting. Even though this is a table saw no-no, we will be pulling the fret board toward us over the blade. The jig dad made has a slot cut in it to pass directly over the blade and sandpaper glued to it to help hold the fret board.
Now we're ready to make the cuts...
Hannabach cuts his fret channels by hand. He marks them with an angle guage and cuts them with a handsaw. Dad says he does it quickly and efficiently...it's basically second nature for him. He trusts his ability and just does it. For a lot of steps in guitar making you just have to jump in and do it...don't over-think things. Just trust the tools and your ability and make it happen.
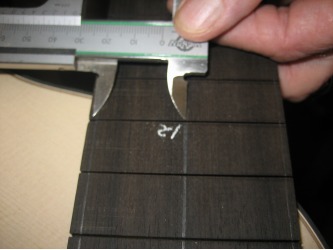
Ok...with the slots cut for the frets, we now marked the final width for the fret board. It will be 53mm at the nut, and 63mm at the 12th fret (the 12th fret is at the top of the body and is the 1/2 way point of the 65mm string length). From the center line, we marked 26.5mm to either side at the nut, and 31.5mm at the 12th fret then connected the lines.
With these lines drawn, we cut the excess with the bandsaw and finished the edges on the belt sander.
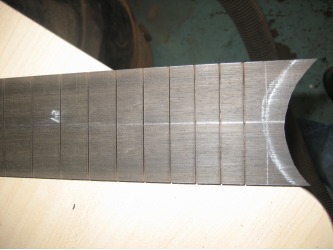
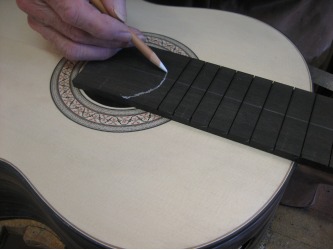
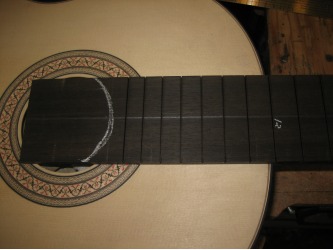
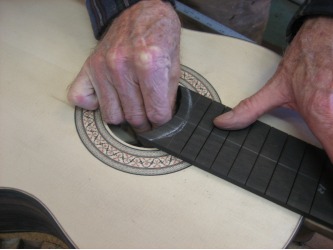
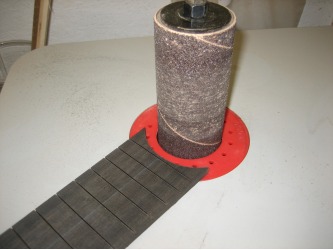
To finish the curve at the sound hole, mark the curve from the inside of the sound hole on the bottom side of the fret board and cut with the bandsaw. Then we finish the curve on the vertical oscillating drum sander.
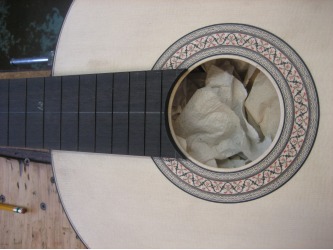
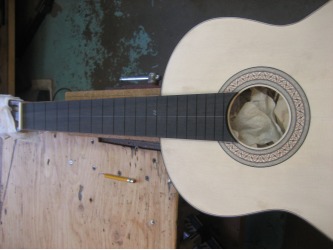
We trim the curve to meet the outside edge of the rosette to leave the symmetry of the inside of the sound hole made by the top itself.
