< Work Day 22 Work Day 24>
Work Day # 23 - January 29, 2009 (3.5 hrs)
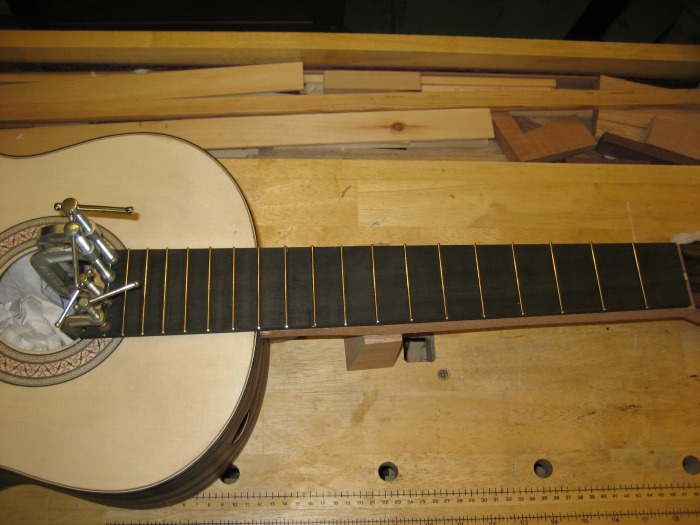
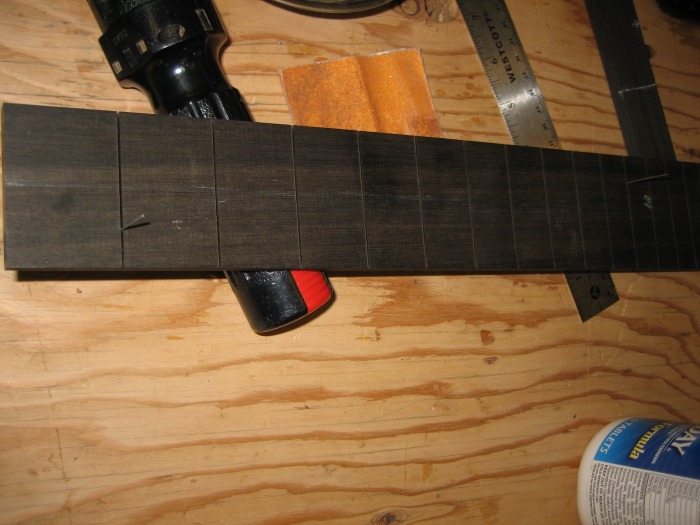
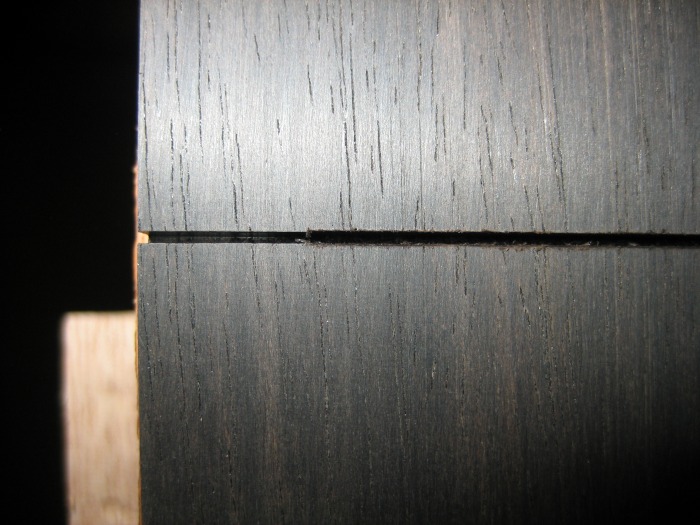
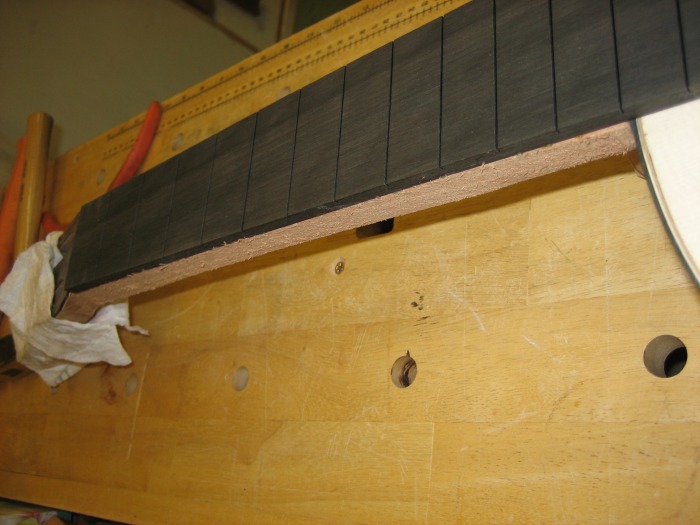
With the fret slots cut we're almost ready to glue down the fret board. But before we do, we need to make sure it sits as it should on the neck and top. Sometimes, a bit of material needs to come out of the bottom side of the fret board from fret 19 to 12...but in our case, it was OK.
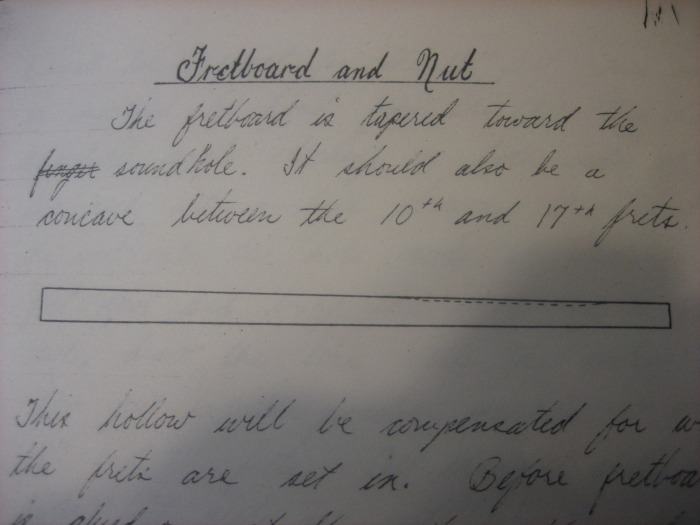
Also, we need to work in a slight inward bow from about fret 10 to 17 (according to Hannabach). Bogdanovich likes the bow to be between fret 4 to 12. Anyhow, the reason for the bow is the frets. When you pound in the frets, it opens up the fret slots and causes the fret board to expand in an outward direction which will cause the frets to be too high...and to compensate for that, you would have to file down the frets too far. We lucked out with the way the neck met the body and our bow was already in. We didn't have to take any material out of the neck (or fret board). We're looking for 1-2mm of bow...
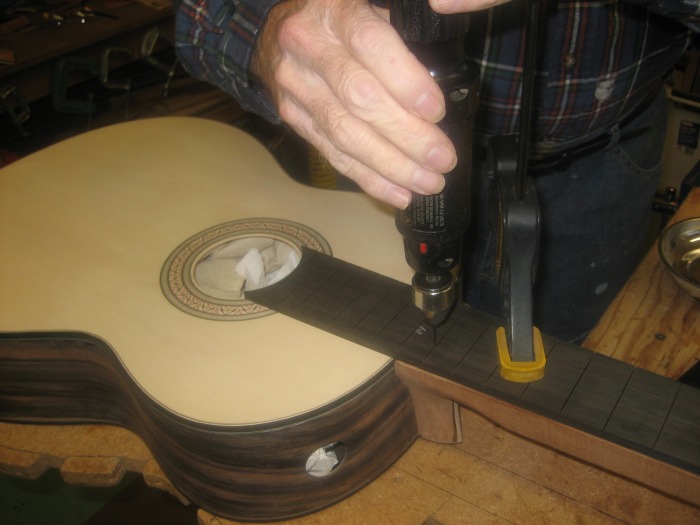
On to gluing it down...first line up the fret board exactly where it goes then drill two small holes through a couple of the fret channels and make sure the pins will fit into the neck. We'll use these holes and pins to line up the neck once the glue is on and to keep the neck from sliding around when we are putting down the clamps.
We use some scrap blocks on top of the fret board for the clamps. And we have one that goes inside the sound hole to protect the underside of the top. And we have a padded block for the heel block.
Even though we have the pins to line up the neck, make sure and double check the alignment before clamping down.


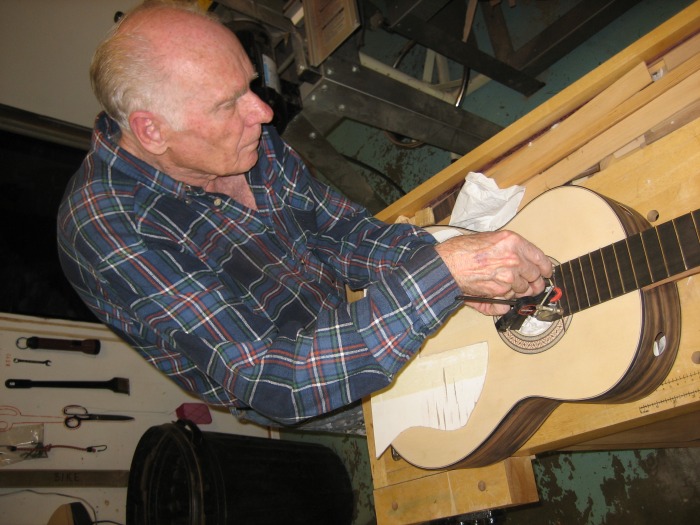
While the fret board was gluing, dad showed me the first few steps of building the bridge on a bridge for a guitar he is building right now.
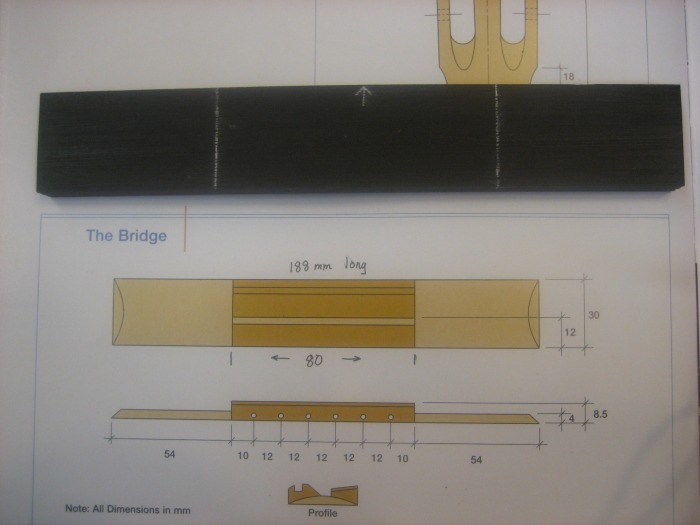
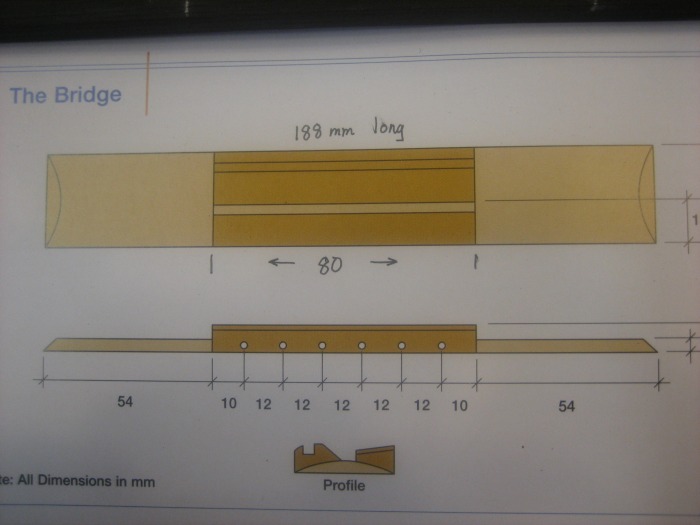
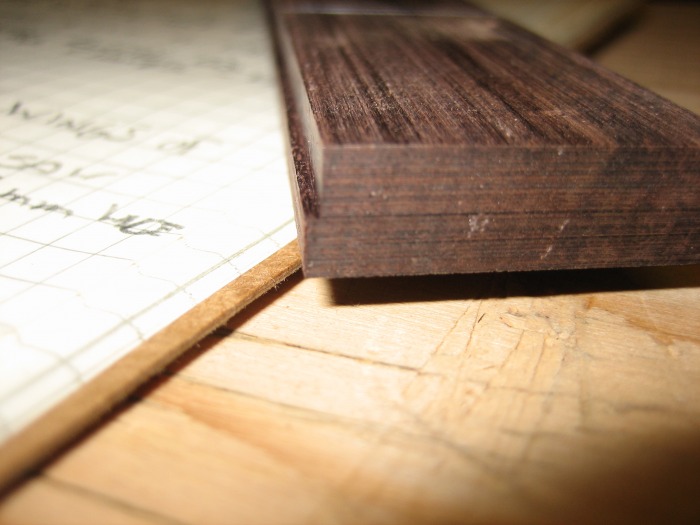
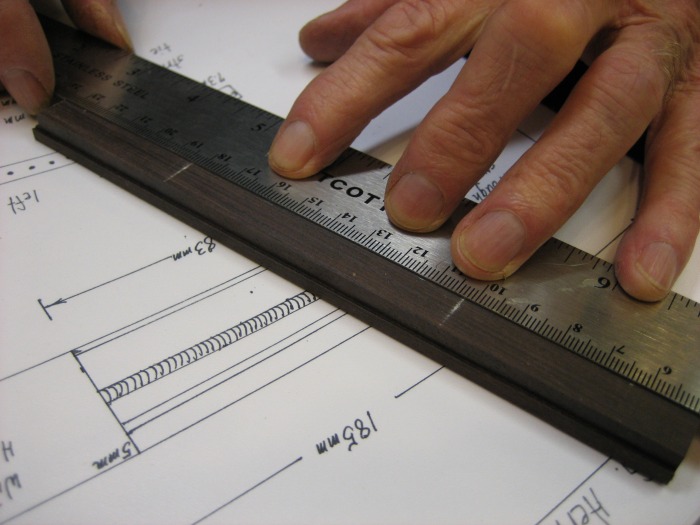
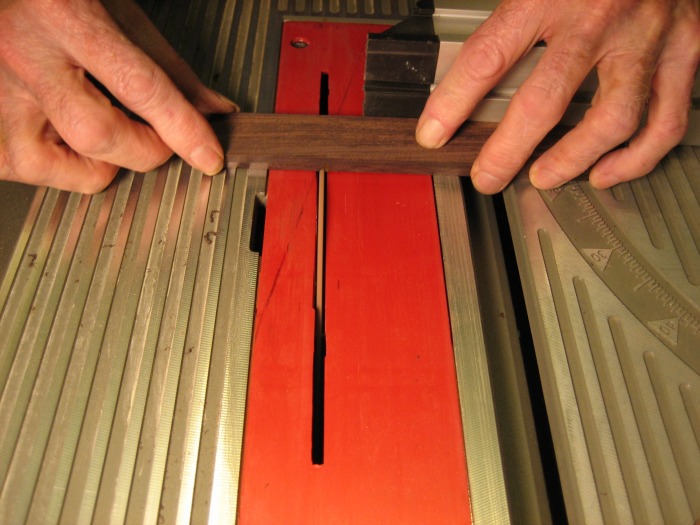
We start with a block that we first size to 188mm long by 30mm wide by 9mm tall and square all the sides. On the bridge we mark the width of the saddle and how deep the saddle will be. We are using the Bogdanovich dimensions for the bridge. The saddle is 80mm wide so the wings are 54mm each.
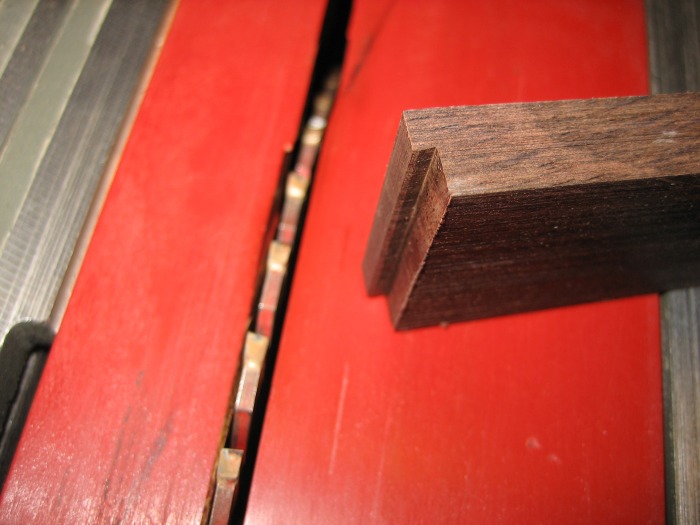
The wings will start with a thickness of 4mm and taper more at the edges. But to get the wings to the 4mm thickness, we will use the table saw. Set the saw blade height and make a few test cuts on a scrap or on the outside edge of the bridge.
With the saw height set, we will make the first cut on the back edge to create a small 1mm-1.5mm ledge for the strings to rest on.
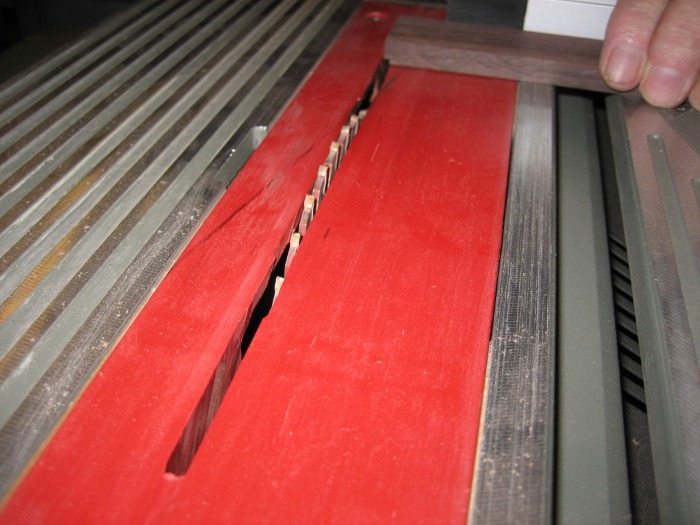

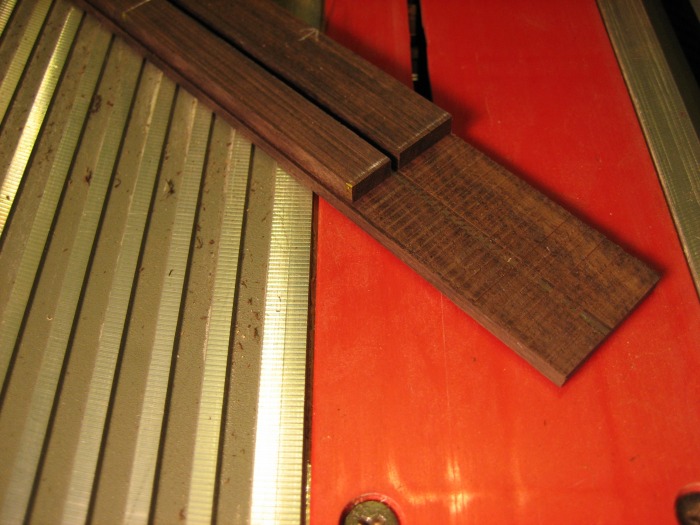
Now we mark from the edge of the ledge into the bridge 10mm for the cut to split the saddle. Again, the saw blade height stays the same. Make the saw cut on the wider side of the line.

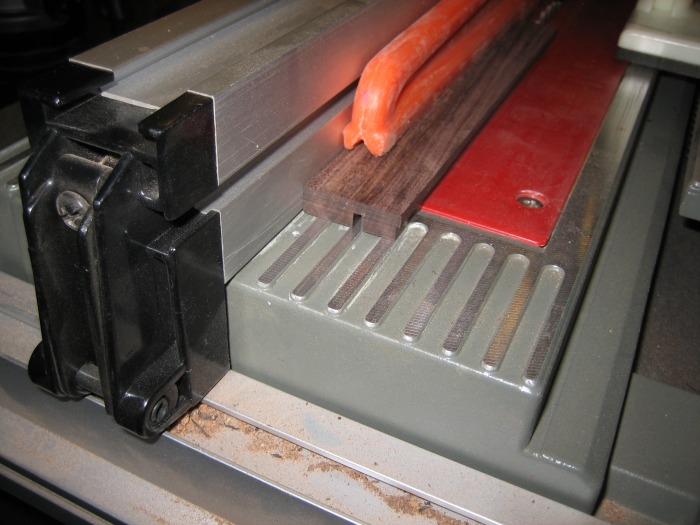

Now we can take out the rest of the material for the wings one blade width at a time. Make the first cut at the edge of the saddle and work your way out to the edge of the wing.
Now we're ready to get back to the fret board. With the clamps off, we quickly take a look at the bow and see if it's still there after gluing...and it was so we're good to go.
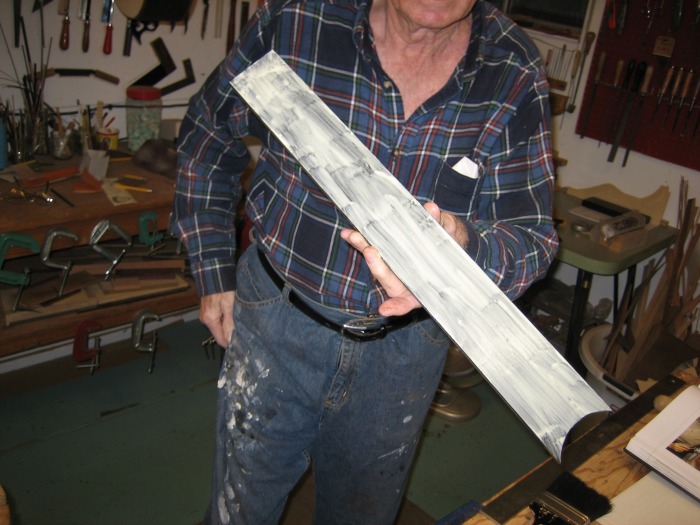
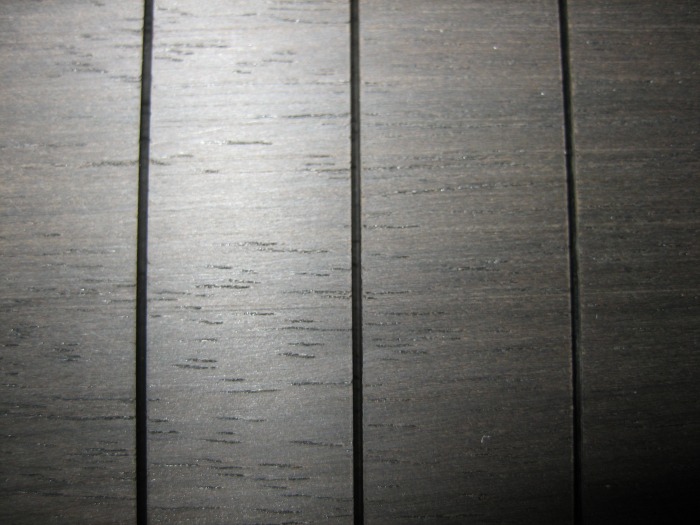
We start by sanding the fret board with some 150 and work our way to 400 grit paper on a sanding block.
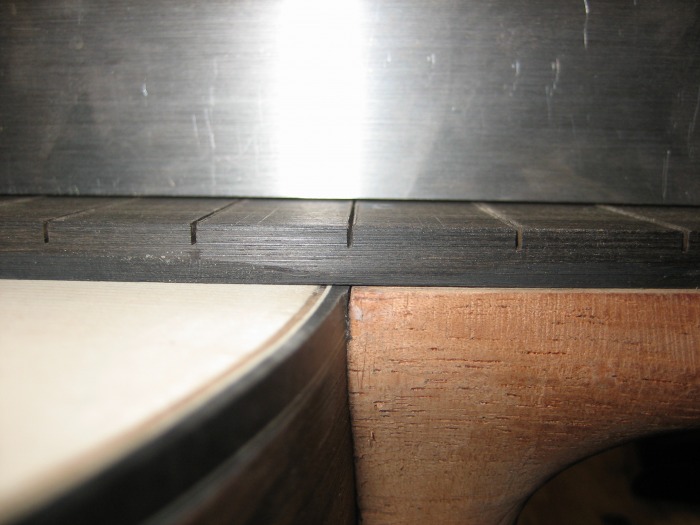
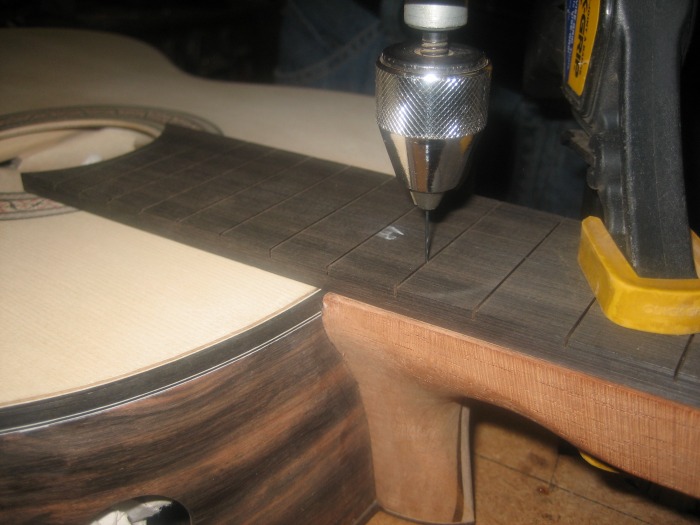
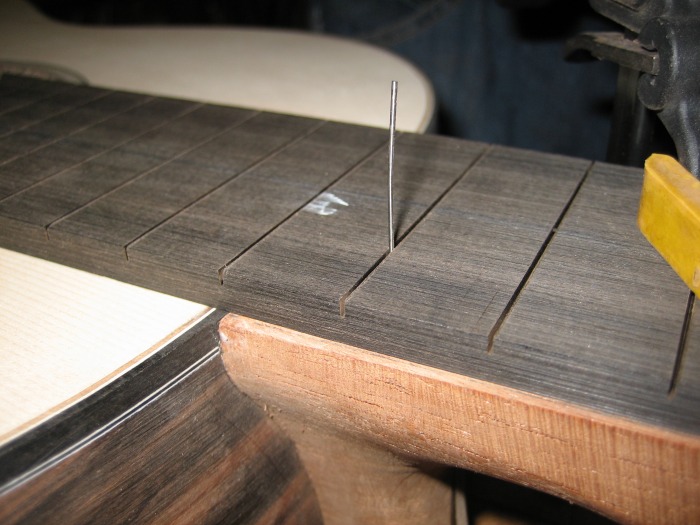
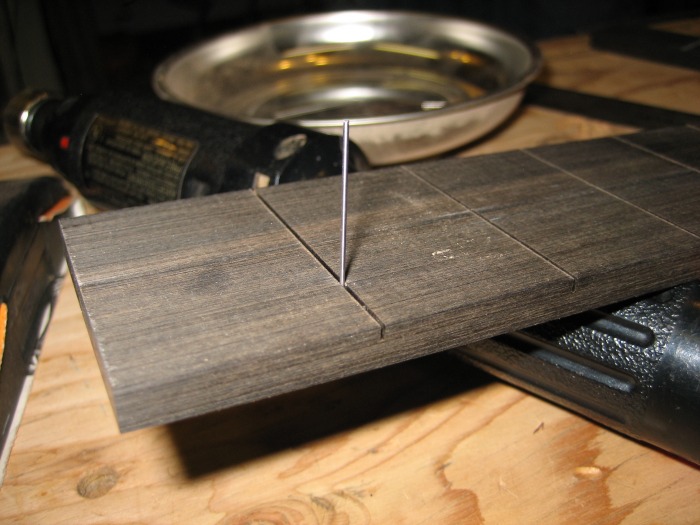
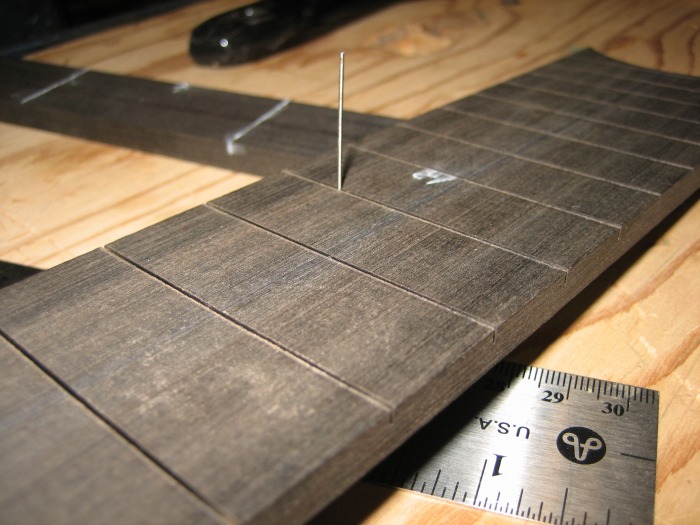
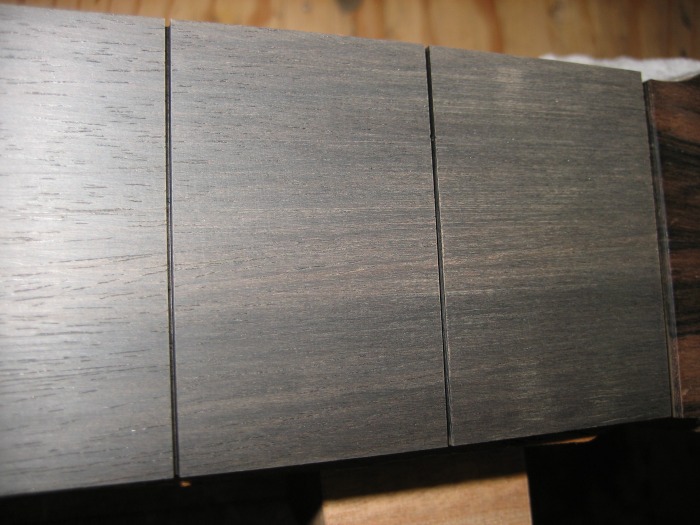
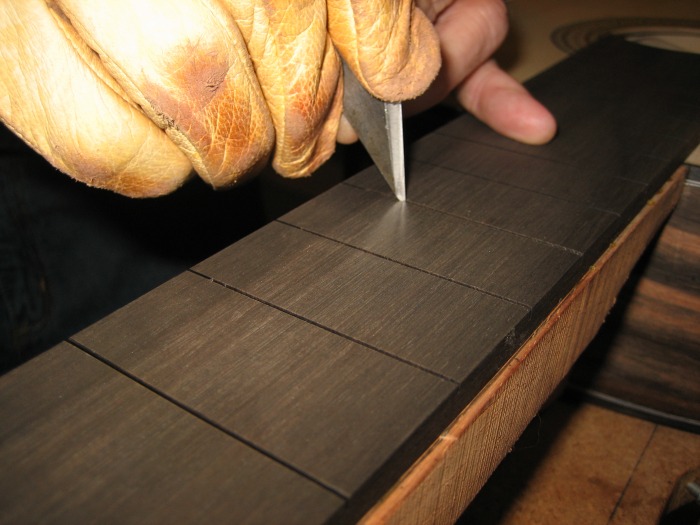
After it's sanded, we need to prep the fret slots. First check the depth of the slots. Sanding the fret board could make the slots a bit shallow, so just make sure they are deep enough to accept the full depth of the tang. If you need to clean them out, just use a small saw and be careful.
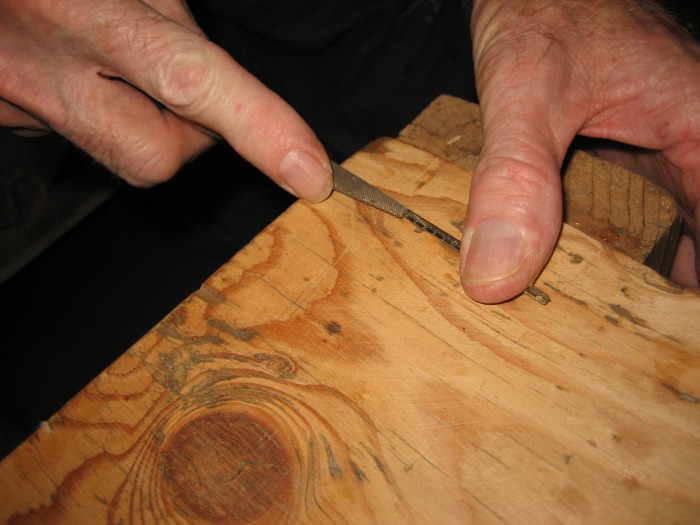
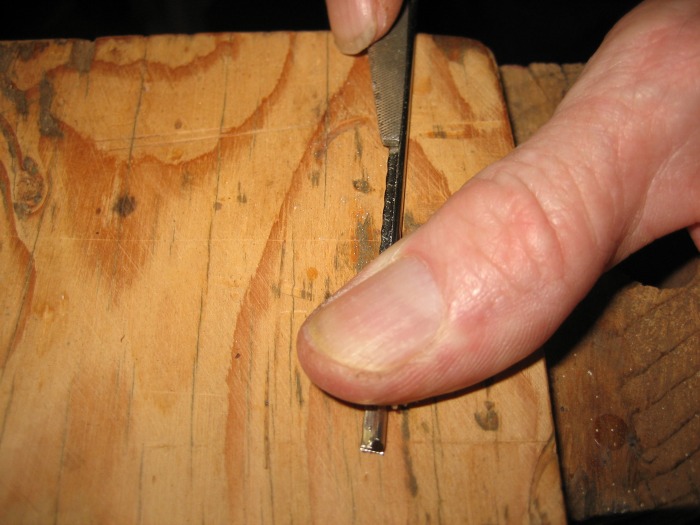
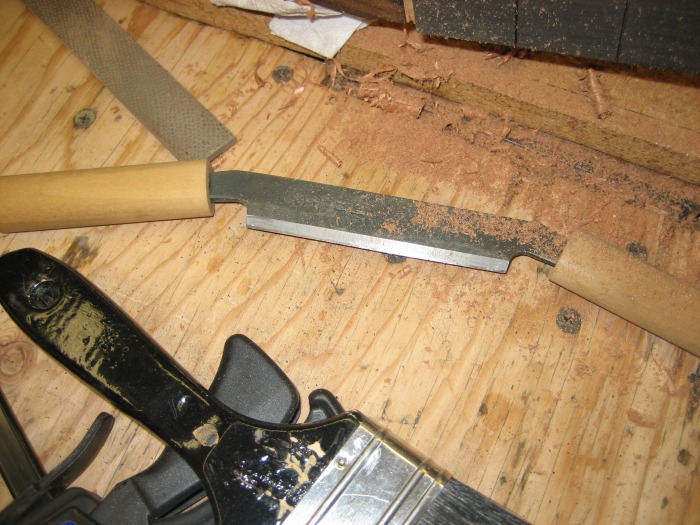
Second, we take the back side of a knife and run it through each fret slot twice. This is Hannabach's method. Other builders use a small triangle file. I tried both methods and I definitely like the knife method better. This opens up the slot to make the frets go in easier and if you ever need to replace the frets, they will come out easier as well (less chance of mucking up the fret board). Start at one end and pull the knife toward you but DON'T pull it all the way through the end of the slot. If you do, you run the risk of chipping out the edge of the fret board...and yeah, that would be bad!
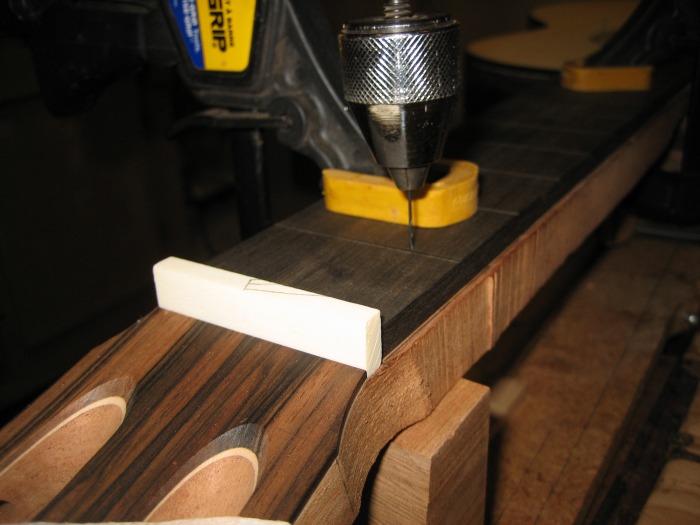
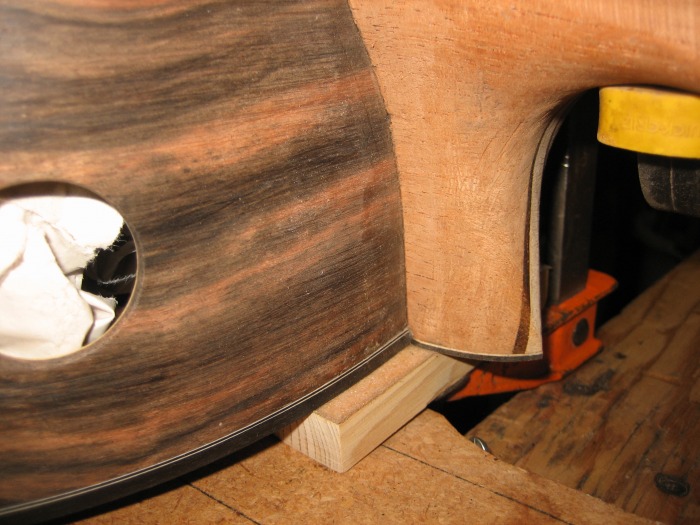
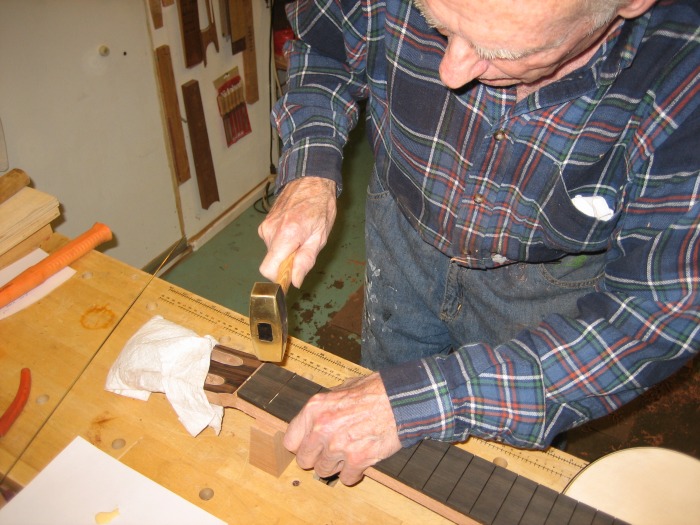
With the slots opened up, we take a few minutes to trim the neck to almost meet the fret board. We used a combination of a spoke shave, planer, and rasps. Take care not to hit the edge of the fret board.


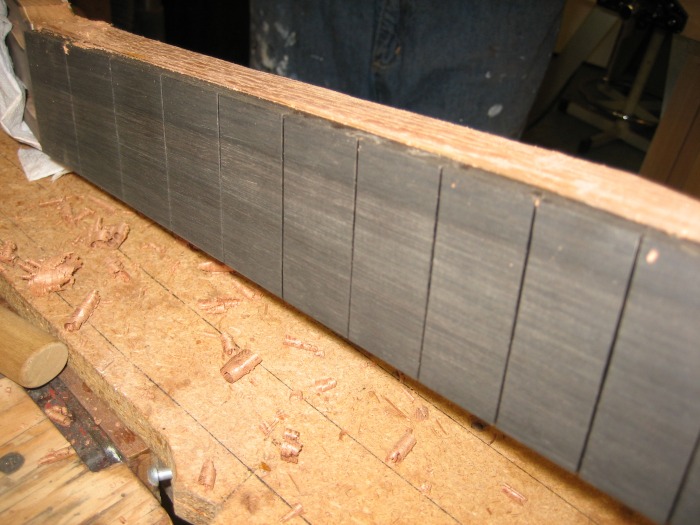

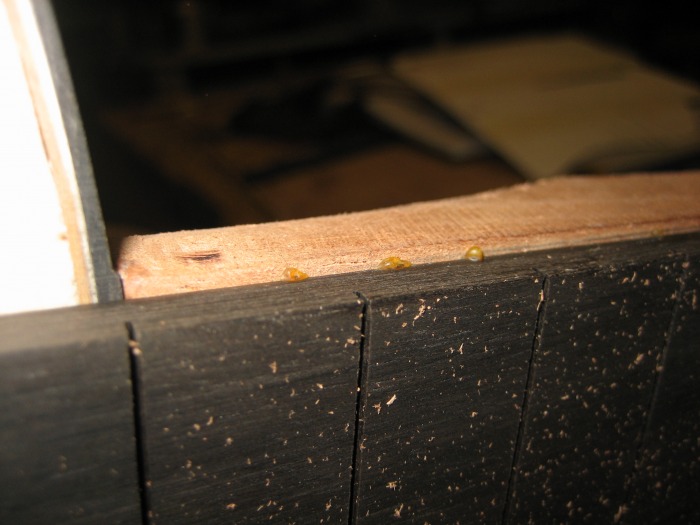
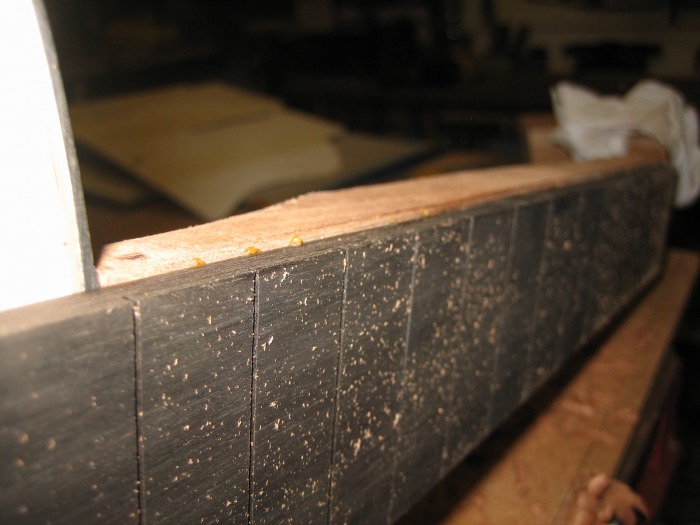
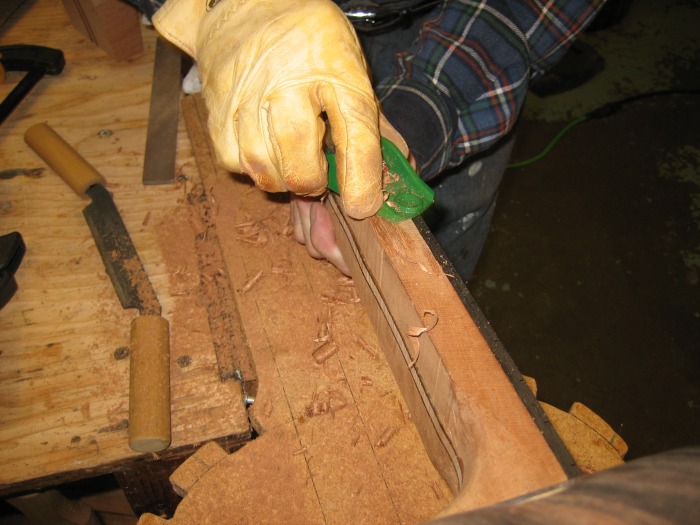


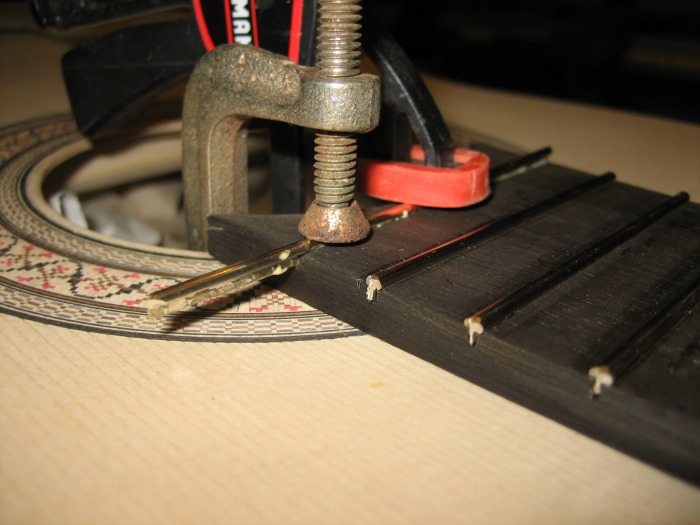
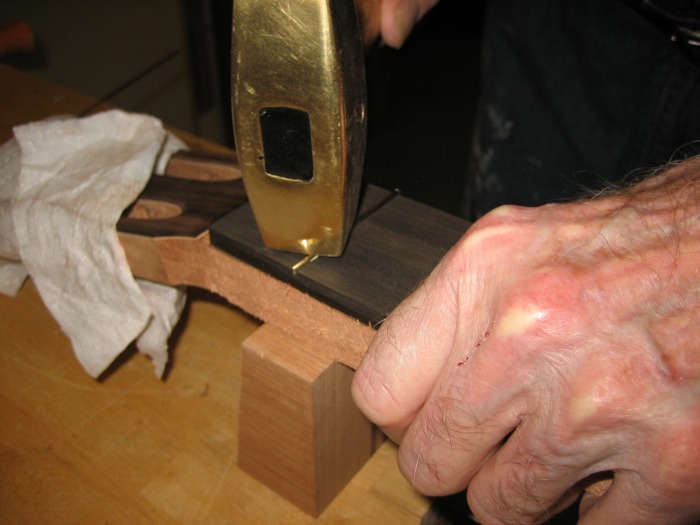
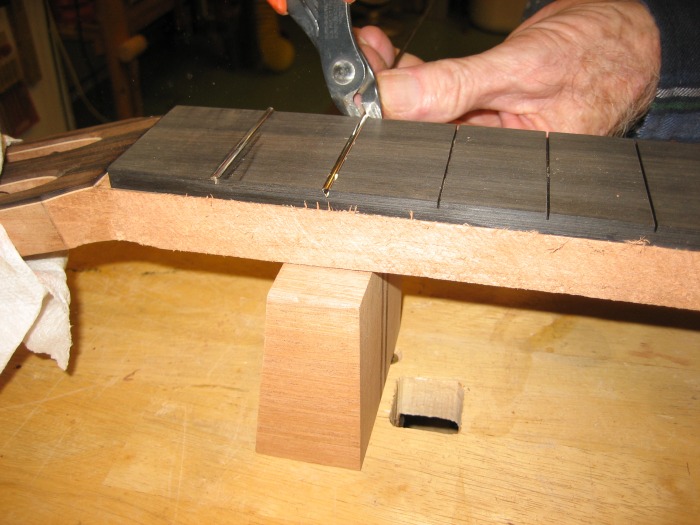
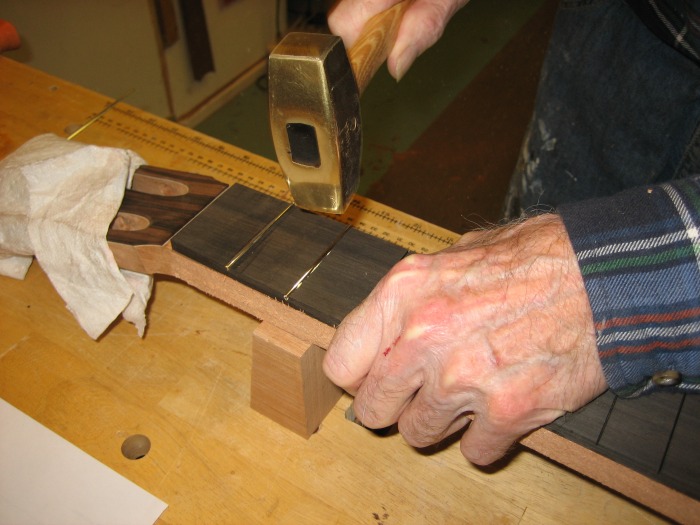
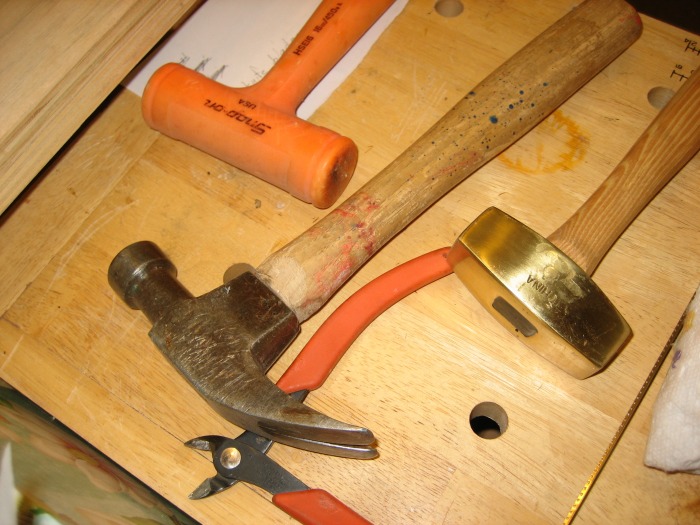
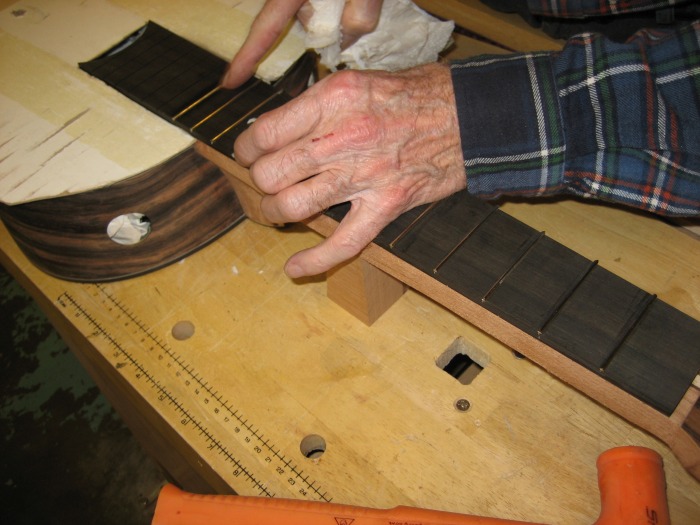
Now we set the frets. Add a small bead of glue to the tang of the fret and pound it in with a plastic dead-blow hammer. Make sure the tang is vertical and in the slot and pound it in and that you have the neck supported with a block. Leave a little bit of an edge past the fret board. Once the fret is down with the dead-blow, take some cutters and cut off the fret wire. Then using a brass hammer, we pound down the fret further. Pounding from top to bottom, then from center to edges. And lastly, using a steel hammer (claw hammer in our case) give the edges a little tap to seat them down. Wipe away the glue quickly with a wet rag or paper towel and check with your fingernail to make sure the fret wire is fully seated.
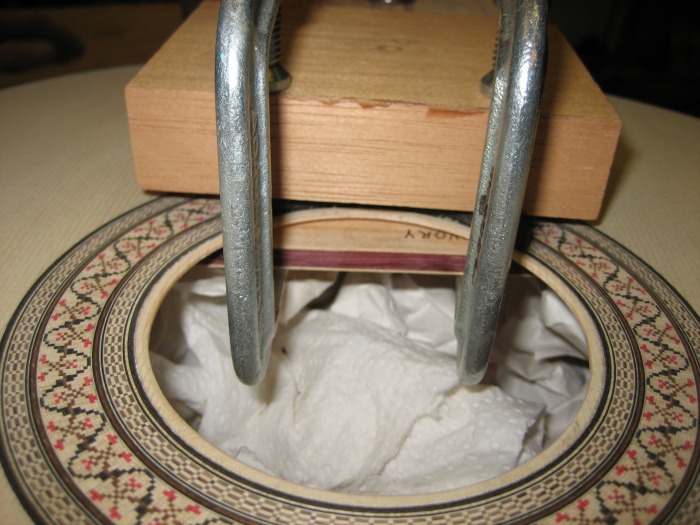
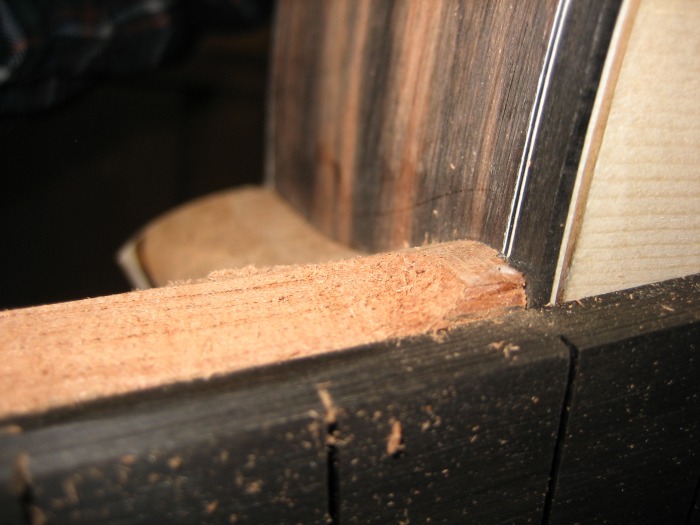
When you reach about the 15th fret, you'll need to use a small hand-held anvil through the sound hole under the top to support the top as you pound down the last few frets. Stop after all but the bottom fret is in.


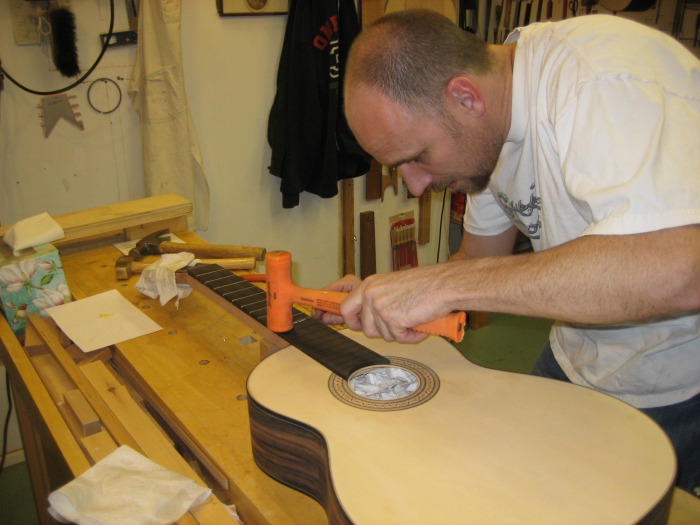
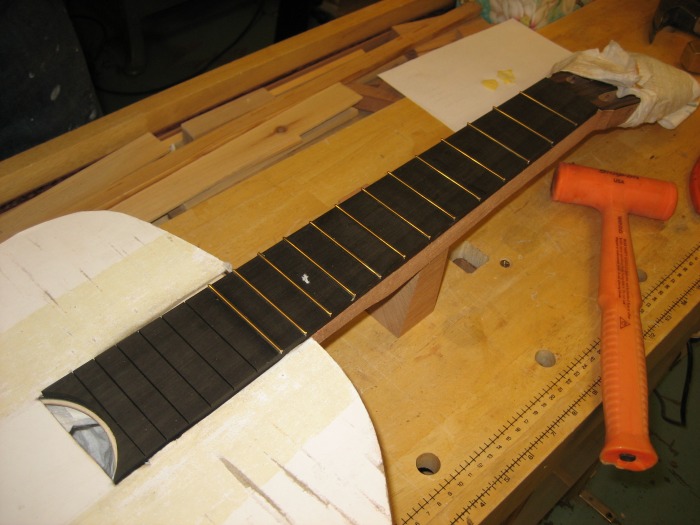

For the last fret (#19 in our case), we'll do it just a bit differently. Instead of pounding it in, we'll press it in. To help the fret press in easier, we first file the barbs down on both sides of the tang. Then we use some small clamps to press it in. Start the clamping from the center and work your way out to the edges. Once it's down, let it glue for 15 mins and you're good to go. And that's it for this work day.