< Work Day 20 Work Day 22>
Work Day # 21 - January 20, 2009 (3 hrs)
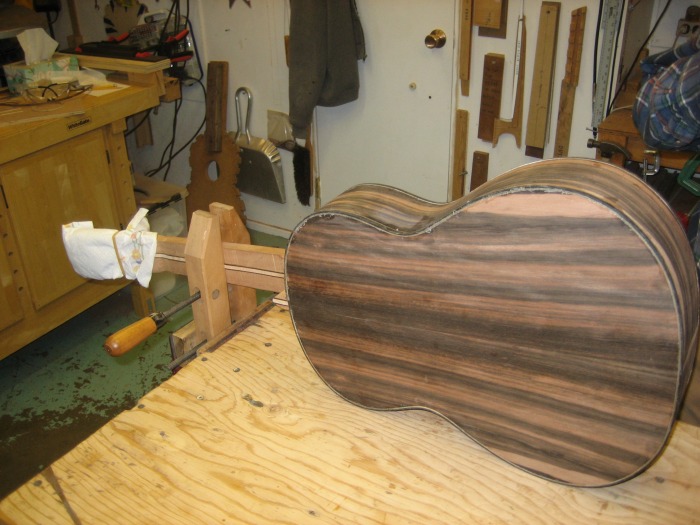
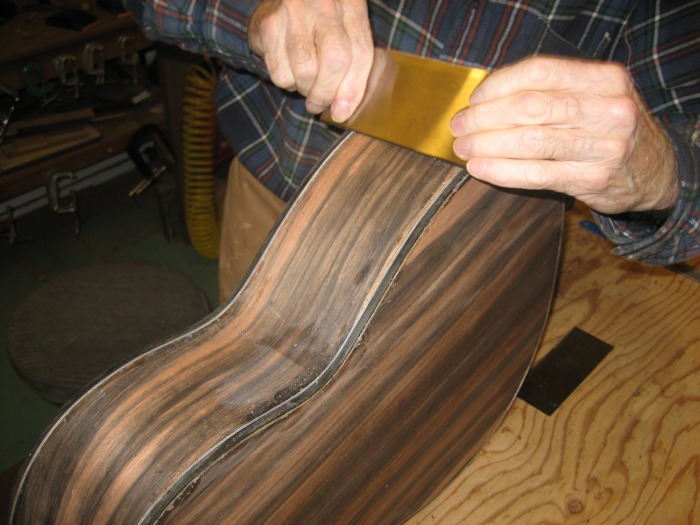
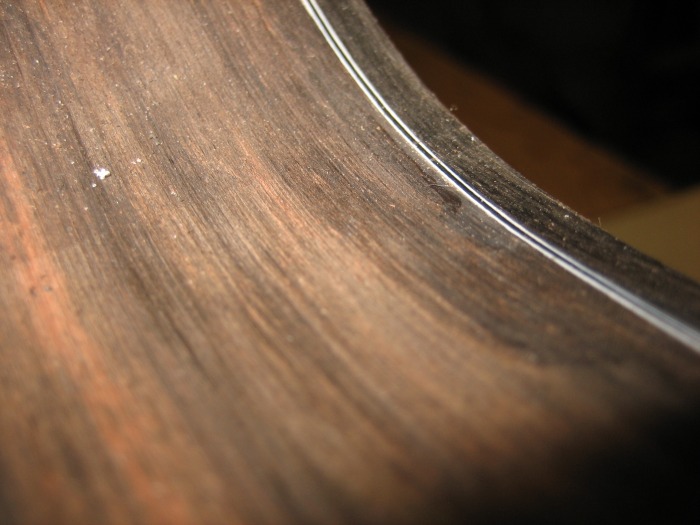
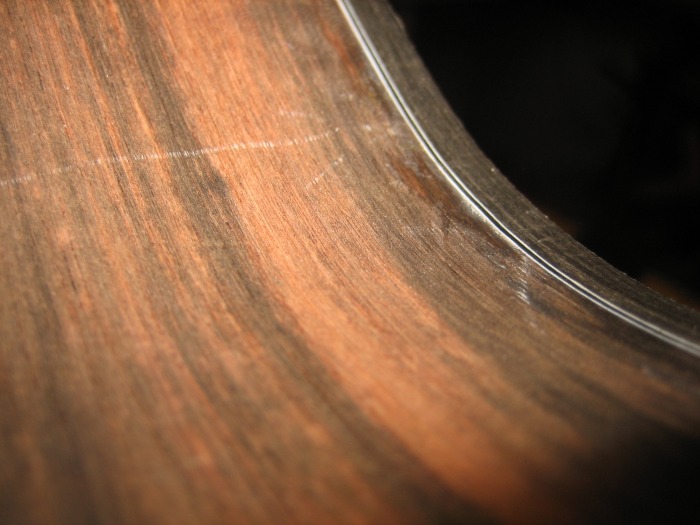
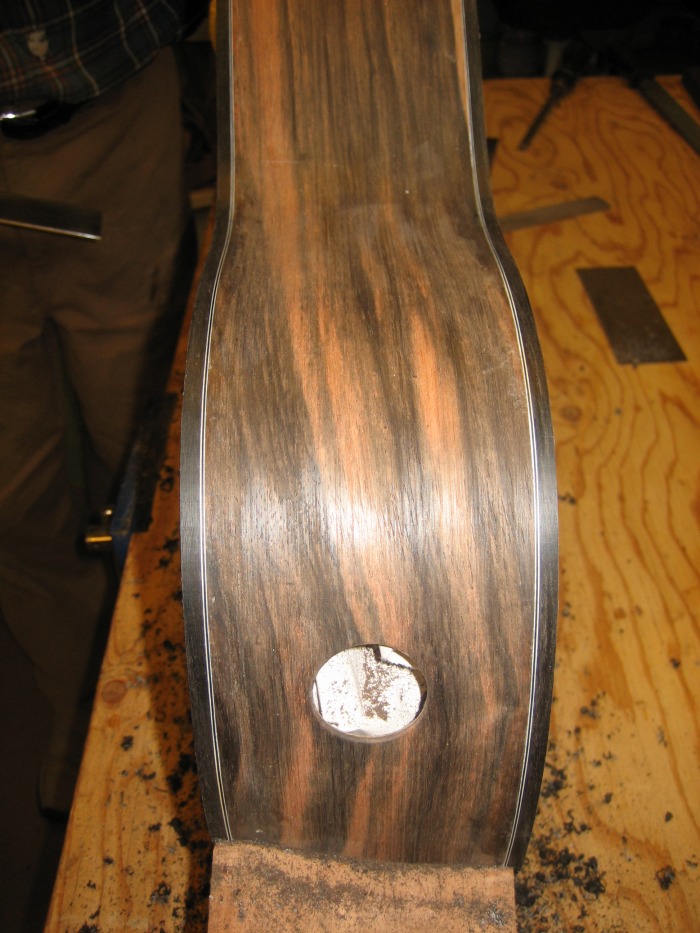
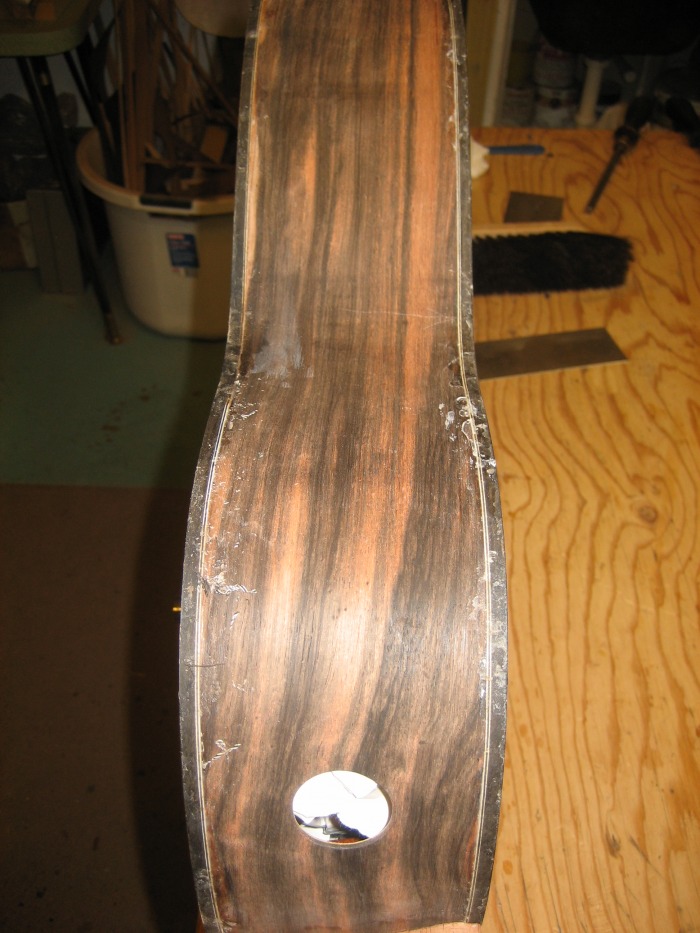
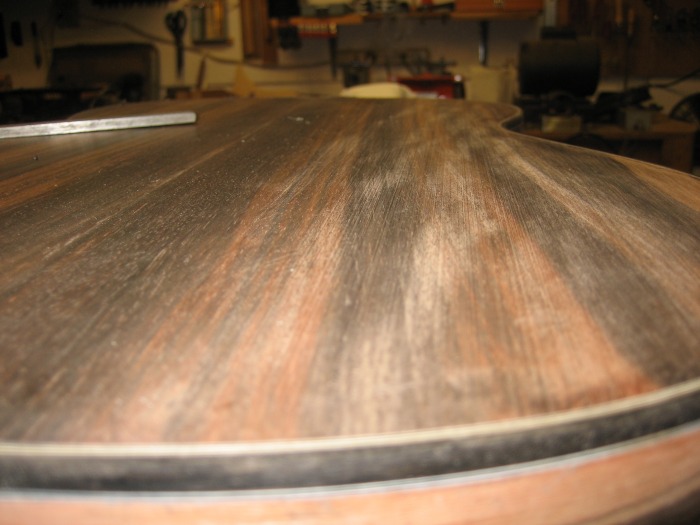
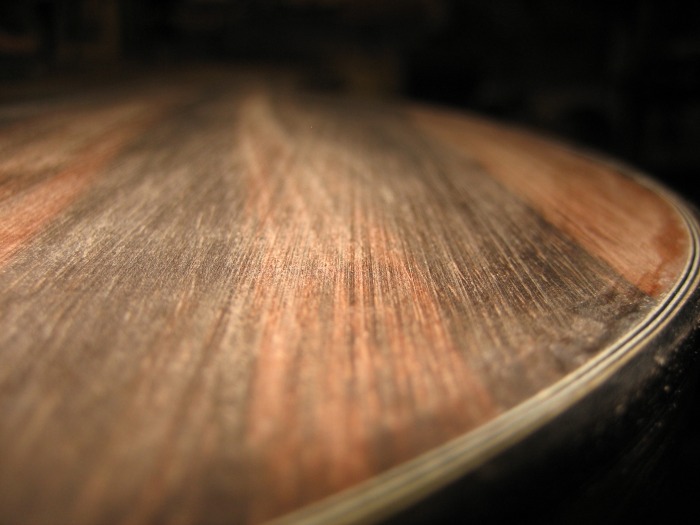
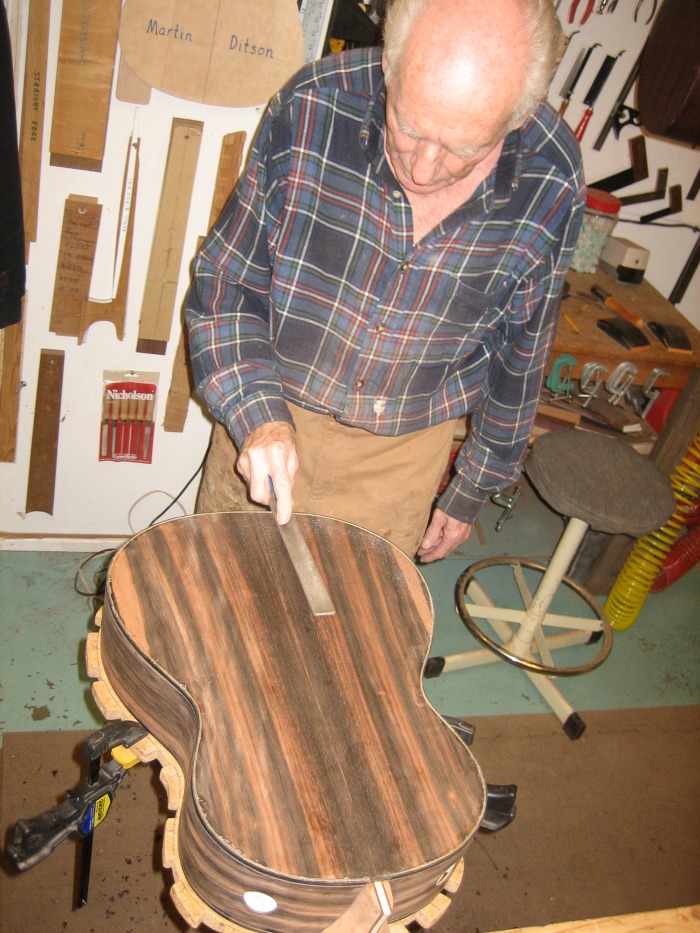
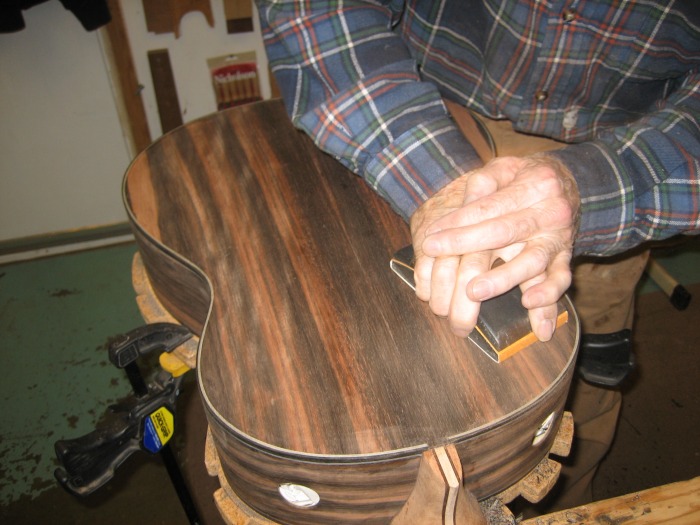
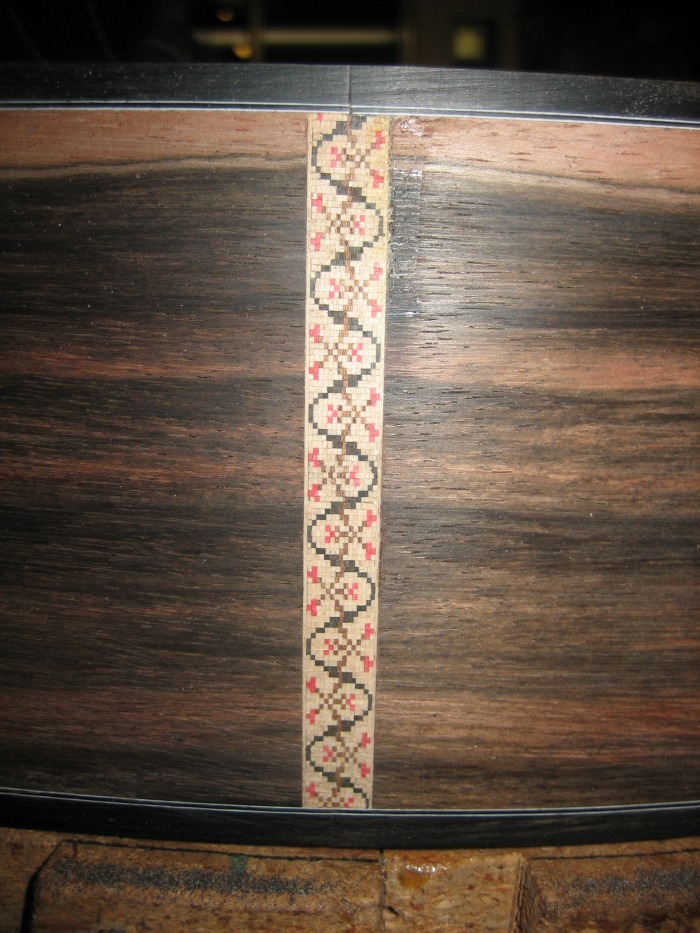
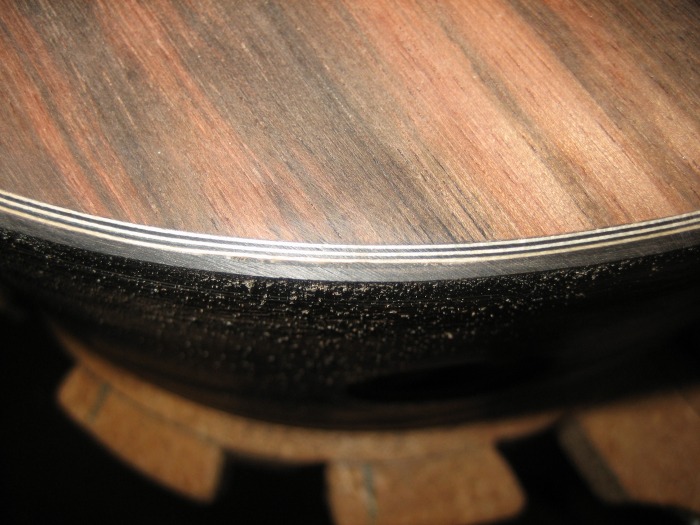
With all the bindings glued, we started with the task of trimming the edges of the bindings flush with the sides, back and top. We used a combination of files (#5 rasp) and cabinet scrapers. Using a #5 rasp takes a little longer than a #3 or #4, but in case you hit the side with the file, you won't leave marks that sometimes won't come out.
I used the scraper and found that to work quite well. Scrapers make me a bit nervous but once you get the feel for how they work, they are great.
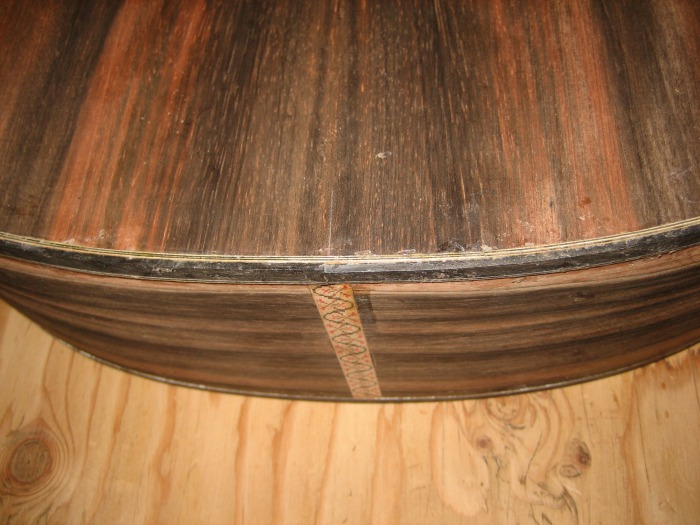

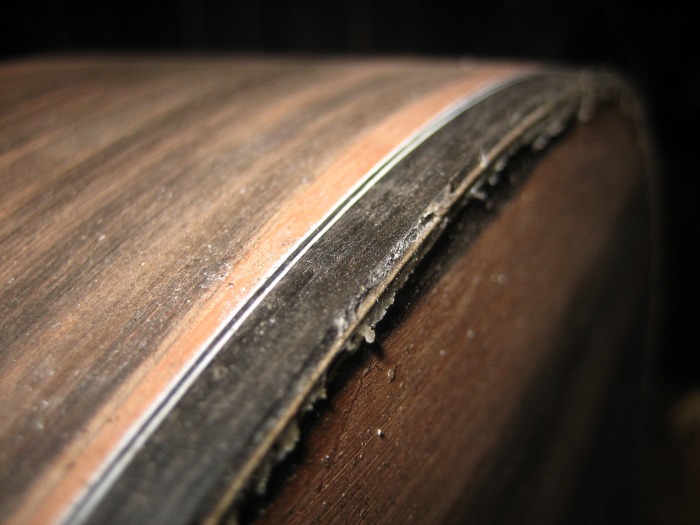


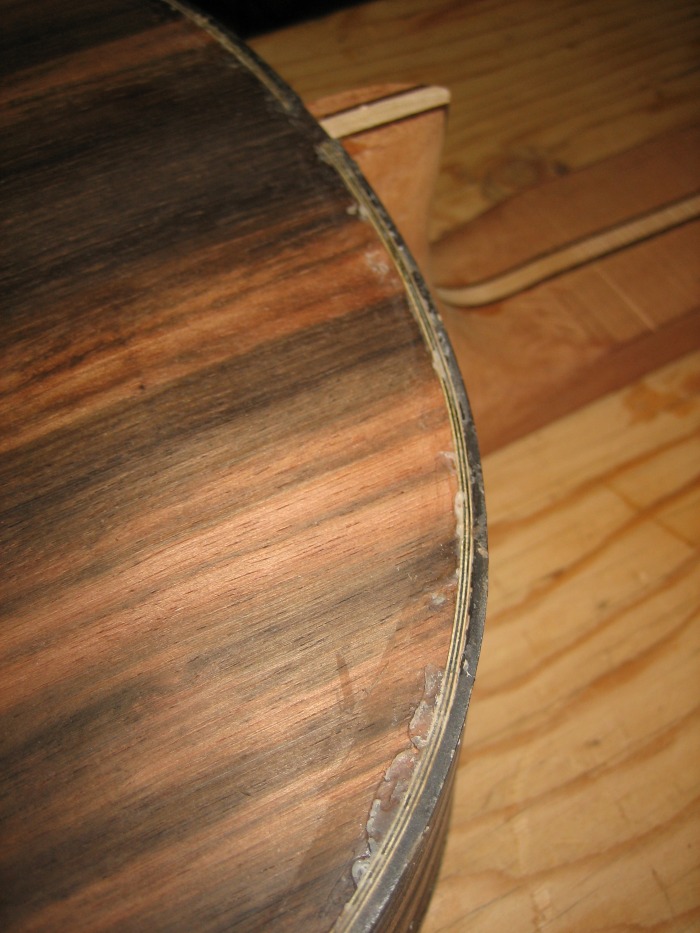

Here's a look at the butt joint after the binding has been smoothed...looks pretty good!
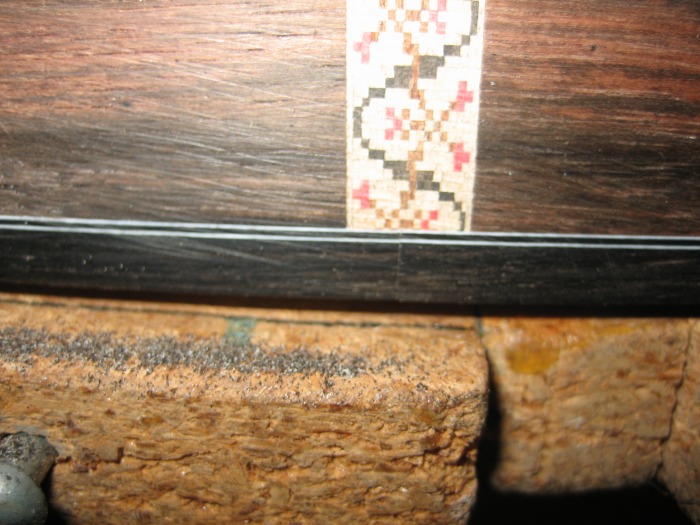
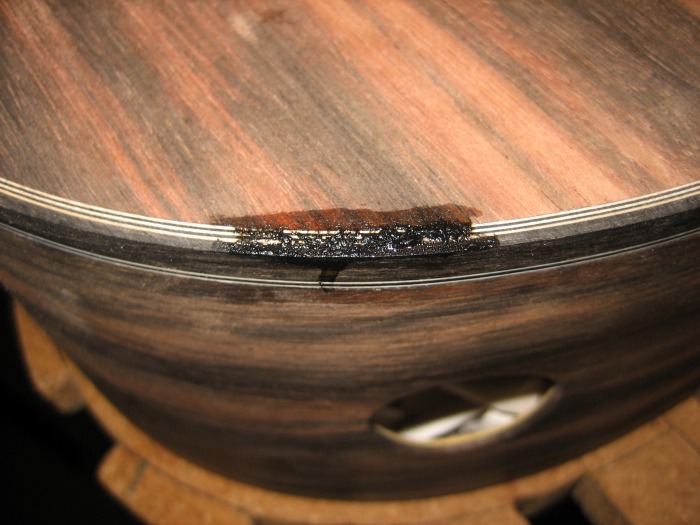
One tiny section of the binding, for some reason, didn't glue tightly against the body...so we sanded an extra piece of the binding and took the dust, mixed it with super-glue and filled the little gap.


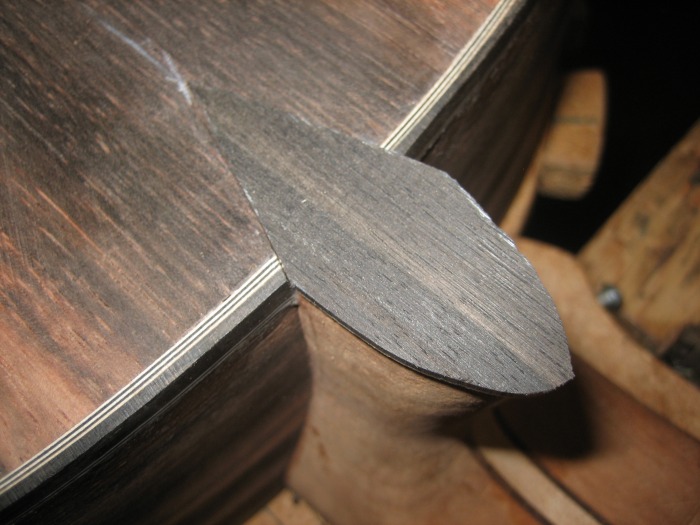
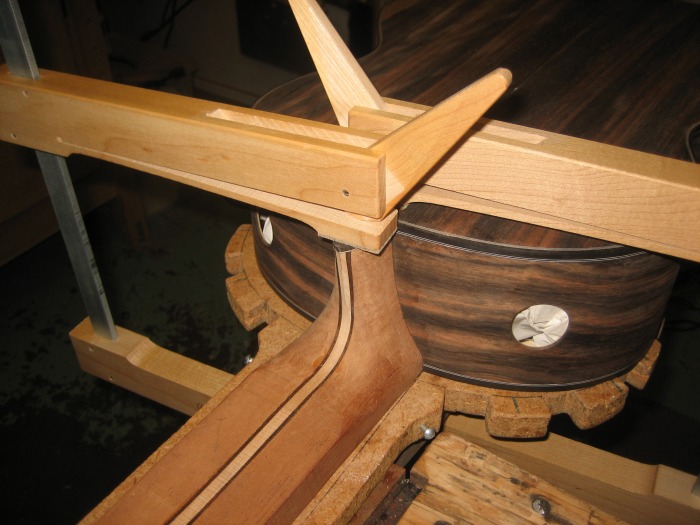
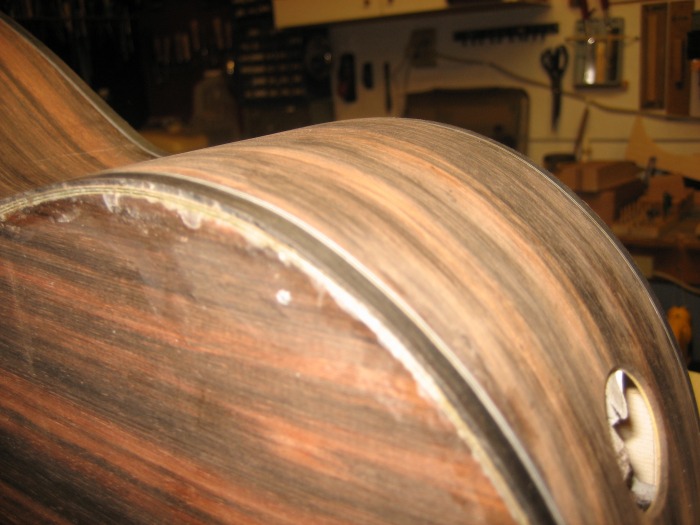
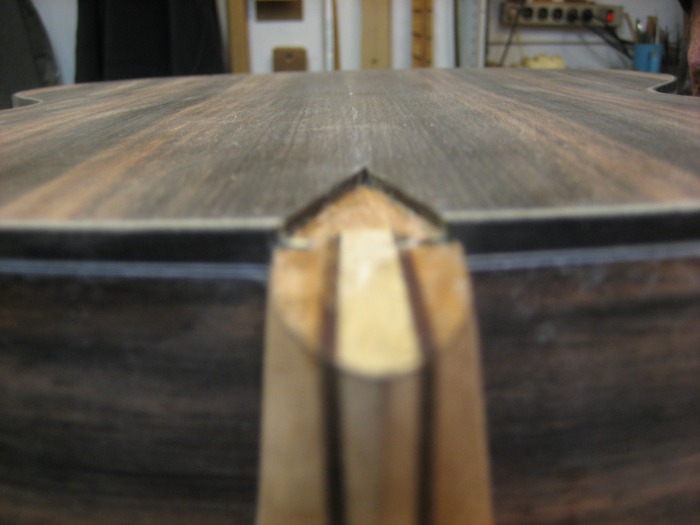
After smoothing the binding on the sides and back, we moved to the heel cap. The wood usually used for the heel cap matches the finger board. We're using ebony on my finger board, and so we need to fit a piece of ebony onto the heel cap.
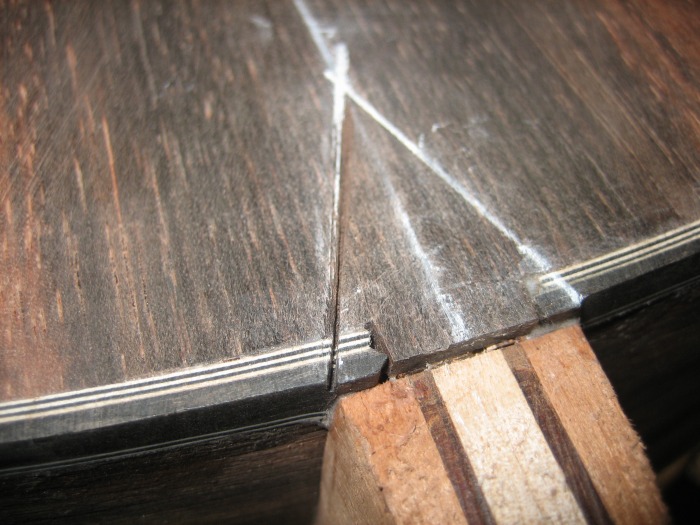
We start by marking on the back what we want it to look like. Some builders just put a cap on the heel itself...others bring the piece into the back...like we are doing. This is something Hannabach and my dad do a lot.
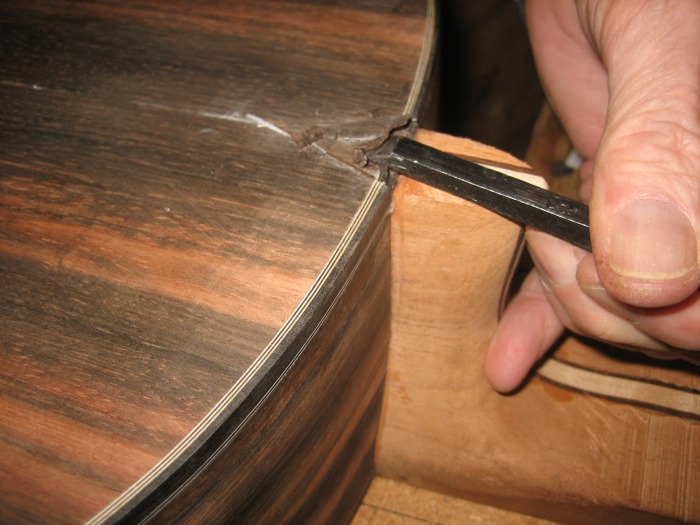
Once it's marked, we start with a saw cut. But don't take the cut all the way to the "V"...it's too easy to mess it up with the saw. After the cuts on both sides, we finish the cut with a chisel.
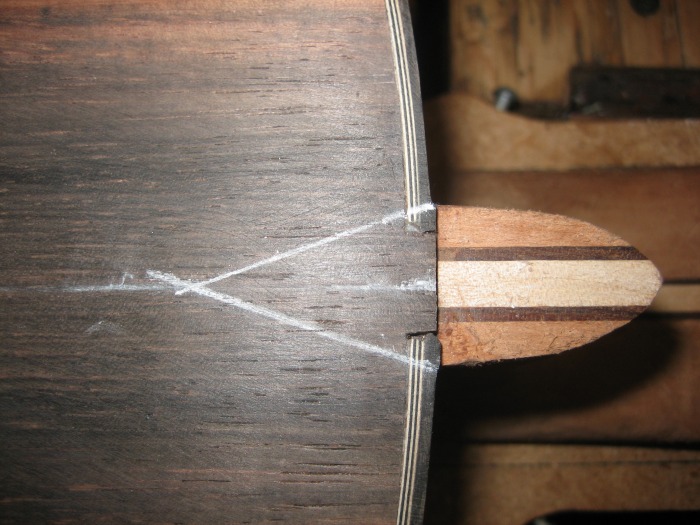

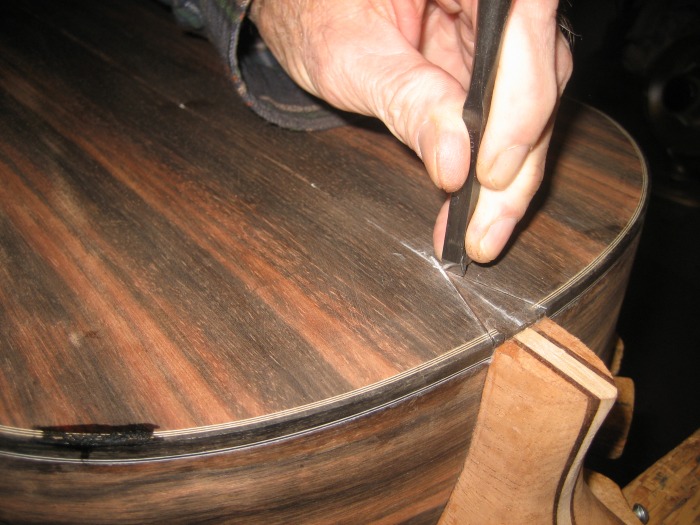
Then we slowly and carefully chisel out the "V". Take small bites with the chisel to see which way the grain is going so you don't end up chipping away a section of the top. We'll take out the full thickness of the back with chisels, then finish smoothing with a pointed file.


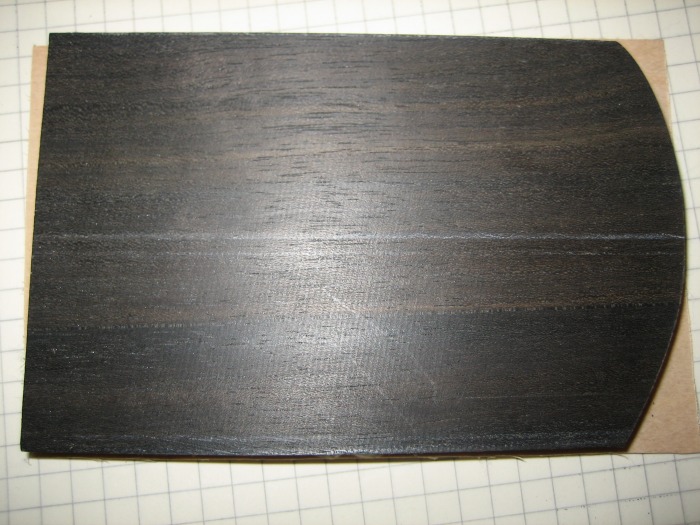
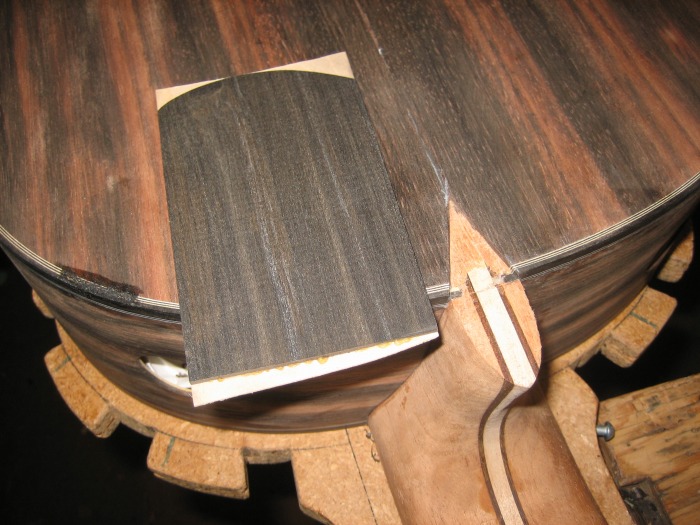
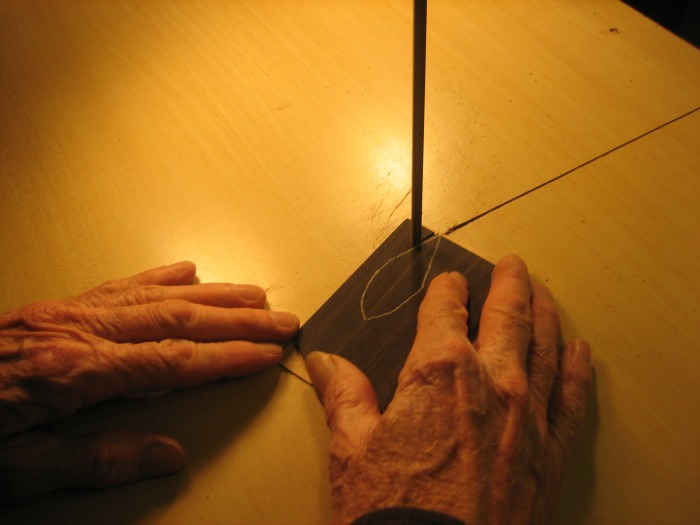
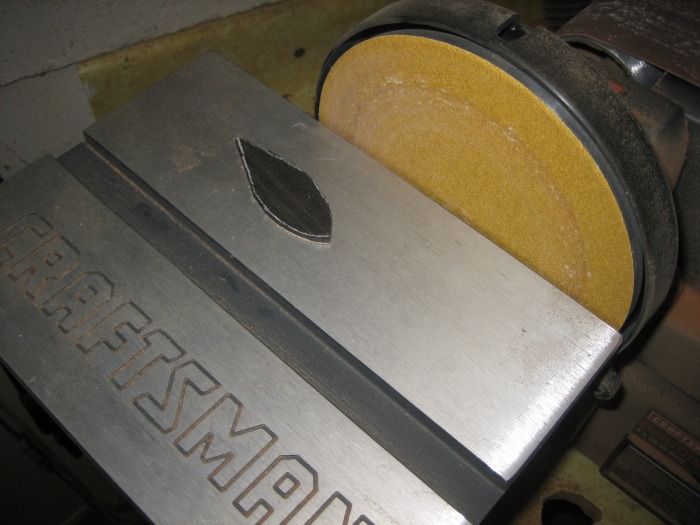
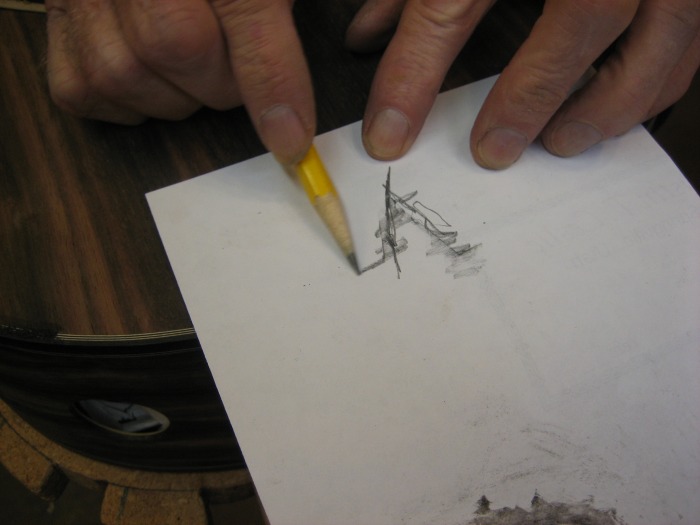
Next we take a piece of paper and make a template of the heel cap...dad set the paper over the "V" and did basically a rubbing of the "V" then cut it out. We used that as the pattern to cut out the piece of ebony.
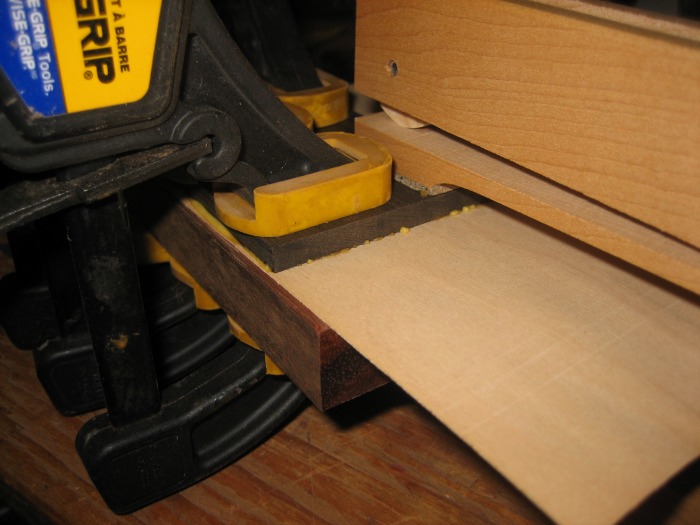
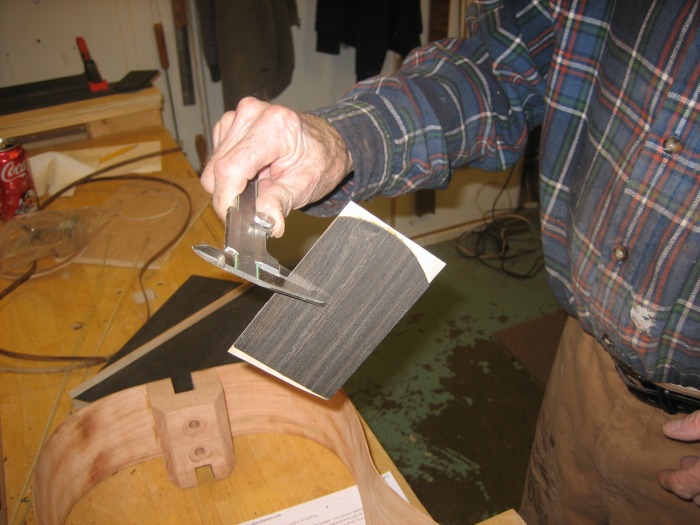
Before we cut the heel cap, we prepared the ebony. We took a thin veneer of white maple and glued it to the ebony. Then we needed to thin it to about 3mm.
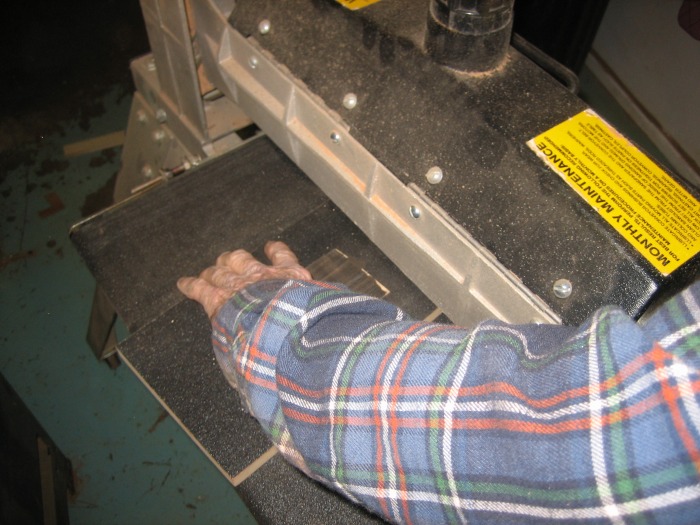
To thin it we cut a slice off on the bandsaw then took the rest down w/ the drum sander. Once we were at the right thickness, we traced the pattern on the ebony and cut it with the band saw.
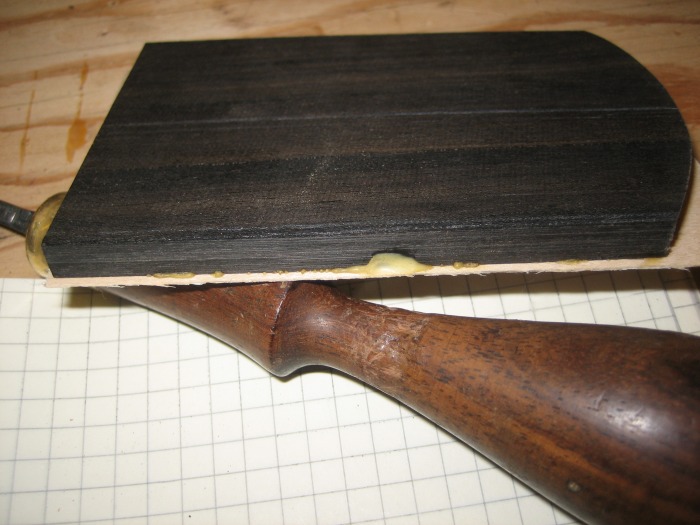
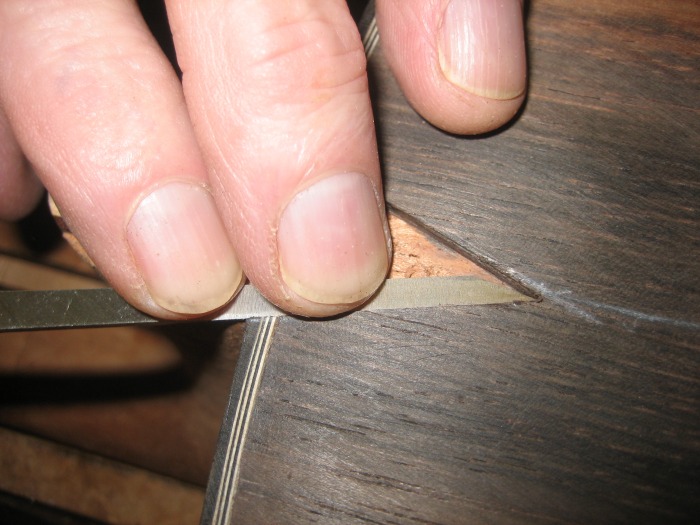
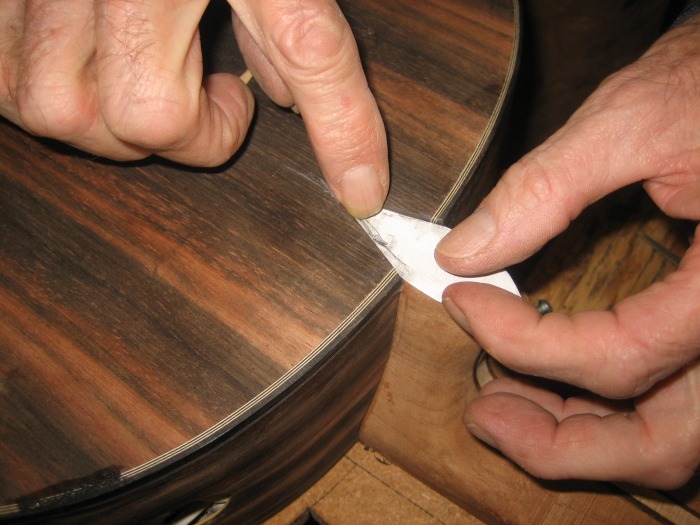
Fitting the piece, we used the disc sander to straighten the sides and get the right angle. We did a bunch of test fitting and sanding and test fitting, etc. until the cap had a nice fit in the cut out.
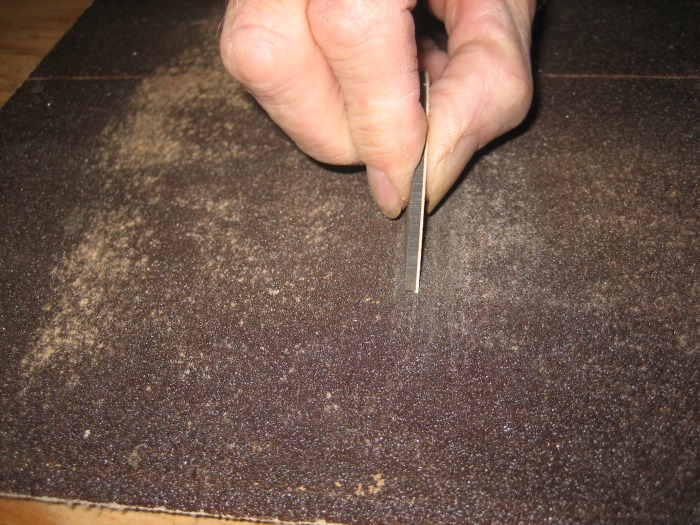
With the fit where we wanted it, we sanded the inside edges at an angle (like we did w/ the edges of the rosette) to make the fit even tighter.
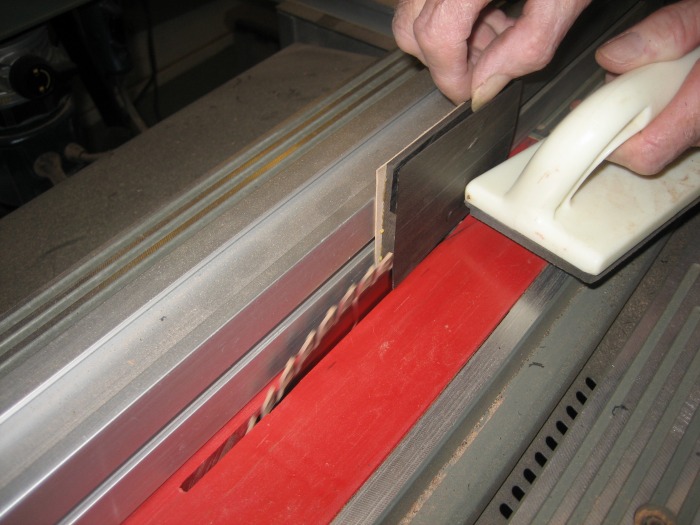
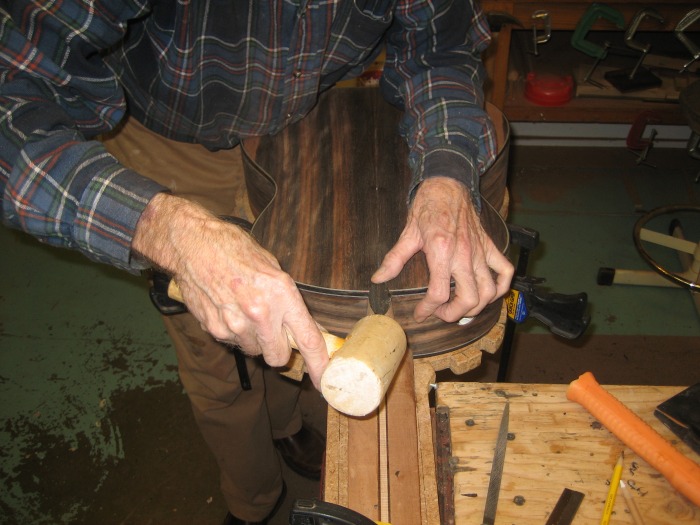
Just before gluing, we trimmed the heel side of the cap so the hand work to match it to the heel will be minimized. So now put the glue on, tap it in place and set a couple of clamps. This only needs to be clamped for 15 - 20 mins.