< Work Day 19 Work Day 21>
Work Day # 20 - January 17, 2009 (4 hrs)
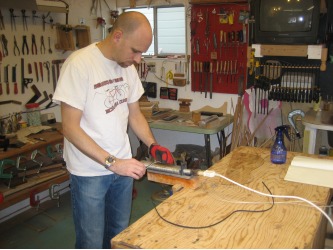
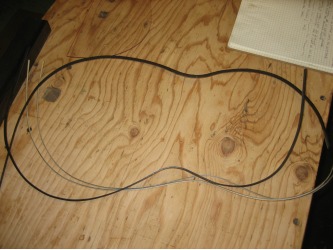
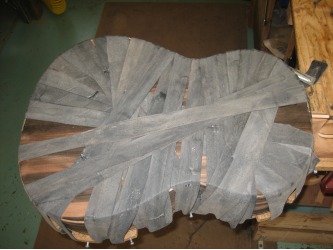
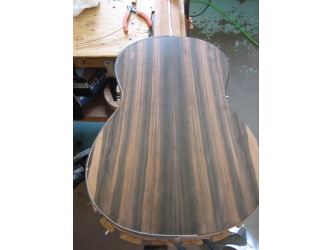
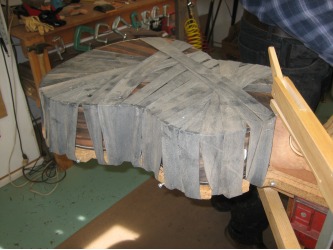
Today we worked on the binding and purfling for the back. We started by bending both bindings on the iron. Make sure you bend both a left and a right side. Triple check the binding to make sure you are bending correctly.
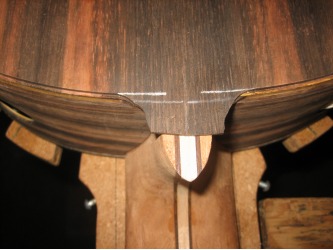
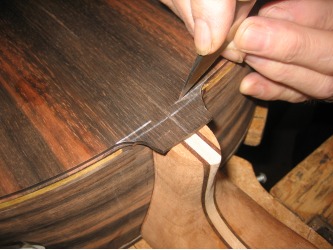
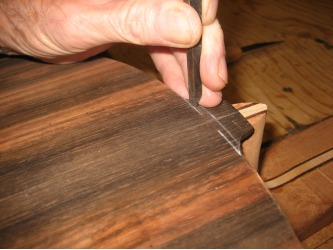
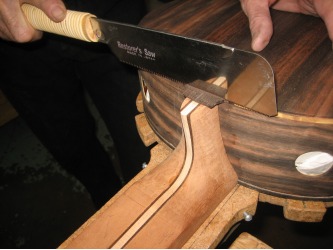
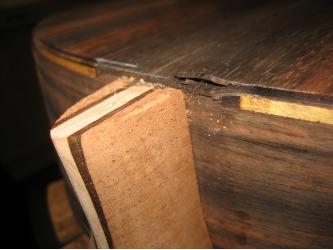
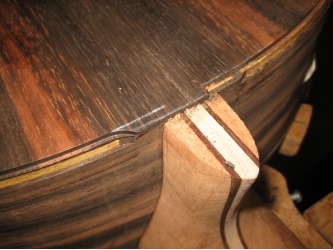
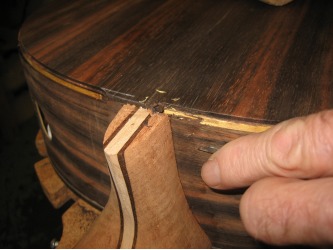
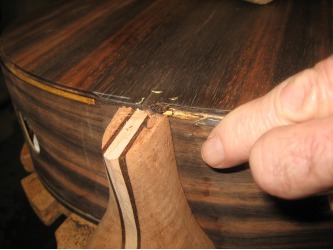
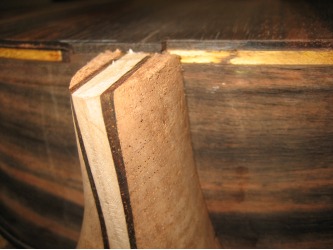
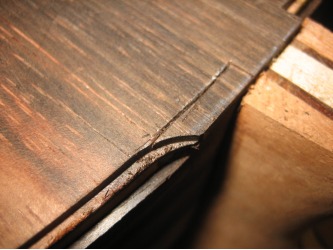
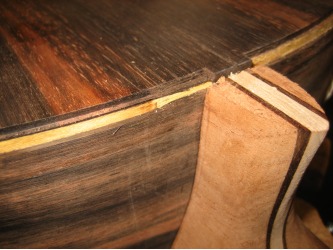
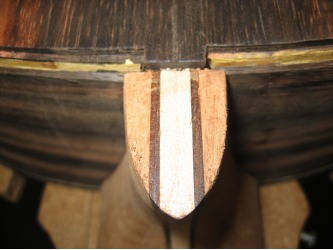
After that, we chiseled out the channel at the heel. This is takes more time than the top simply because of the hardness of the wood. But the method is the same. Mark where the channels will go with a pencil, start the cut with a knife and finish the cuts with a chisel. Take out a little bit of material at a time...don't rush it. Because the wood is so hard, it can be easy to break out a section of the back...which, obviously, you don't want to do!
Clean up each groove with a file if necessary. Test fit the binding to make sure the channel is wide and deep enough.
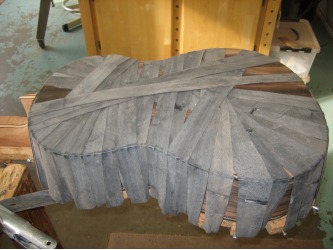
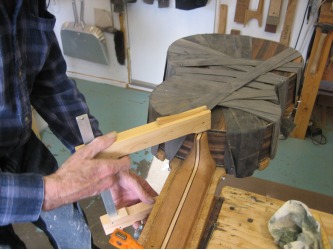
Now we're ready to glue. We only do one side at a time and this time, we are going to start at the bottom of the guitar and work our way forward. We are trying it this way to make the butt joint cut of the binding easier.
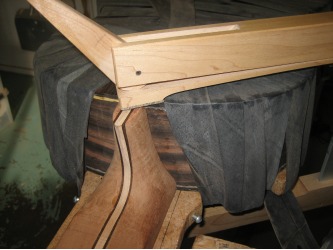
First we mark the center of the binding at the waist of the guitar and work our way around to the bottom and mark for our cut. Making the cut before the binding is partially glued to the guitar is a lot easier. And it's easier to ensure a square cut. We'll trim the top ends of the binding and purfling just before gluing those last few inches.
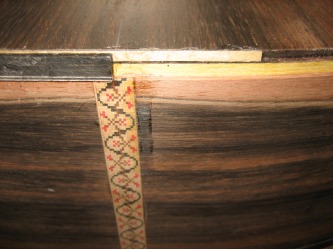
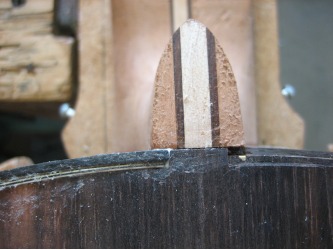
We'll butt the ends of the binding together right at the butt joint, but the purfling we'll butt together a little ways passed the bottom middle of the guitar. This will make the joint less noticable.
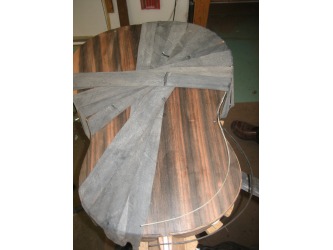
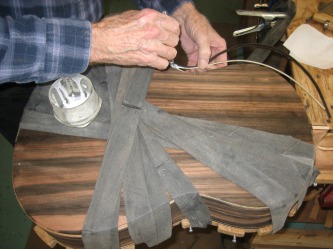
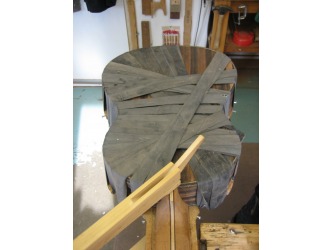
The first side glued nicely...so after letting the glue set up for an hour, we moved to the other side and did the same thing. Make sure on the second binding, that the edge is cut to match the first binding and when gluing you get the bindings to meet as tightly as possible while stretching the rubber band over the joint. Once the rubber band is over the joint, you can't see if it's slipped or not. So again, take your time.
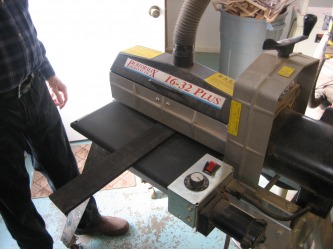
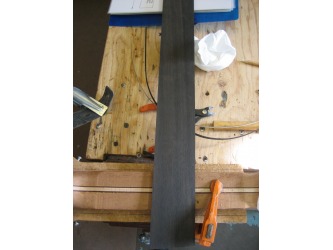
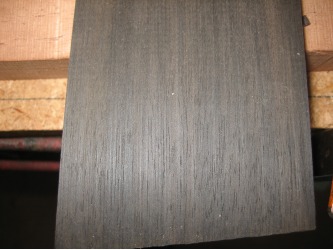
While waiting for the first binding/purfling set to dry, we started working on the fret board. We are using a piece of ebony and the first step is to thickness it.
We brought it down from 10mm to about 7.1mm. We'll end up with a thickness of 7mm when it's all done.
The fret board is another part of the guitar that can be worked in several different ways. In the books we've looked at, fret board thickness ranges from 6.5mm to about 8mm. Some builders also taper it from the top of the body to the sound hole. Others also taper the bass side to give the larger bass strings more room to move.
