< Work Day 17 Work Day 19>
Work Day # 18 - January 10, 2009 (4 hrs)
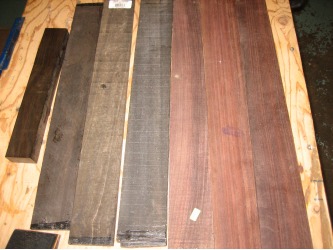
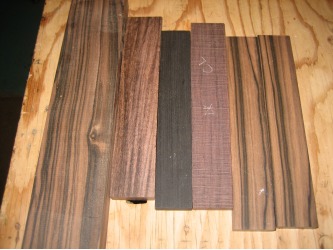
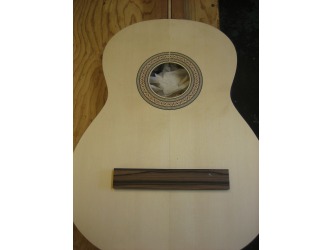
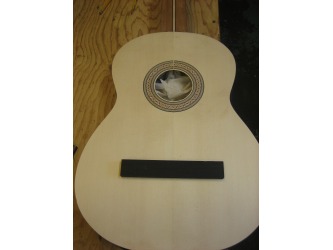
Before we jumped into actual work...we made the final decisions concerning wood choices. We still needed to pick the fret board, bridge, binding and purfling. We could choose between, black ebony, rosewood, and macassar ebony. We decided on ebony for the fret board, but I'm still undecided on the bridge. I'm trying to decide between an all black ebony and macassar ebony...so we'll see.
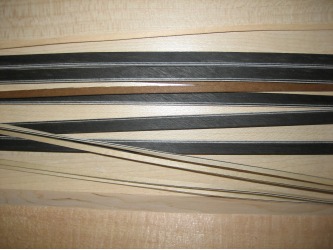
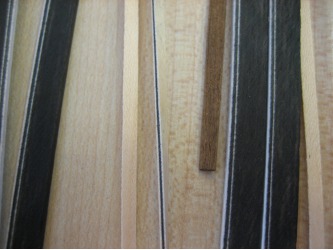
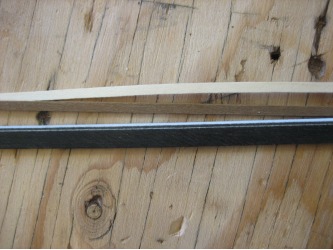
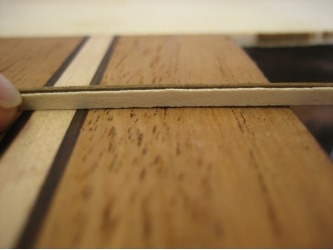
For the binding we are using a black with some white in it. The purfling for the top will be a brown and white sandwiched against the black trim.
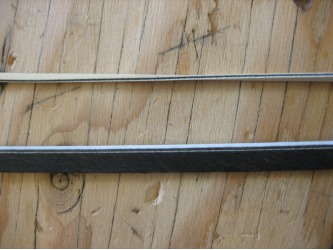
The purfling on the bottom will be a black/white/black/white sandwich which will go against the binding.
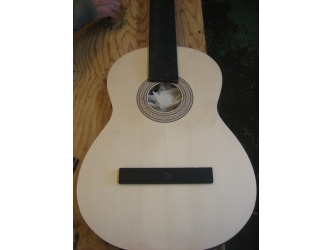
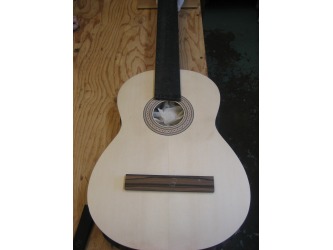
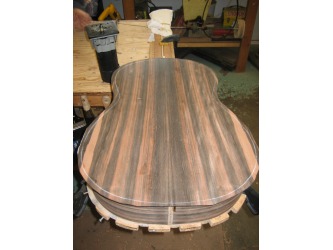
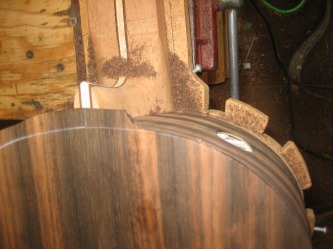
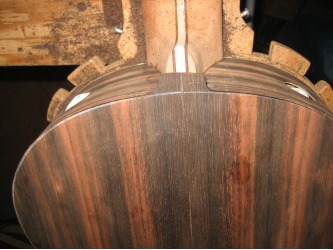
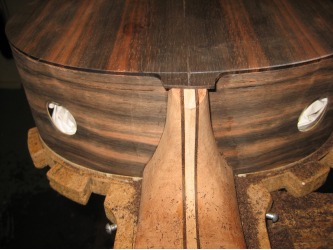
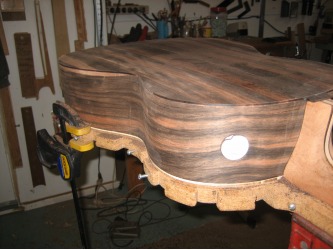
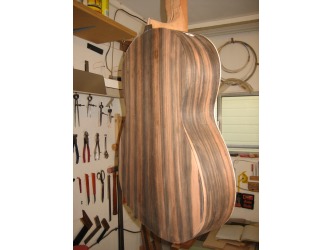
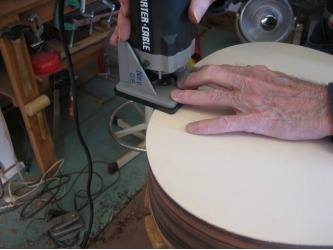
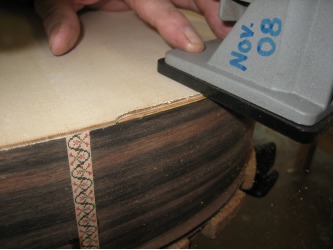
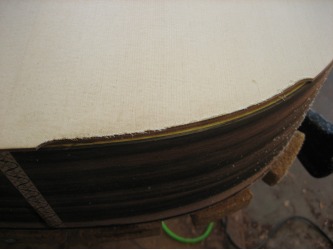
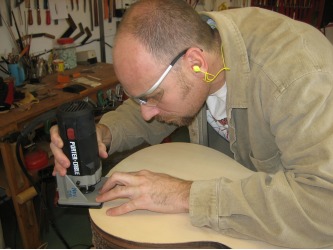
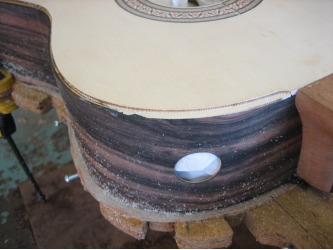
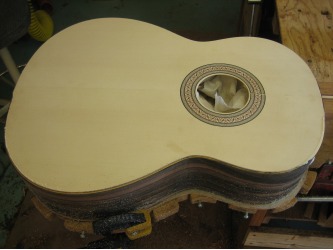
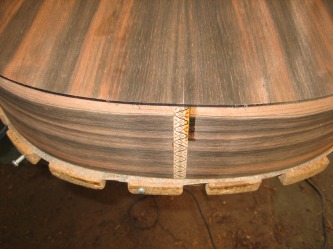
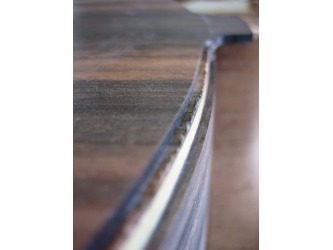
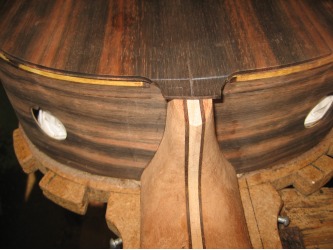
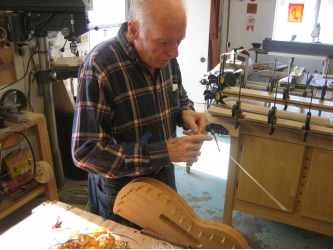
Now we can move on to trimming the edge of the back. We trim the back edge with a router and a flush cut bit. We take our time and remove a little bit at a time. And remember to start the routing at the center of the lower bout and work your way to the bottom. Then back to the center of the lower bout and work toward the center of the waist. Then move to the center of the upper bout and work toward the center of the waist...meeting your previous cut. Then finish the side starting from the center of the upper bout and working toward the neck. Don't get too close to the neck...you don't want to risk tagging it w/ the router bit.
With the router still out, we started on the cuts for the binding and purfling.
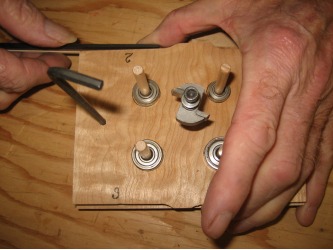
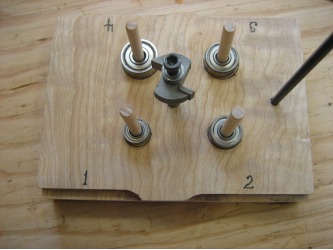
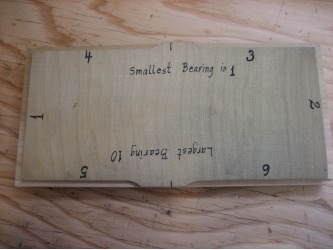
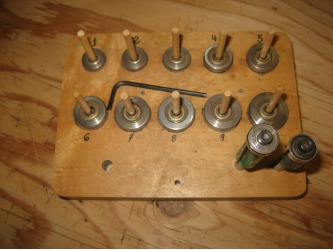
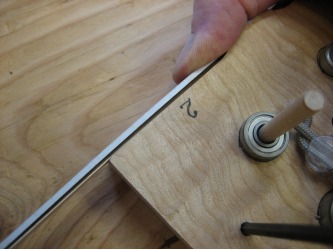
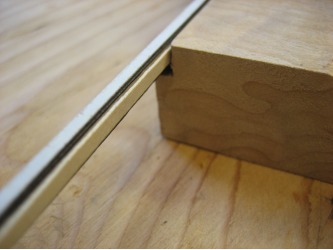
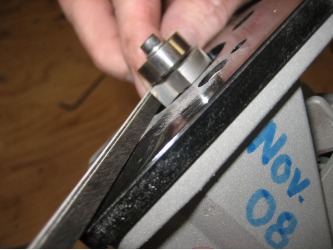
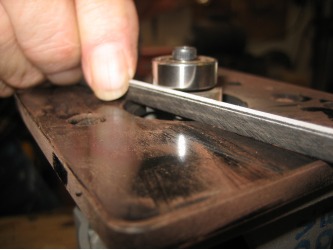
Dad has a couple of sets of rabbet bits that allow for different depth cuts. He has block built that hold the bearings and have a sample cut for each depth in the block...so we started by taking the binding and purfling for the top and matching it's width with the bearing that will give us the correct depth.
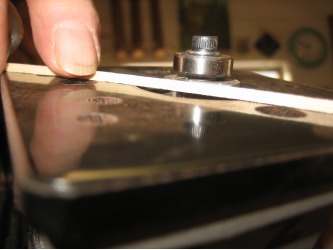
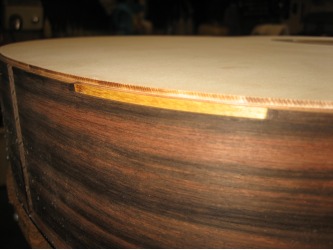
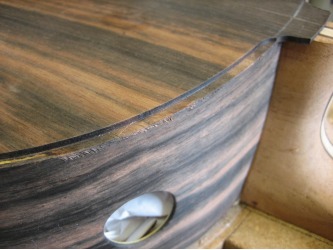
The cuts for the binding and purfling are done in two steps. The first cut will be the entire depth from the side into the top but only as deep (from the top down) as the shortest purfling. In our case the white purfling is slightly shorter than the brown, so we will set the vertical depth of cut the same as the height of the white purfling.
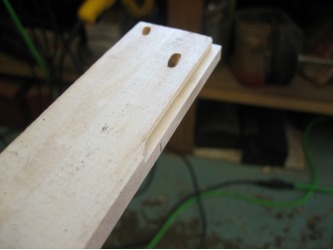
So with the horizontal depth set to the full width of both binding and purflings and the vertical depth set to the height of the white purfling, we did a test cut on a scrap before making a cut on the back. The test cut was right where we wanted it, so we did a small section on the top and checked one more time before routing the entire edge.
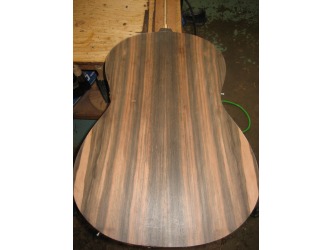
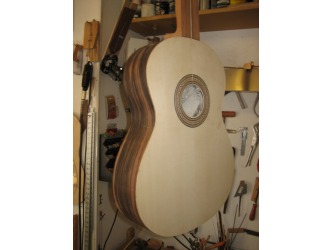
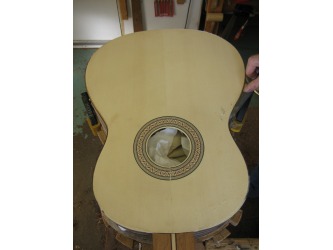
That checked out as well...so we routed the rest of the top. We use the same routing patter as trimming the back (starting at the center of the upper and lower bouts and working up and down). After having trimmed the top and back, I'm not nearly as nervous to cut the channels for the binding and purfling. When we started the guitar back in September, I was already worried about cutting these channels. But as Hannabach reminds us...langsam...or slowly. We just need to remember to take our time and watch what we are doing.
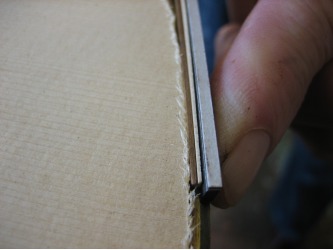
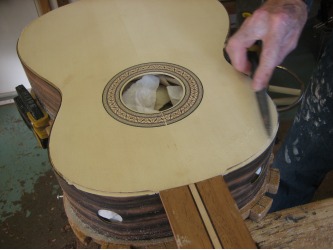
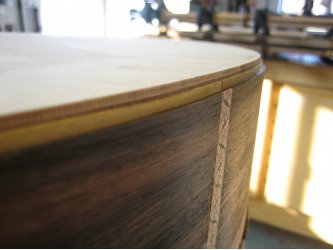
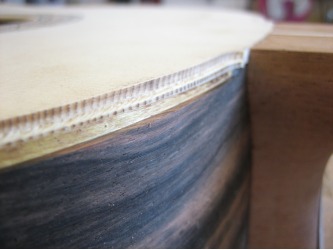
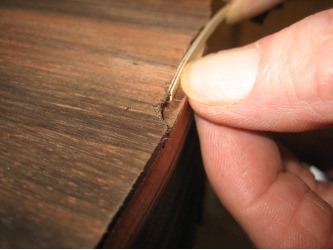
Now for the second cut. But before we start the second cut, we took a file to top...routing leaves little shavings that need to be removed before the binding and purfling are glued in.
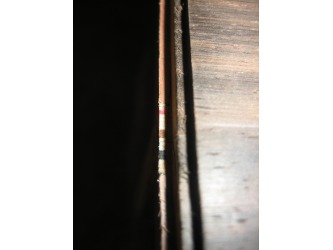
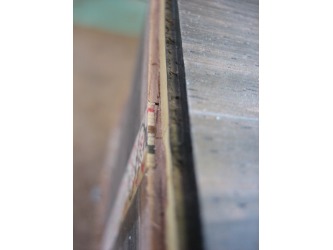
We switched the bearing to #4 to make a shallower horizontal depth cut. The second cut only needs to be as deep horizontally as the thickness of the binding alone. But, it needs to be deeper vertically than our first cut. The vertical depth will be set based on the height of the binding. Again, we made a test cut on the same scrap, then a second test cut on a small section of the top. Both test cuts were just right, so we finished routing the channel.
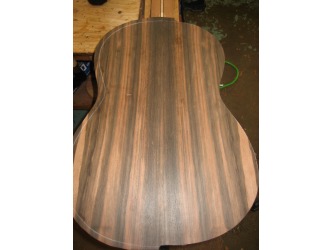
Next we flipped the guitar over and cut the channels for the binding and purfling on the back. We followed the exact same steps for the binding and purfling for the back as we did the top. Since the purfling is different for the back (color and size), we remeasured all our thicknesses to determine which bearings for the rabbet bit to use. It worked out we used the same bearings (#2 and #4) anyhow.
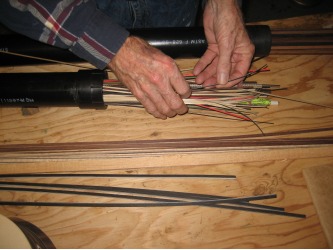
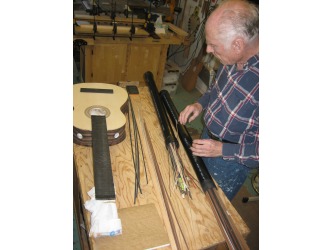
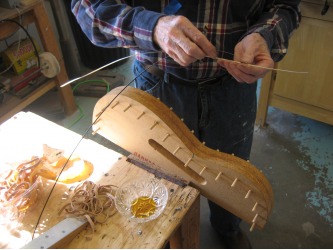
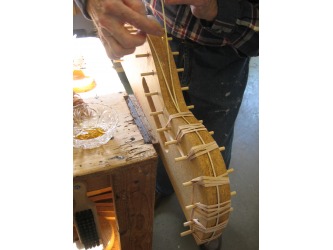
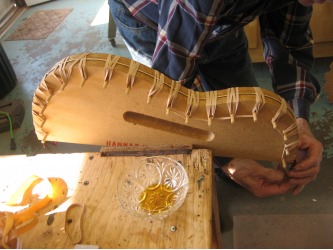
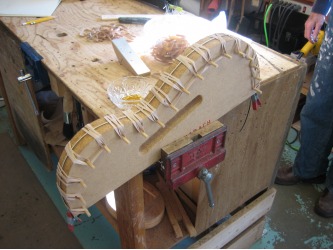
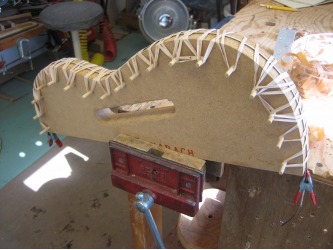
With the channels cut on the top and bottom, we finished the day by gluing together the two pieces of purfling we will use for the back. With them glued together, it will be a lot easier to glue them to the guitar with the binding...since we will be working with just two strips rather than three. Plus, we glued the purfling together on a jig which will pre-bend them for us.
We used hide glue which allows us more time to work the purfling before the glue dries. We also prepped the jig with wax so the purfling wouldn't glue itself to the jig.
