< Work Day 13 Work Day 15>
Work Day # 14 - December 17, 2008 (2 hrs)
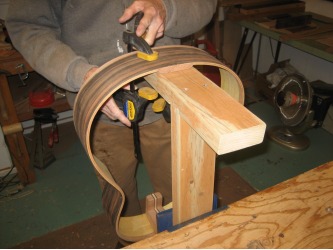
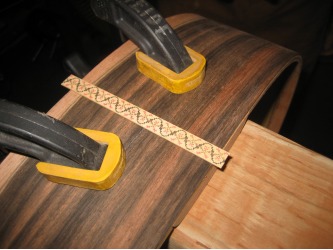
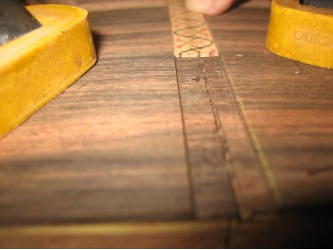
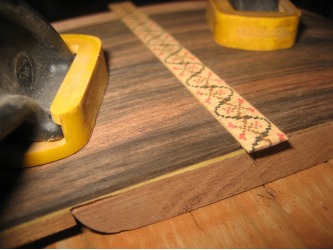
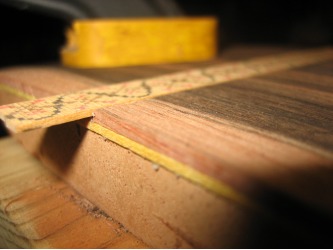
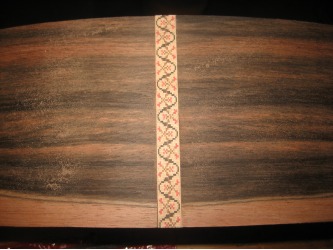
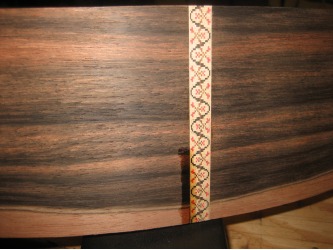
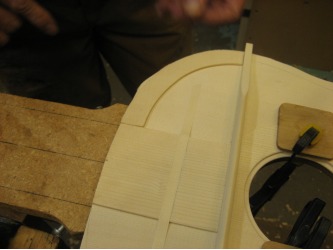
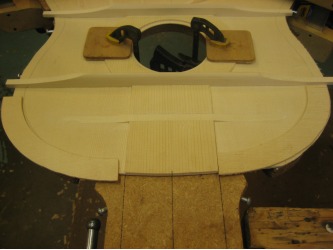
Today we started on the butt joint inlay (where the sides come together at the bottom of the guitar). Our inlay matches the rosette and is about 9.5mm wide.
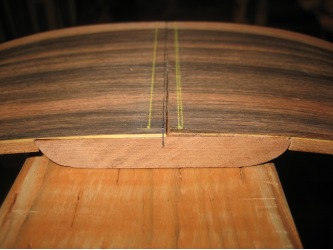
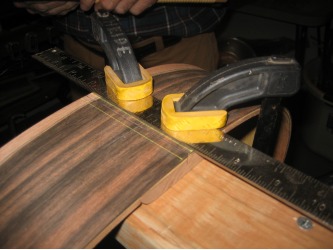
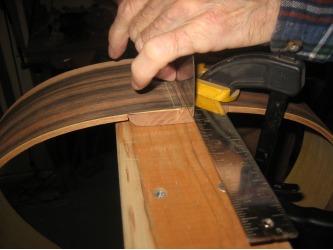
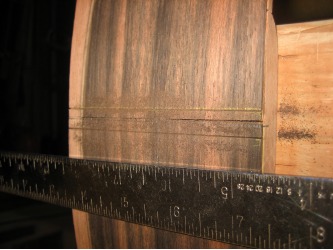
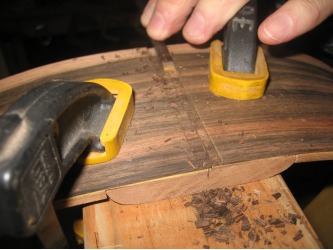
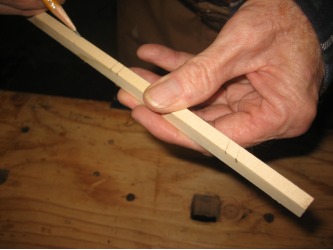
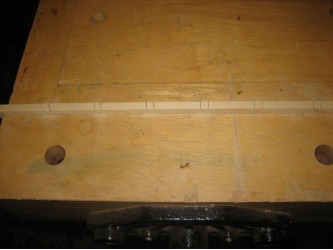
We first marked the center of both sides of the end block, then marked 4.25mm to each side and connected the marks with lines across the sides.
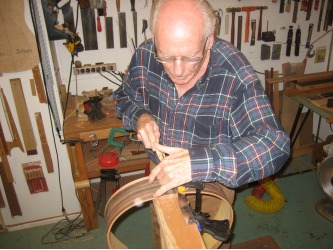
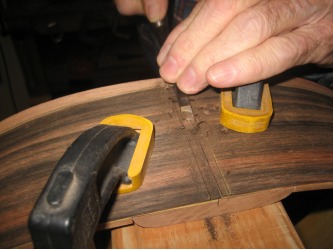
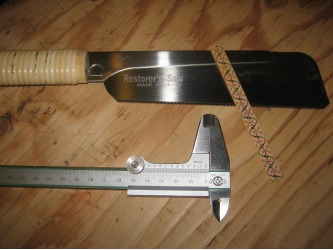
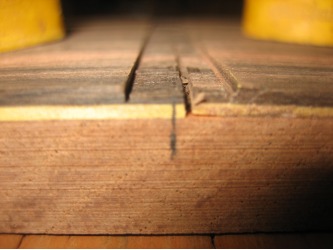
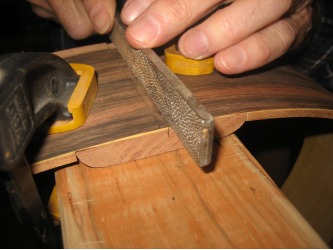
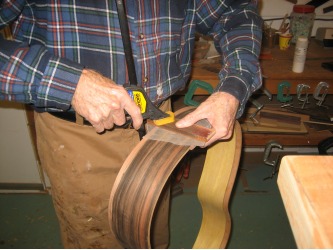
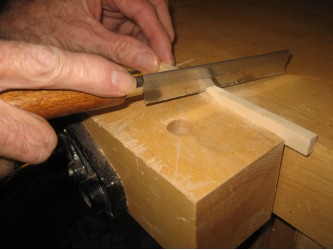
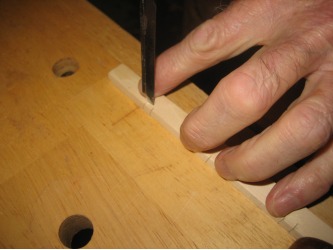
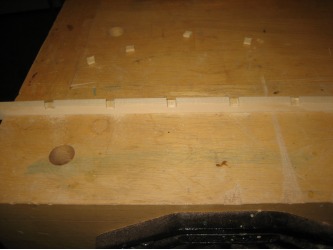
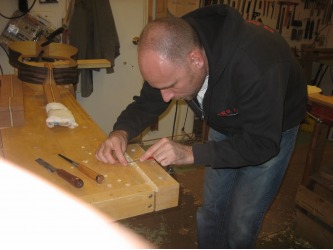
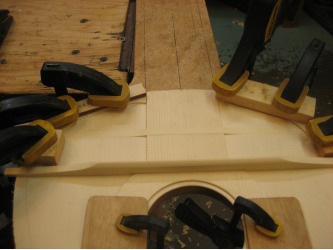
We clamped a straight edge down as a guide for the saw. We used a small Japanese saw to make the cuts. Use a small chisel to clean out the groove. You will want to make the groove deep enough so you don't have to sand down much of the inlay. If you sand the inlay too thin, the individual pieces that make up the inlay could come out.
When chiseling, we took out material in layers frequently checking the depth with the inlay. But if you do end up taking out too much, you can glue a thin piece to the bottom of the inlay to bring it back up.
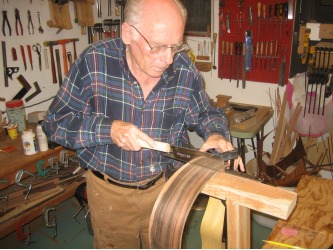
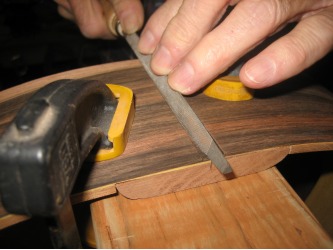
We used files to flatten the bottom and clean up the sides. You can also bevel the bottom edges of the inlay to help it drop in easier...just like we did for the rosette.
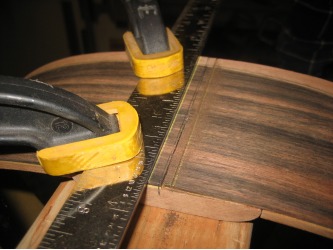
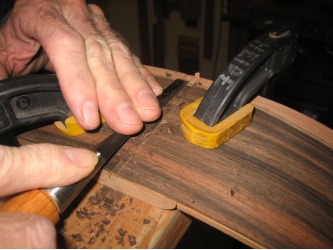
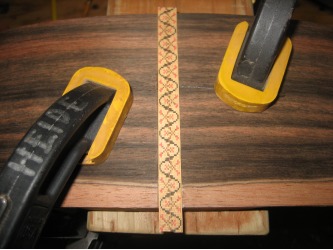
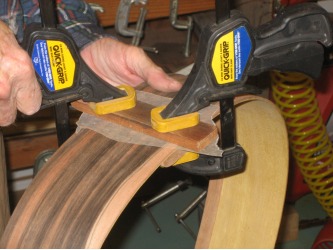
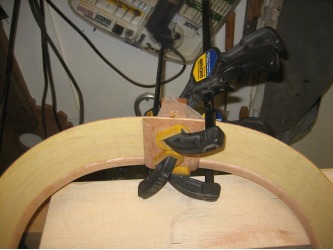
Hit the inlay with glue on the bottom and sides and drop it in. Use a piece of wax paper and a block for the clamps.
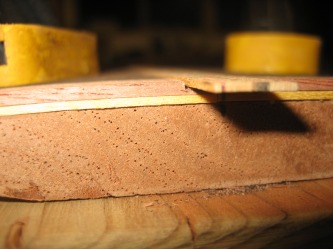
After the glue dried, we found that we had a little gap between the side and the inlay. We used a little bit of hide glue to fill it as hide glue dries a dark brown color.
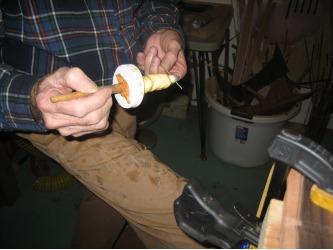
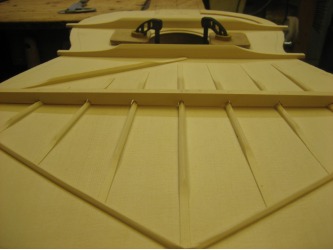
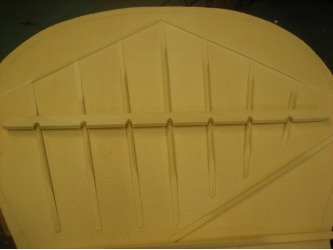
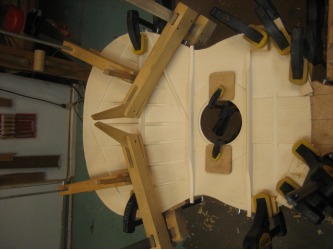
While the inlay was gluing, we finished the final cross brace for top that we started at the end of work day #13. This brace has cut-outs in it so it can't go on until all the other braces are profiled and scalloped...which we finished on work day #13.
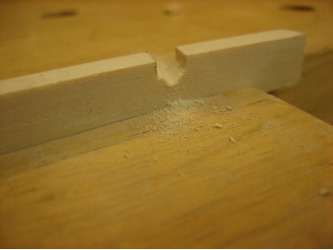
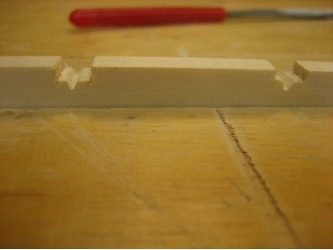
The brace was already marked and curved (the brace has a gentle curve in it...same as the other cross brace below the sound hole), so we just connected the lines and put it in a vise to make the cuts. You'll want to make the cuts shallower than the actual depth needed. The final depth will be done w/ a file to match the profile of the fan braces.
Once the cuts are done, take a chisel and chip out the section that was cut.
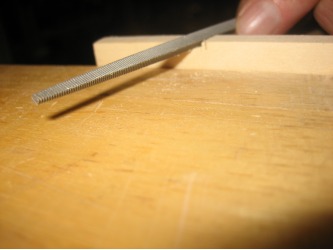
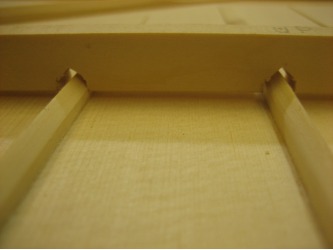
We then used small square and triangle files to make the notches deeper and to match the profile of the fan braces. This just took time as I would file then line it up on the top and do that over and over until the brace fit over each fan brace and would lay flat on the top.
Once it fit the way we wanted it to, we glued it down.
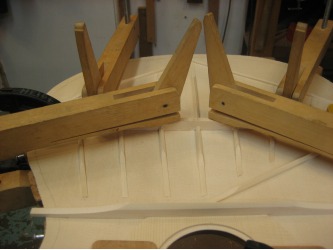
One last thing we did today was add a couple of curved patches to the top edge of the top.
When we glued the sides into the neck, we glued them flush to the notch we cut in the neck and it turns out we should have glued the sides a bit higher to compensate for the patch at the top edge of the top.
So we are going to taper this patch from the front to the back when we glue down the top so the gap we have now between the sides and the top won't be perceived at all.

