< Work Day 3 Work Day 5>
Work Day #4 - October 14th, 2008 (4 hrs)
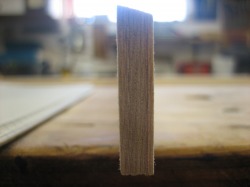
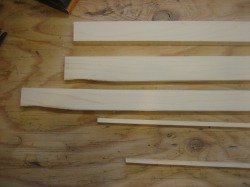
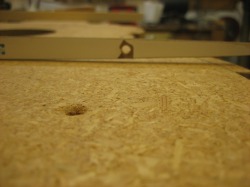
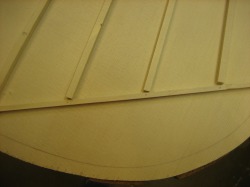
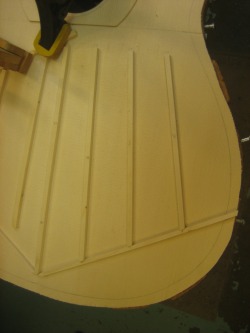
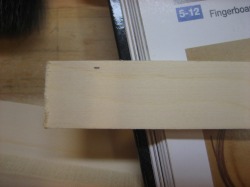
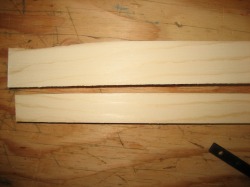
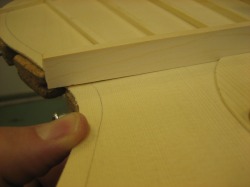
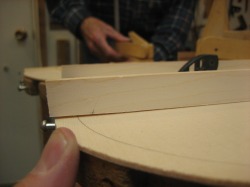
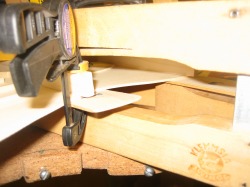
On to the fan bracing...we began by making a bunch of braces 4mm, 5mm, 6.5mm, 7mm, and 8mm wide and about 25mm high and 24" long. You also want to make sure the grain of the braces is vertical as shown below.
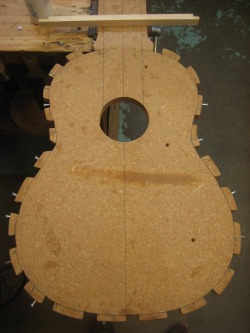
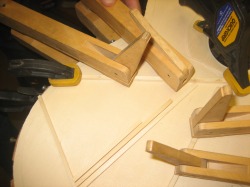
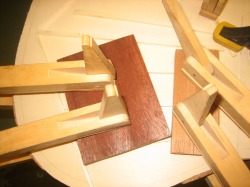
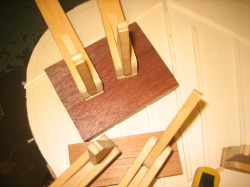
Then we clamp the top down to a board that has been dished out with about a 25' radius. This allows the fan braces to bend slightly when we clamp them down so we can build a bit of a curve into the guitar top.
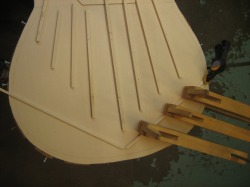
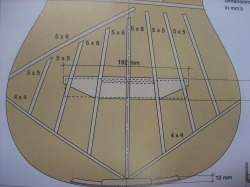
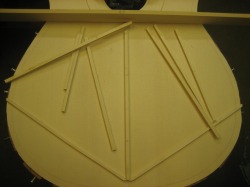
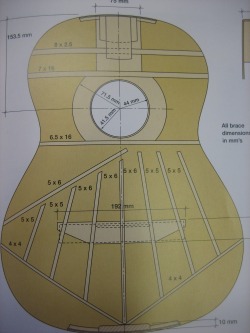
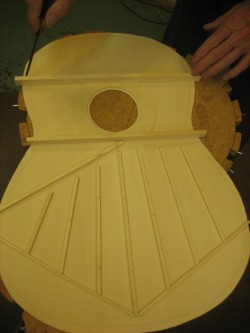
We will start by gluing on the two 4x4 diagonal braces. We're not really using any measurements to place the braces, we are simply following this design as best we can.
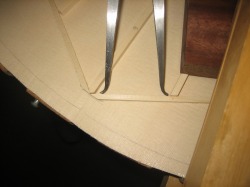
Before gluing the diagonal braces, we put an angle on them where they meet together so they will lay flat against the end block.
Then we lay out the rest of the braces leaving them a bit long for final trimming and fitting. We will put an angle on the bottom edges so they will sit flush against the diagonal 4x4 braces.
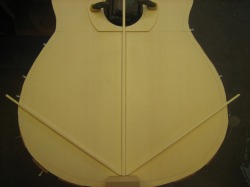
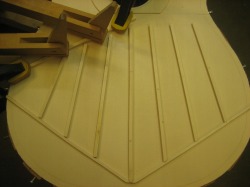
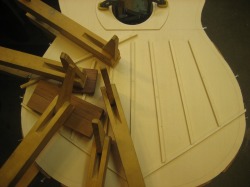
With the diagonals glued and fan braces laid out, we can start gluing the fan bracing. The first brace we do is the center. It is shaped at the bottom to match the diagonals. Then we glue the treble bar which extends past the edge of the top. It will be trimmed later.
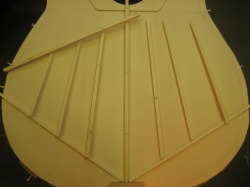
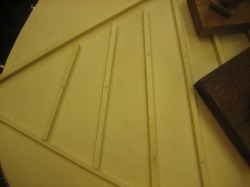
The fans on the treble side can be laid out and glued at once. Same for the bass side.
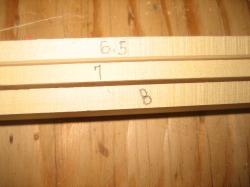
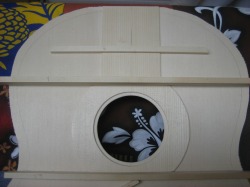
With the fan bracing on we moved on to the horizontal braces, two above the sound hole and one below. The horizontal brace nearest the top is 8mm wide and 2.5mm tall. We felt like that was a bit too thin, so we made it 5mm tall. For the second horizontal brace above the sound hole, it measures 7mm wide by 16mm high.
The horizontal brace below the sound hole measures 6.5mm wide by 16mm high. All three horizontal braces will be long enough to reach past the edges of the top. They will be trimmed later.
With the braces cut to the specific length, width, and height, we need to put a slight curve in the braces that will go directly above and below the sound hole. The 7mm wide brace will get a 1mm curve at the ends and will be flat in the middle where the fingerboard runs across the top.
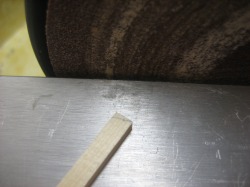
The 6.5mm wide brace gets a bit more of a curve...2mm at each end. We shaped both braces on the belt sander.
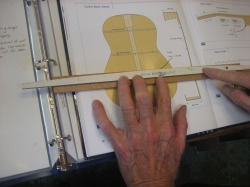
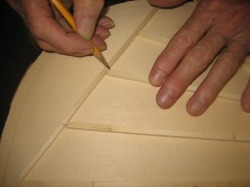
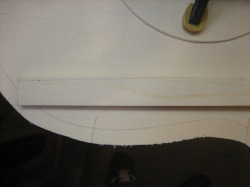
After making the 2mm mark on the ends of the 6.5mm wide brace, we used the template for the back bracing to draw the curve.
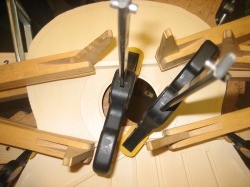
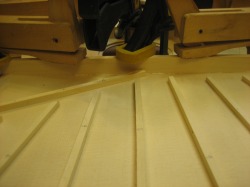
Glue both of the braces at the same time using the same method as the curved braces on the back. We place thin, flexible strips of wood under the top then clamp them down. This will allow the top to flex around the curves we made giving the top a very gentle curvature.
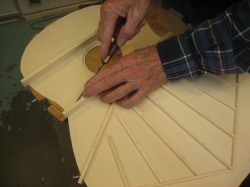
Again, remember to scrape off all the excess glue that is squeezed out when the braces are clamped. You want the underside of the top to be as clean as possible.
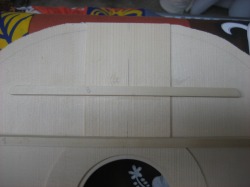
The final bracing to be glued is the horizontal brace (8mm W x 5mm H) nearest the top and a patch that will rest under the foot of the neck. That patch is made from a piece of the top that was leftover after we cut the outline. And the patch is thinned to just under 2mm.
