< Work Day 11 Work Day 13>
Work Day # 12 - December 4, 2008 (4 hrs)
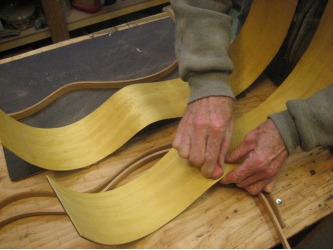
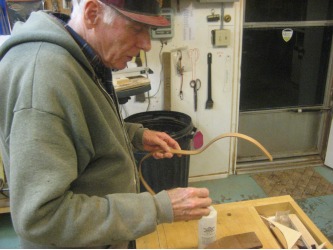
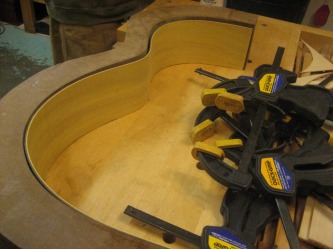
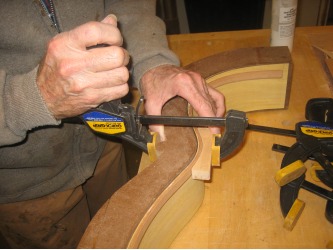
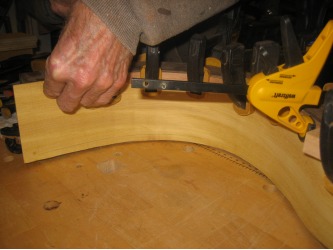
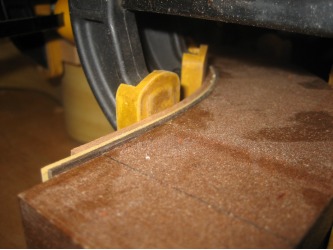
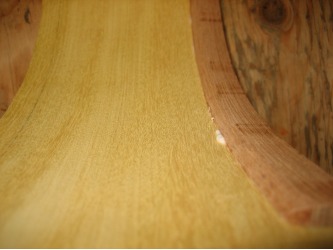
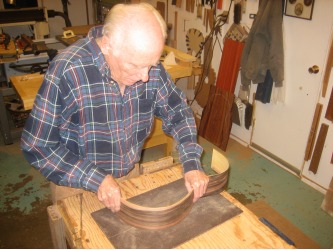
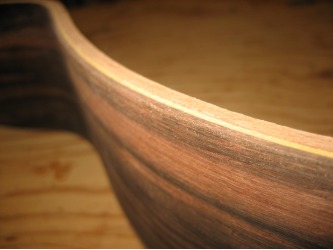
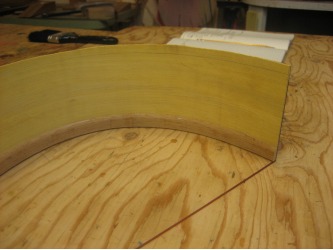
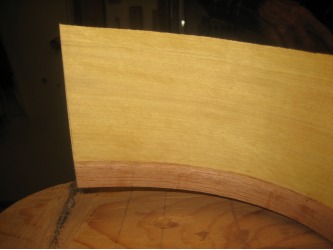
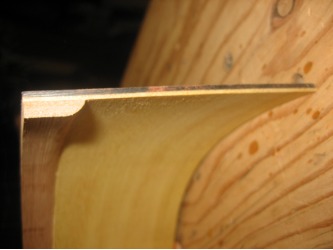
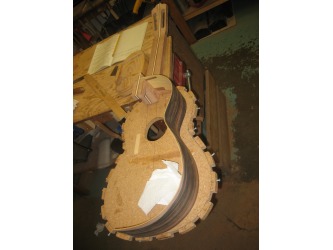
We are continuing work on the sides...with all of the linings glued together and one edge rounded with the router we could glue the lining to the edge of the side that will meet with the top. Before we glued in the linings, we cleaned up the pencil marks on the inside and flat surfaced the edge on the glass. We let each lining glue for an hour.
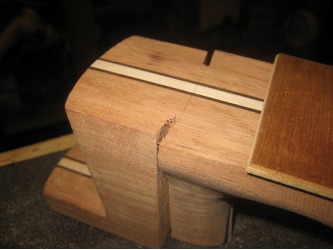
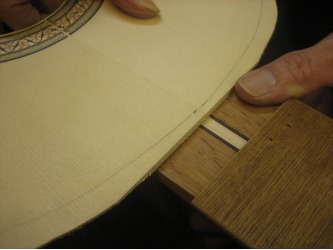
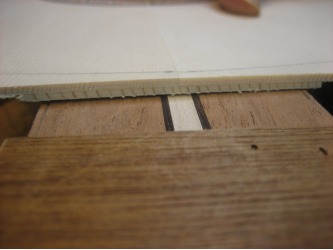
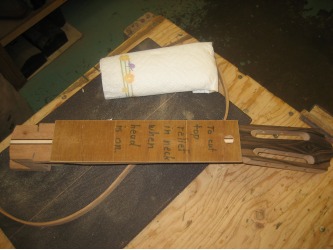
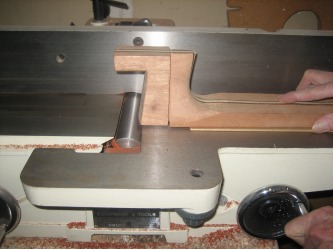
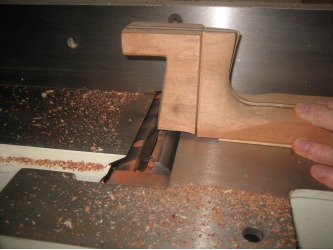
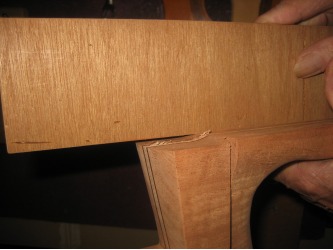
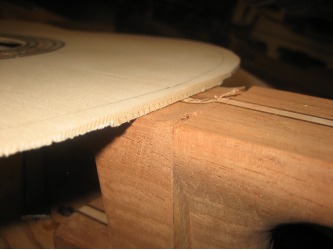
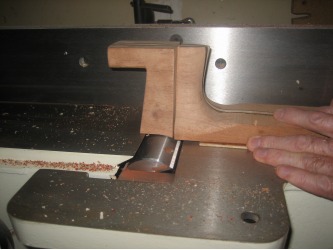
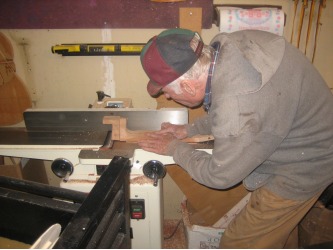
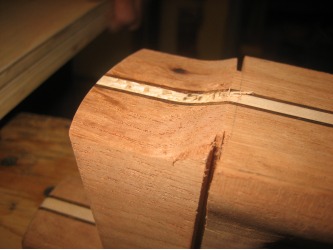
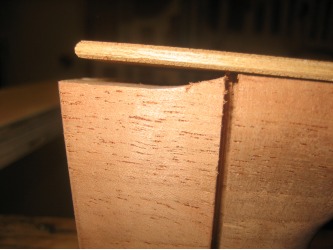
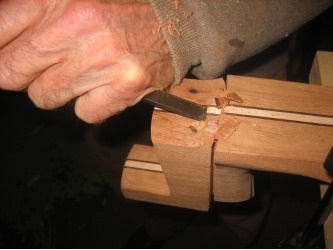
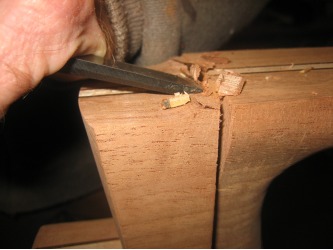
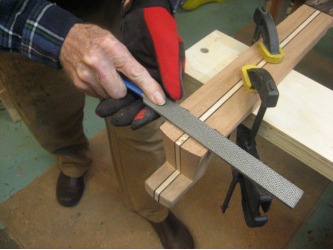
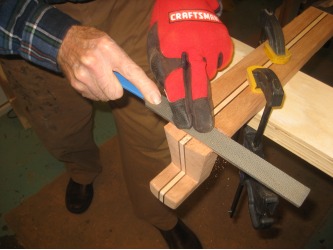
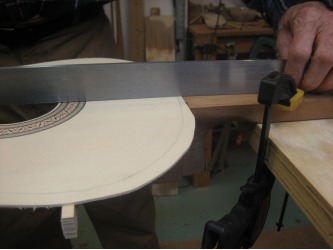
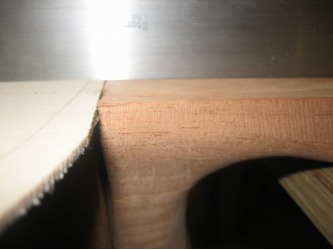
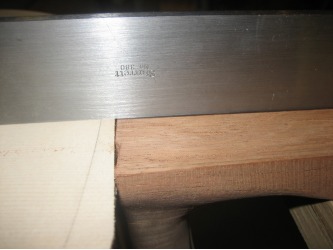
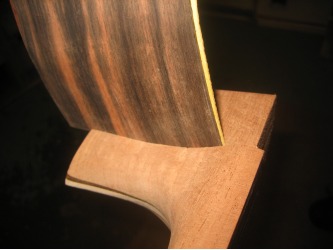
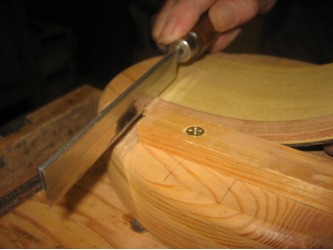
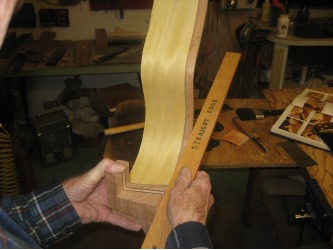
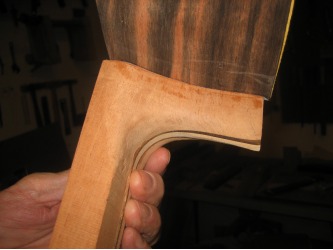
While the linings were gluing, we started preparing the neck to receive the sides. The first thing to do was take 4mm out of the heel where the top rests. We used the joiner to make the rough cut. We used a template between the neck and joiner so the neck would lay flat on the joiner table. Without the template, the neck wouldn't sit flat on the joiner table because of the head. Then we finished with a chisel, saw, and rasps. As we clean up the rough cut from the joiner, we use a straight edge and the top itself to make sure we don't take too much off. But in the event that you take out too much, you can make a patch and glue it to the heel to bring the height back.
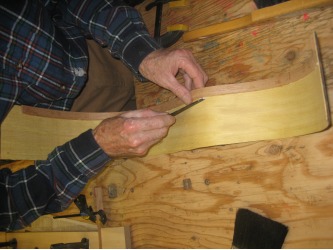
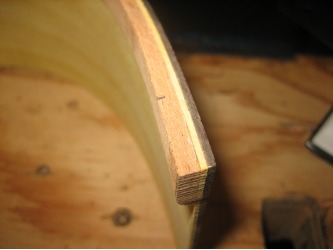
With one of the sides ready with the lining glued in we started getting it ready to be fitted into the neck. First we sanded the edge of the side with the lining that will meet the top on our glass covered in sand paper to make the edge perfect.
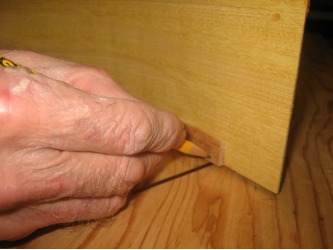
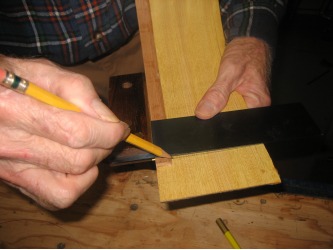
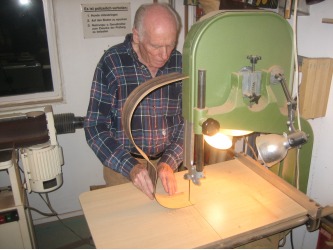
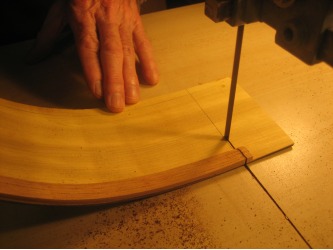
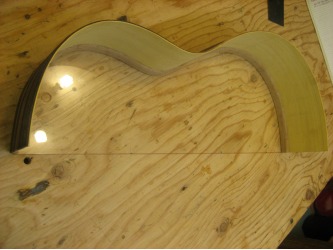
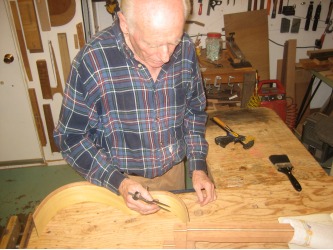
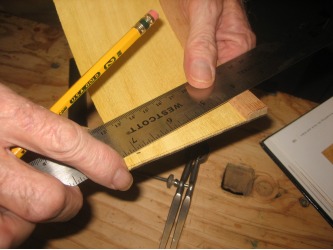
Then we laid the side on our template to mark it so we could trim it to size. Simply mark where the edge of the template is and using a square, draw a line across the width of the side. We used the band saw to trim each edge of the side. Remember to scrape away the squeeze out glue...
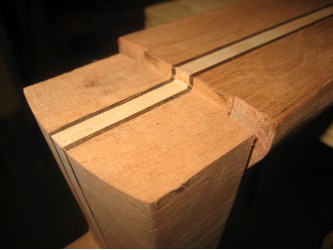
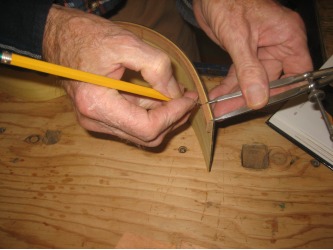
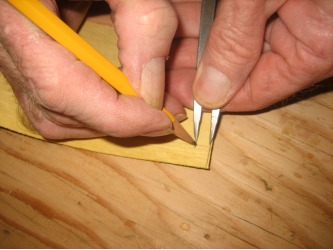
Now we're ready to make the diagonal cut in the end of the side that will slide into the groove we've previously cut into the neck. With the neck facing up, using a caliper, we measure from the center of the neck to the end of the groove to receive the side and mark that same distance on the side with the trim side up.
Then flip over the neck and side and do the same thing on the back side of the neck. This will give us the two marks on the side to connect which gives us the correct diagonal to make our cut.
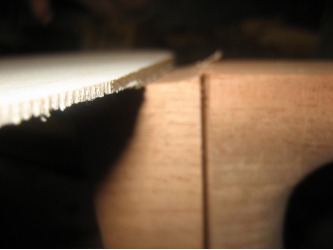
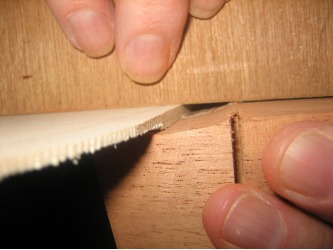
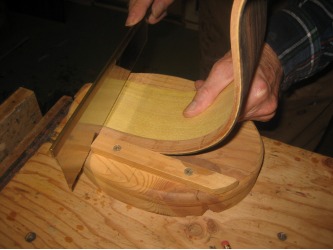
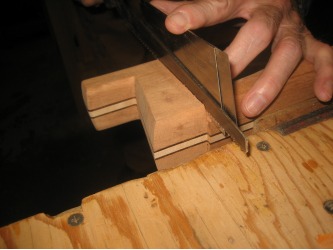
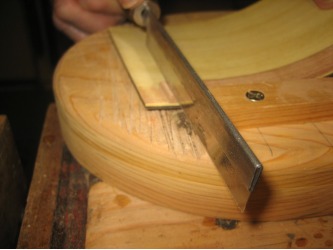
We use a cutting block and the Japanese pull-saw to make the cut. That saw leaves a nice smooth edge that doesn't need cleaning up after the cut. Be certian of the direction of the diagonal cut...if you get it wrong your side is ruined! Double check your markings before you cut.
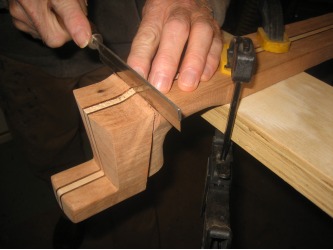
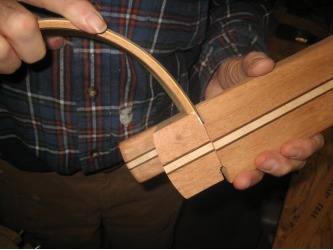
Now we check the width of the cuts in the neck to see if they are wide enough to receive the side. In our case we needed to open up the cuts a bit. Use a saw and cabinet scrapers to open up the grooves. Open them just enough for the side to slide in easily.
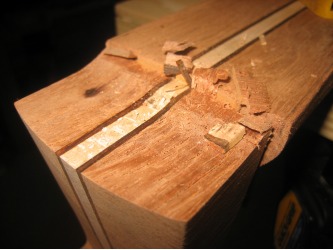
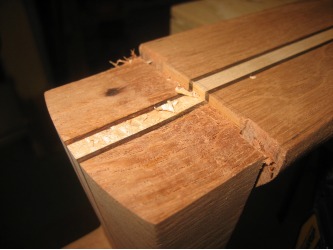
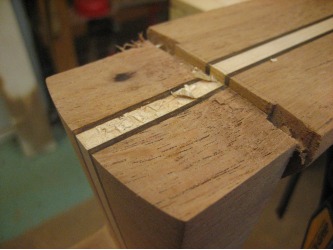
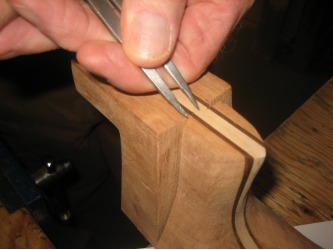
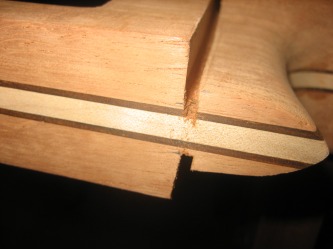
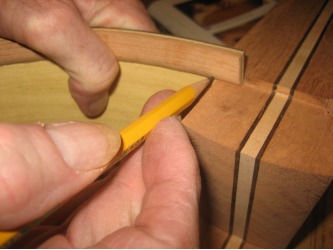
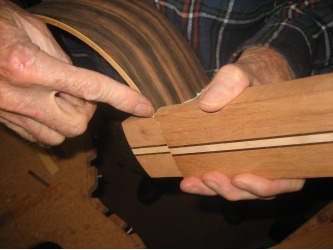
Triming the lining was the next step. Slide the side into the groove so the lining rests on top of the heel and make a mark. We'll need to cut then chisel this piece out. You also want to pay attention to the angle the lining needs to be trimed with. The heel is angled and we want the lining to match that angle.
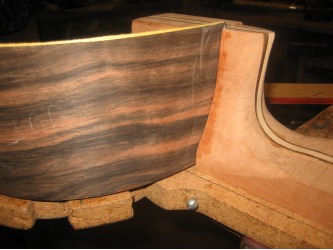
With the lining trimed we can now test fit the side into the neck. We want to make sure the side fits flush in both sides of the grooves and is level with the cut out we did earlier in the heel which will receive the top.
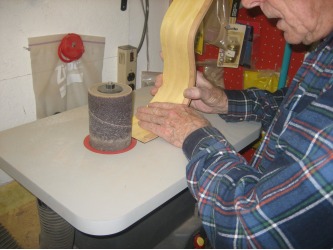
During our test fitting, we found that the slot cut in the neck was a bit high in the middle so we took a bit of material out of the center of the side with the drum sander. Turns out this is something Hannabach does normally to help the side fit better.
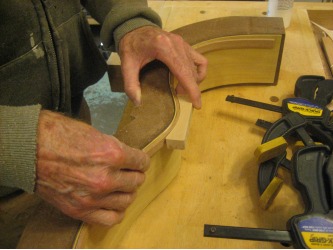
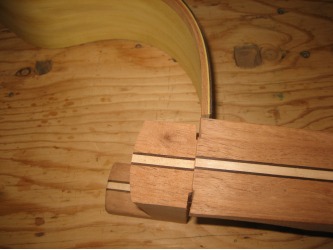
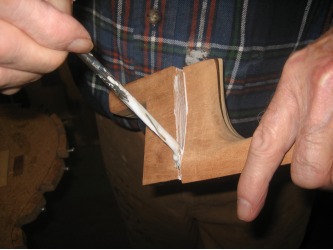
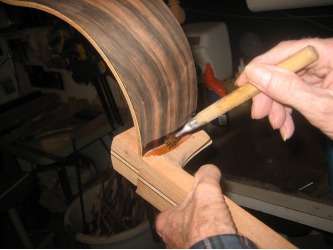
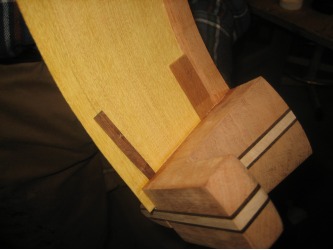
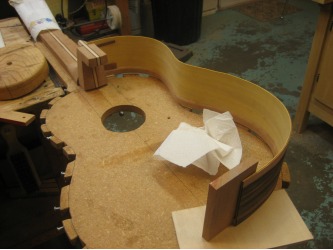
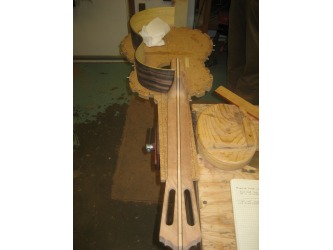
Once we were satisfied with the fit, it was time for glue. We applied the glue to the slot in the neck and inserted the side making sure it was flush with the cut out on the heel. We used a brush with water to remove excess glue between the side and neck. Any glue on a surface that will be covered in lacquer will cause the lacquer to not stick. So it's very important to get rid of all the excess glue.
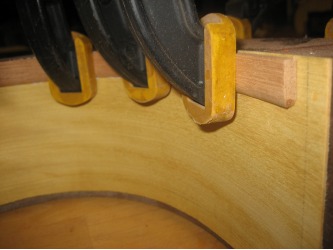
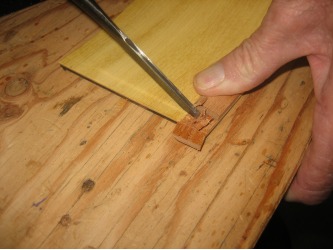
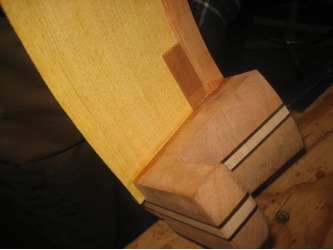
If the slot for the side is a bit wide, use wedges on the laminate side of the side to force the side out. You don't want a gap between the neck and the side on the outside of the guitar. On this first side, we used a couple of wedges made from scrap Spanish cedar.
And that's as far as we got today...
