|
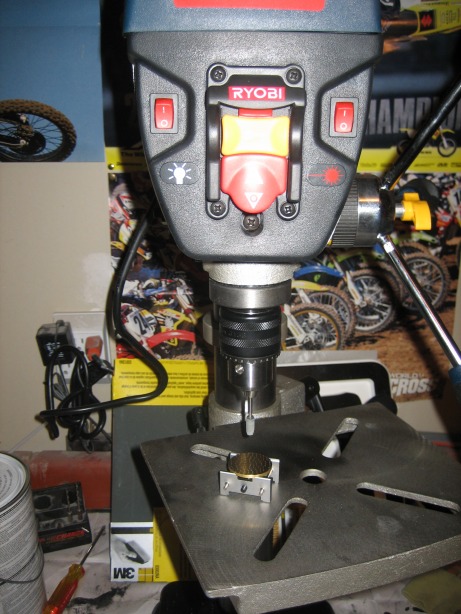
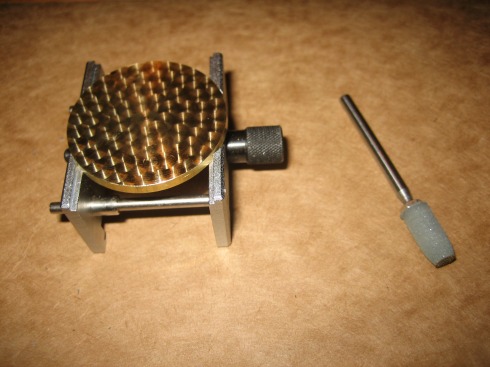
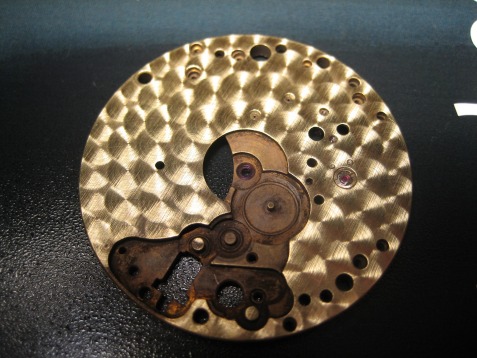
Movement Finishing Before doing anything with the 6498, I practiced with some brass discs to get a feel for how the perlage shows up. I also experimented with the Cratex. I sanded some of the tips down to a 3mm - 4mm diameter to produce smaller perlage. On to the movement itself...I started on the outside edge and worked my way to the center. I overlapped each circle about 1/2 way into the previous circle. I like that the result isn't perfect. To me, I believe, it adds to the handmade quality of the watch. Perlage done by CNC machines are spaced perfectly, which is fine, but I much prefer the unique pattern of the perlage when applied by hand. This will make each movement I decorate even more unique.
2 Comments
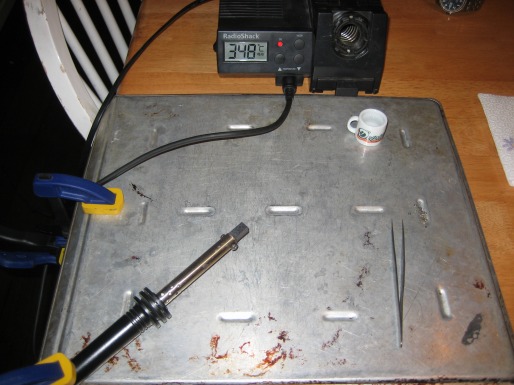
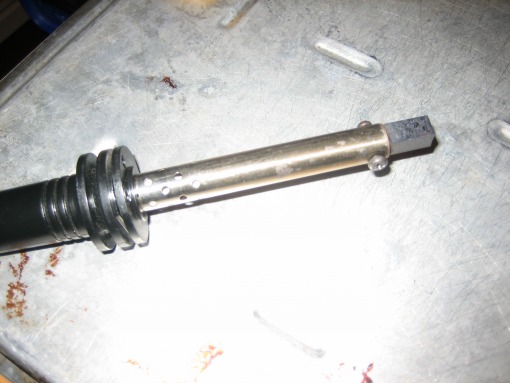
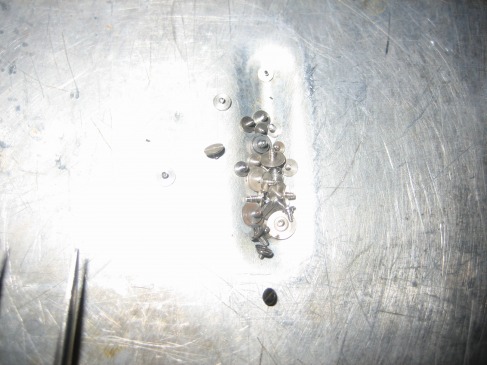
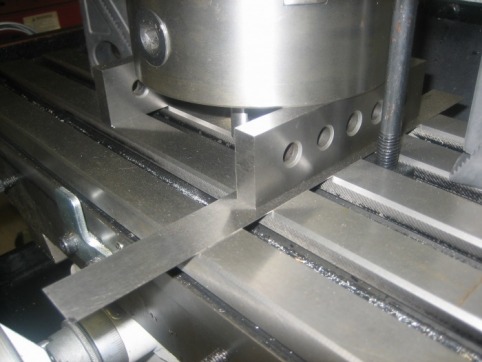
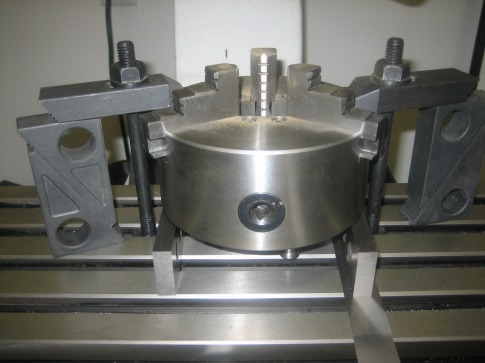
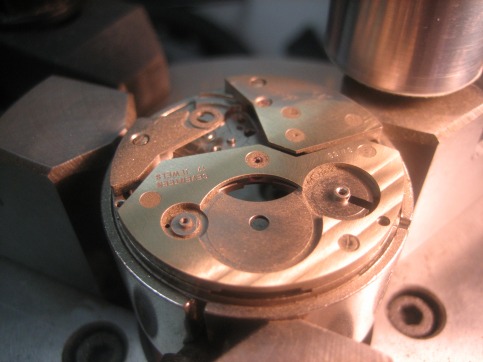
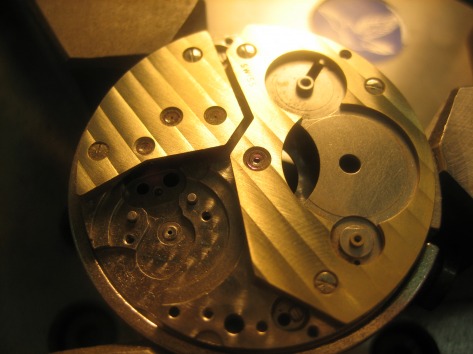
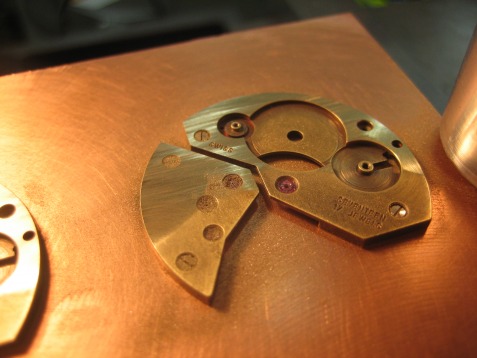
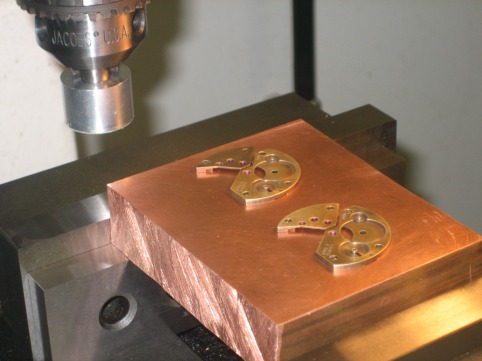
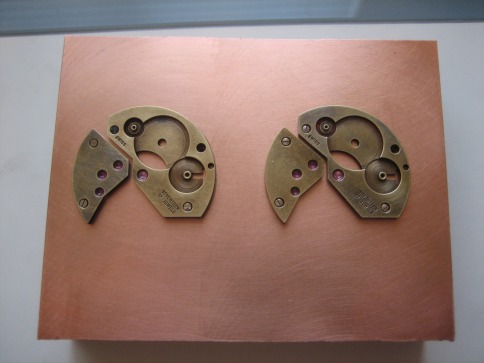
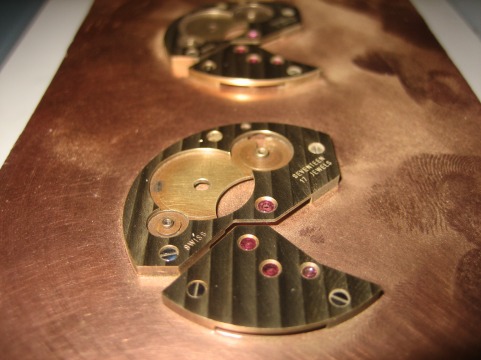
Movement Finishing I bought a bag of screws off of eBay to practice with…and that made a big difference. Just being able to see how different the shades of blue can be. With all the practice screws I turned blue, it gave me a good feel for what color I wanted and how long it took. Most of the time the screws were on the iron for between 5-8 seconds. Now concerning prepping the screws. All the screws are nickel plated…which won’t turn blue unless the nickel is removed. So far I have simply polished the nickel off the top of the screw…so only the polished face of the screw head turns blue. I like how they turn out w/ the slot for the screwdriver staying silver… Many of the screws I practiced with weren’t plated…so when they hit the iron, the entire screw turned blue…which is cool too, but the only way to get that w/ the 6498 screws would be to take them to a plating company and have the nickel removed (which I may try one day…but for this project, I just went w/ removing the nickel from the screw face). Movement Finishing I tried to level the movement as best I could from front to back…and we ended up with about a .0005” change from front to back. Side to side we had a .01” drop from right to left (mostly due to the .02” shim). But now that I think about it, we could have created that angle in the lathe chuck too. Anyhow, in the mill head we used a 1” dia. aluminum mandrel with a piece of 400 grit Trizact (a 3M product) super-glued to it. All the cutting is done dry – we tried lubricant, but it didn’t work…maybe it would if the lubricant was flowing over the material during the entire cutting process…but we just experimented w/ spraying a bit on our practice brass discs just to see how it worked. With each pass, you are scratching about a ½” wide surface area of the movement…then, when you move over the 2.5mm and make a second pass, the stripe is created. Does that make sense? This is one thing we found out when we were doing our practice runs. I initially thought since the movement was angled, a perfect 2.5mm strip would be laid down w/ each pass…but that’s not the case…the “stripe” is easily ½” wide, then you simply put an edge one it w/ each pass. And there you go... A couple of updates to the striping process. You need to make sure that you have as close to perfect of an edge on your mandrel. I'm currently working on a few more pieces and found that as I replaced the Trizact, the edge of the mandrel was getting a bit beat up. Also, I wasn't taking the time to perfectly trim the Trizact to the mandrel. And the result was...well, the result was nothing but crap. Take a look...this is how NOT to stripe a movement. Once we straightened the edge of the mandrel and took care to match the edge of the Trizact with the mandrel, the stripes turned out perfectly. Welcome to Sägers Söhne. Thanks for taking a look at the site. Soon you will find updates including a chronology of the making of Sägers Söhne Flieger Nr. 1. |
AuthorOk...so I like watches. I like them enough to make them myself. Enjoy. ArchivesCategories |
 RSS Feed
