< Work Day 8 Work Day 10>
Work Day # 9 - November 15, 2008 (3.5 hrs)
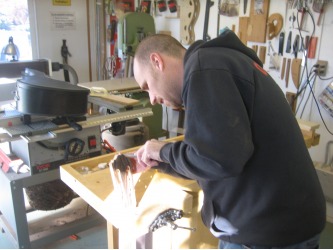
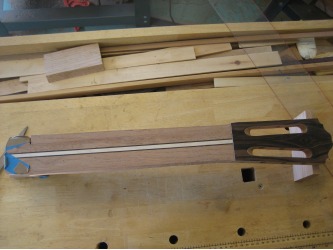
Today we did more work on the head...and a little touch up on the foot as well.
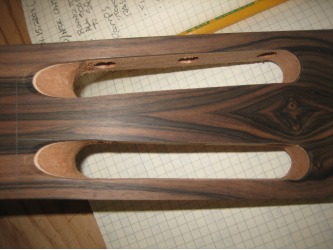
On the head, we worked on the ramps, head design, and final sanding/smoothing of the head.
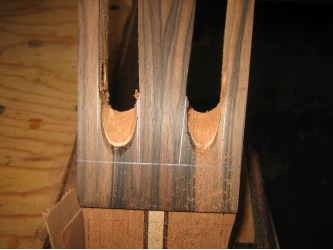
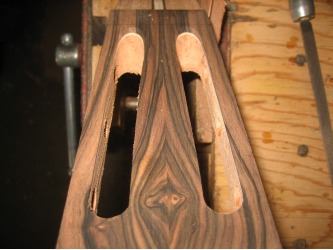
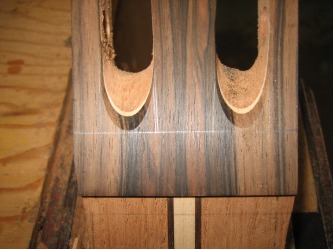
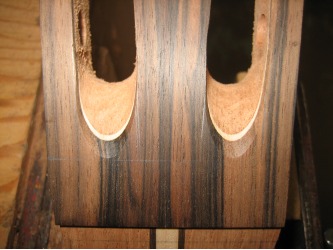
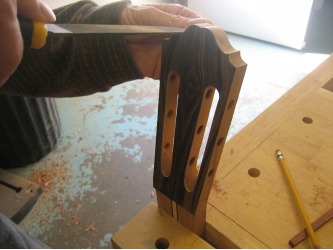
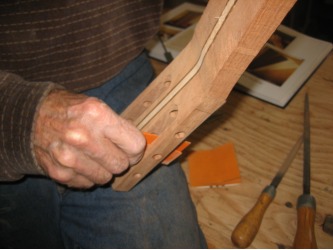
First we marked where the ramps will go. We marked the ramps by extending the lines of the machine head slots down to the top of the cusp (which is 18mm above the nut).
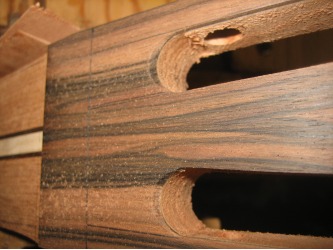
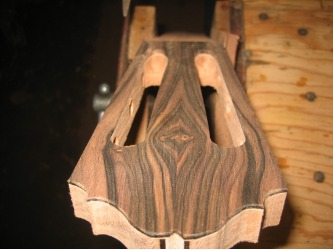
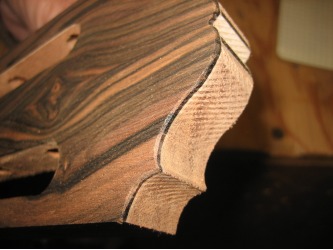
The ramps are basically a decoration on the head. They do, however have a practical function. They allow string clearance between the nut and the machine head. But the shape of the ramps is up to the builder. Some shape the ramps with more of a rectangle in mind and others more of a point. I like the look of a more pointed ramp.
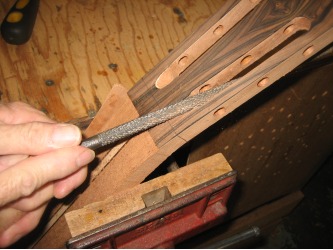
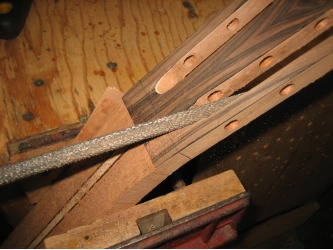
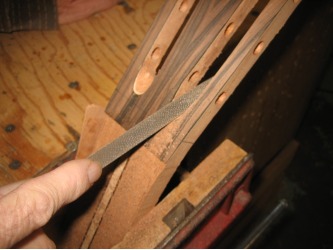
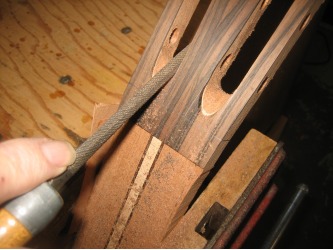
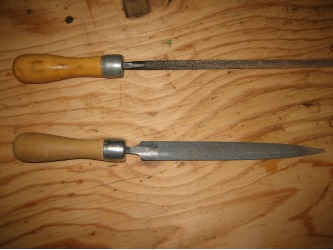
You begin by rounding the edge of where the ramp will start of the head plate with a half-round rasp. Then hit it with a full round rasp. It's important again to maintain symmetry as you file. To start off with, try and stay right in the middle of your lines.
After making the basic shape with the round rasp, we used the small half round rasp to clean up the ramps. With the symmetry established, we used a slightly larger half round pointed rasp to bring the ramps all the way down to the top of the cusp.
One thing that is hard to know is when to stop. You obviously want things to be symmetrical, but sometimes as you are working the wood it wants to take on a life of its own...dictating its own shape. So this is when you need to slow down and make sure every file stroke is what you want it to be. If it looks like you aren't getting the symmetry you are after...or there's a high spot that you just can't seem to get straightened out, it's time to walk away from what you are doing and come back to it later.
And again, try to know when to stop. You can easily spend hours shaping, filing, and sanding...it's a tough call to know when it's time to stop.
Dad did the shaping of the ramps...and he made it look easy. I'm glad he took the lead on the ramps...to me it would have been just too easy to screw them up...and then where would we be. With each hour we work, a mistake becomes more and more costly because of the cummulative time invested in the head and neck so far.
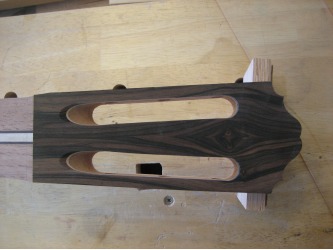
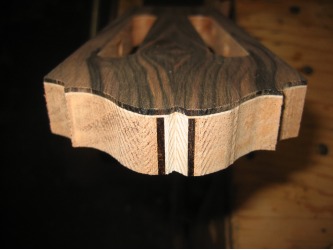
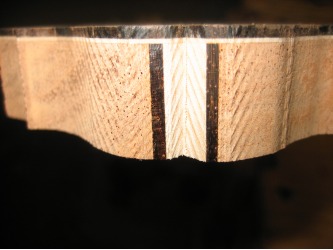
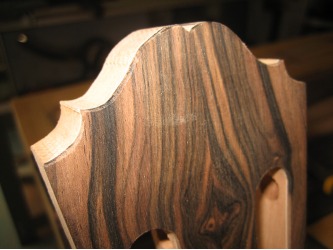
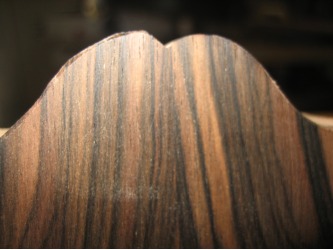
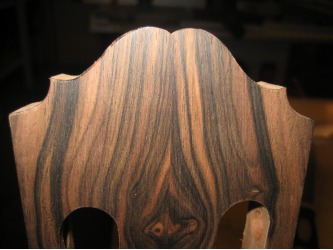
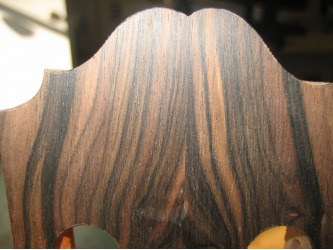
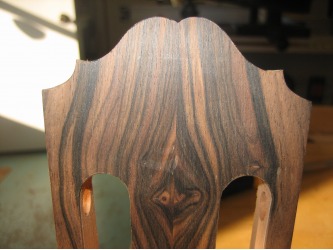
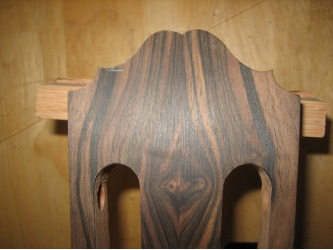
Ok...next we moved to the head design to clean it up. Last work day we just rough cut the design...so now it's time to finish it up.
We mostly used the small half round rasp then went to a finer file. Symmetry is pretty much the most important thing to keep in mind. So as you are shaping the design, keep looking at it from different angles to make sure everything is lining up as you would hope it should.
Builders with a lot of experience can clean these cuts up in a hurry. Since this is my first try, it's no doubt taking me 3X - 4X longer to do these steps as it would dad or Hannabach.
Dad shaped the right side of the head plate design and I took a crack at the left...trying to match the curves and lines he had done on the right side. For my first try, I think it turned out OK. To preserve the edges of the front and back of the head, take a few seconds and slightly round the edges. That way if you file straight across your surface you won't risk chipping the wood. And we want to pay close attention to the ebony head plate...that will want to chip real easily.
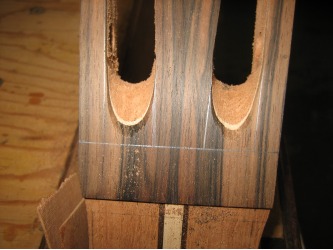
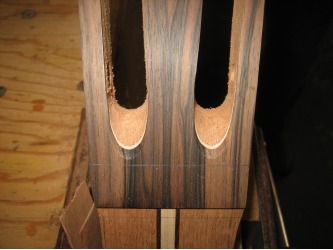
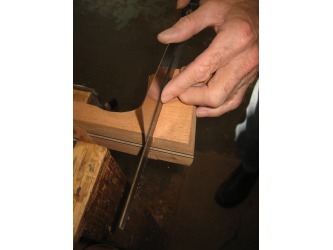
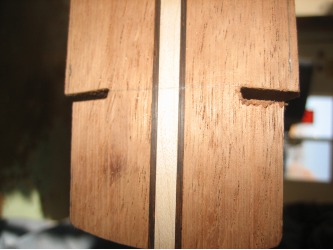
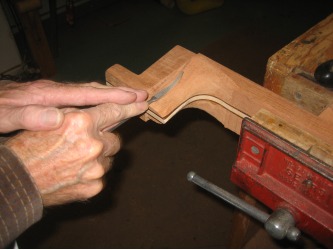
The last things we did today were open up the slots we cut several work days ago that will receive the sides and clean up a small hole that was left by the chisel on the heel.
The slots to receive the sides need to be about 2.5mm - 3mm wide and when it comes time to glue in the sides and we still don't have enough room, we can thin the sides slightly to get them to fit.
We used a hand saw along with a cabinet scraper to help space the saw.
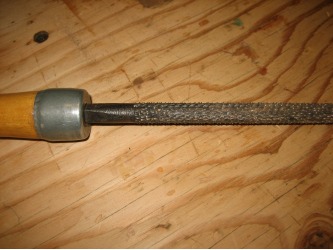
To clean up the hole on the foot, we used a riffler file...again making sure our symmetry was good on both sides.
I brought the neck home with me today to do some final sanding. I hit the head plate design, machine head slots, and the foot with sand paper. First with a 150 grit and finished with a 220. I'm sure we'll do more sanding, but for the most part the head and foot are ready to go.
One thing dad told me is before we think about putting the finish on the guitar, we will need to round any corners on the guitar. Lacquer doesn't stick very well to a sharp edge...so we'll be sure to round everything off as one of our final steps before lacquering.
Next work day we will start on the sides (we actually started on the sides a bit today, but I'll save those pictures, etc. for next time).
