< Work Day 7 Work Day 9>
Work Day # 8 - November 11, 2008 (4.5 hrs)
And we continue with the neck...
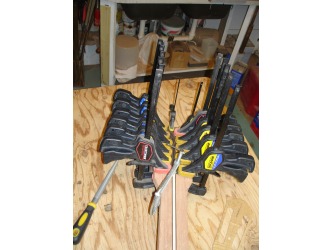
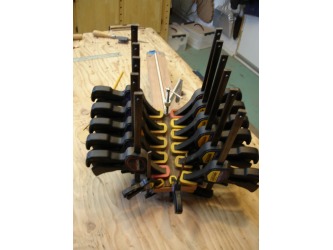
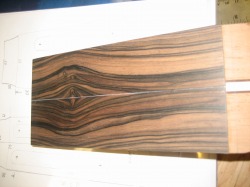
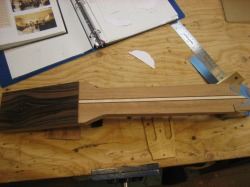
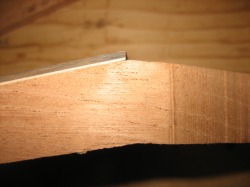
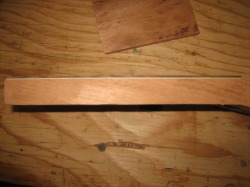
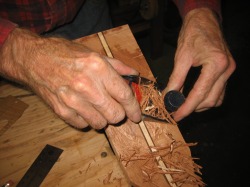
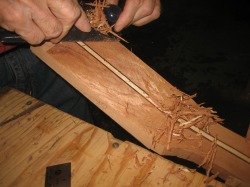
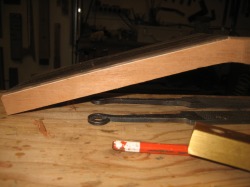
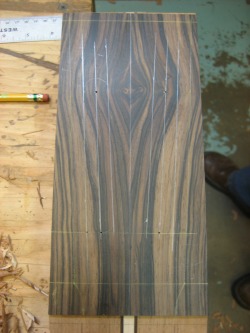
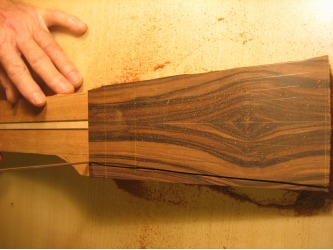
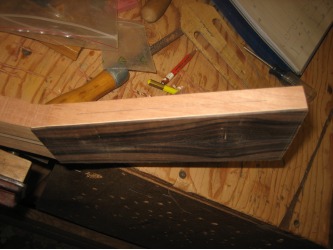
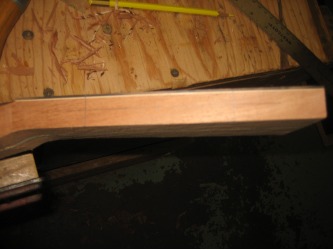
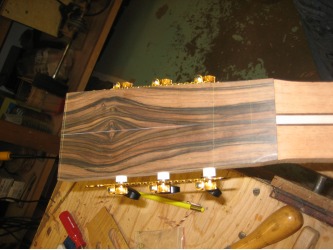
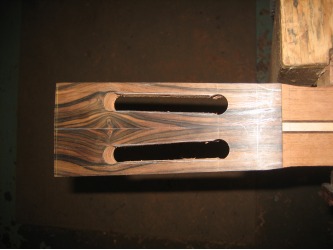
We started by gluing the veneer on the head...but first, we put a 14 degree cut in the bottom edge of the head plate. Gluing the head plate, you want to make sure it's centered and stays that way when applying clamping pressure.
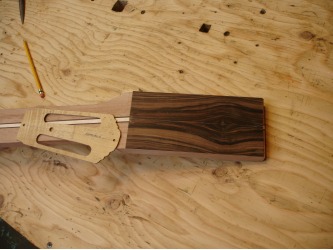
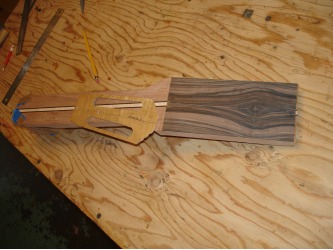
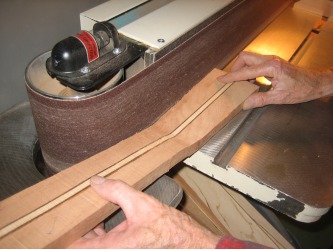
After it dried we hit it on the belt sander to square the edges.
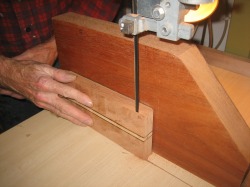
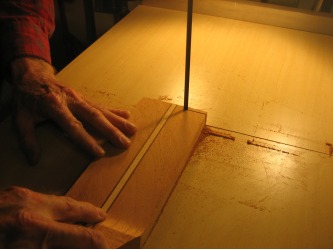
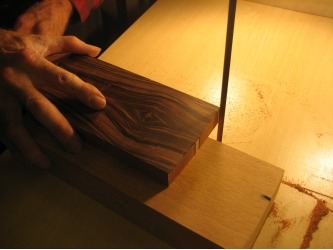
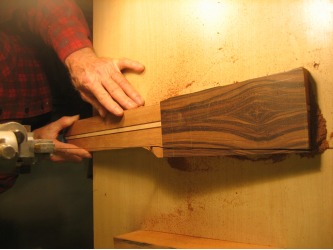
Tonights work focused mostly on the head. We first need to thin it. The head should be around 20mm - 21mm thick...and that varies with builders. We measured 21mm and if we go down to 20mm that's OK too. We started with the band saw to start thinning the head.
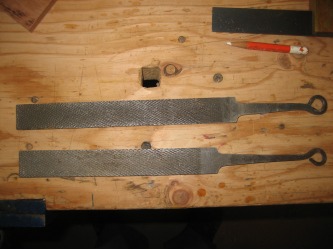
After the band saw, we used a combination of planers, files, and finally the belt sander.
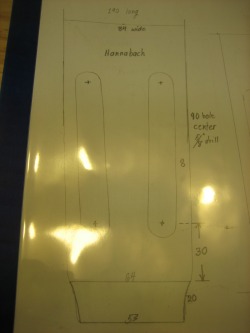
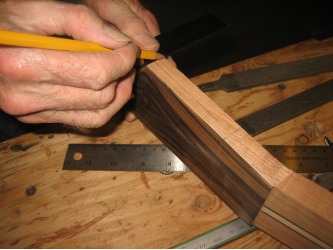
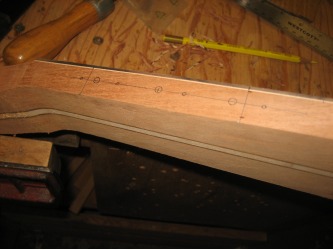
With the head thinned it's time to layout the final shape of the head along with the machine head holes and slots. We are using the basic dimensions of a Hannabach head.
190 mm tall from the top of the nut
84mm wide at the top
53mm wide at the nut
64 mm wide at the top of the cusp
18mm cusp
30mm from top of cusp to center of the bottom hole we will drill for the machine head slots
8mm wide from the edge to the slot for the machine heads
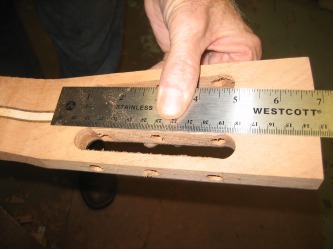
90mm slot length from center to center of the 5/8" holes
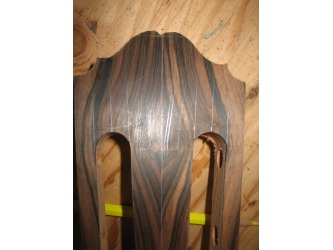
Once all the lines were drawn on the head, we used the band saw to cut the basic shape. And followed it up on the belt sander to match the edge to our lines.
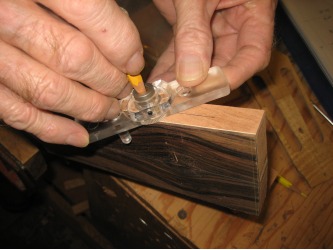
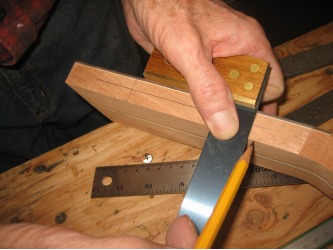
Now we draw a line down the center of the side of the head. Dad uses a cool little tool that centers your pencil. Then we mark the center to center lines which should be 90mm and mark the center.
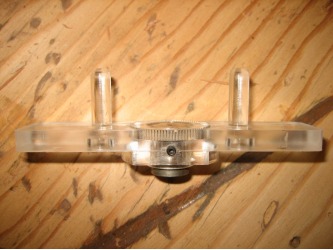
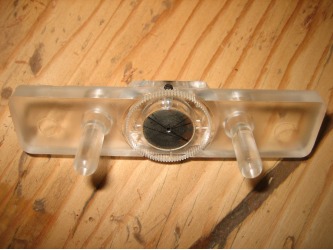
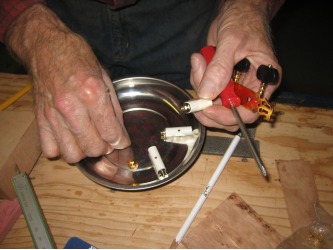
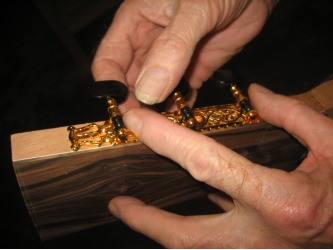
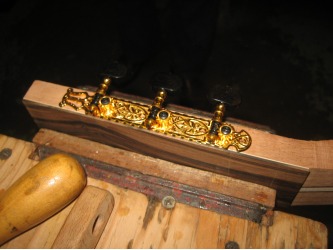
To make the marks where the tuning pegs will slide into the head, we take apart the machine heads to use them as a template. Take apart both machine heads and use the correct one on each side.
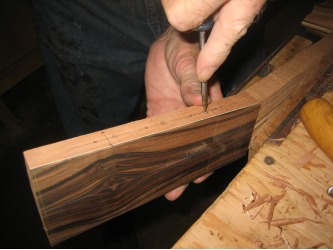
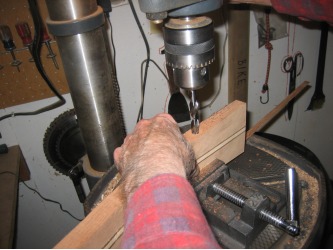
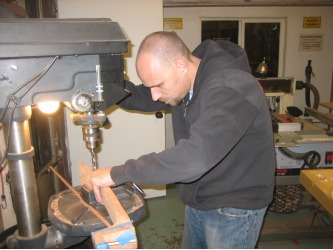
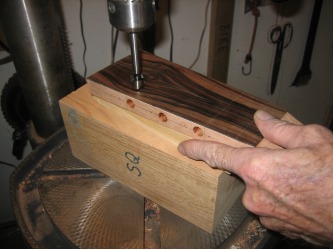
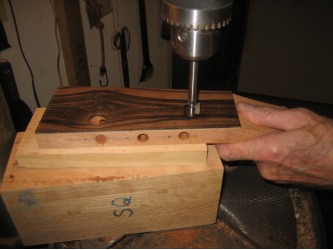
Line up the template on the center line and mark the holes. Then take an awl and punch the exact center of where the holes will be. The tuning pegs are 10mm diameter, so we set up the drill press w/ a high quality 10mm drill.
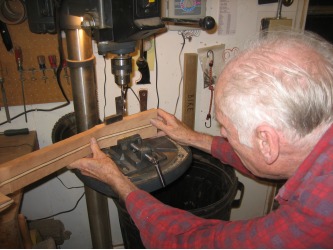
We clamp the head in a vise on the drill press and use a square to make sure we are drilling at a perfect 90 degree angle. Once this is all set it's time to drill.
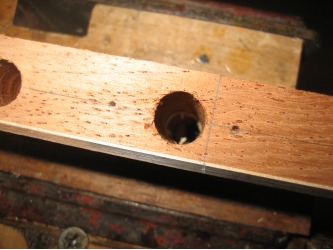
Right now we will only drill the 10mm holes for the pegs. Take a quick measurement of the length of the pegs and set the depth of the press. We forgot this step and ended up finishing the holes by hand. The depth was right when the holes met from both sides of the head.
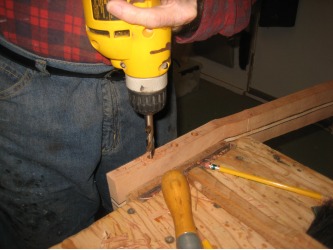
If necessary, you can take the hand drill and clean out the holes a little so the machine heads slide easily into the holes.
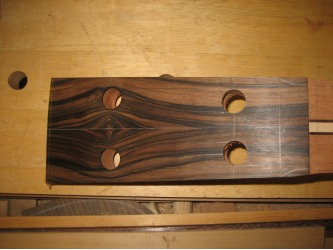
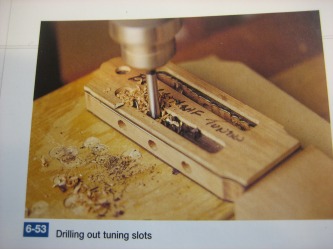
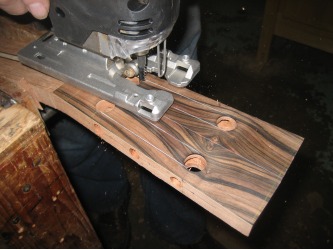
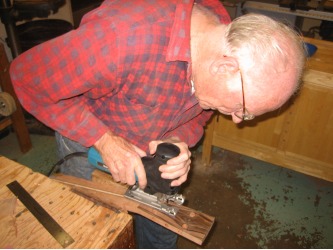
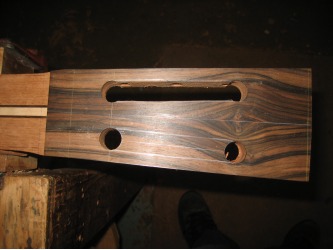
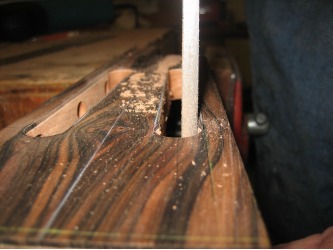
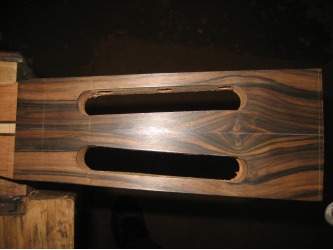
Next we start on the slots. From the 90mm marks we have on the head, we drill a 5/8" hole at both ends of the slot. To finish out the slot, there are a few different ways of doing it. You can use the 5/8" drill and just work your way down from the top hole. Or you can use a hand scroll saw or an electric jig saw. We used the electric jig saw...that worked really well.
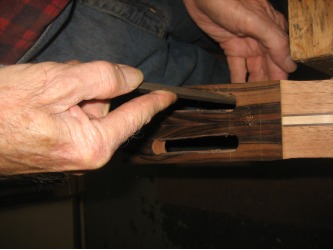
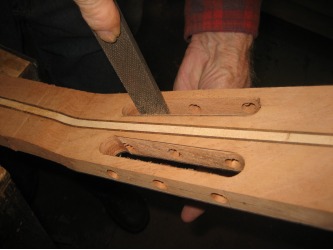
After the slots were rough cut with the jig saw, we marked some guide lines from the outside edge of the holes we drilled at the top and bottom of the slots.
As you are filing the slots, keep in mind the symmetry on the back side of the head on the inside edges of the slot. You want that space to be the same on both sides of the laminate. Also, measure the thickness of the outside edge and make sure that is the same from top to bottom. We measured that thickness at 8mm's and after the slots were cleaned up, they ended up at about 8.5mm...which is fine.
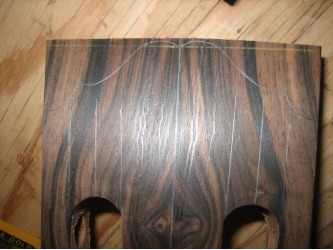
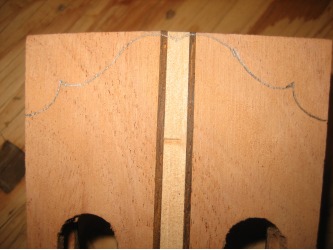
Tonights last step was to rough cut the head design. Take the template and draw the design on both sides of the head. We used an electric scroll saw to make the cut.
The head design I am using is based on a Herman Hauser design. When I think of what a classical guitar looks like, this is the head design that pops into my head.
