< Work Day 9 Work Day 11>
Work Day # 10 - November 20, 2008 (4 hrs)
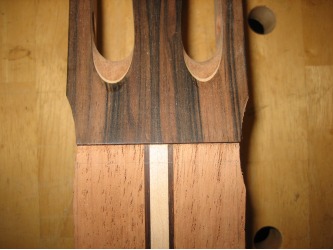
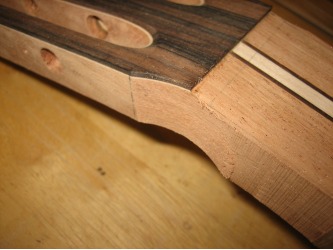
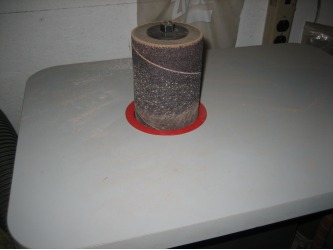
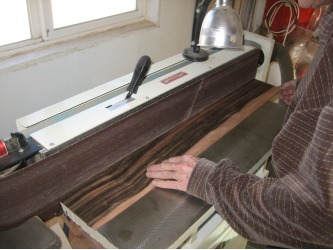
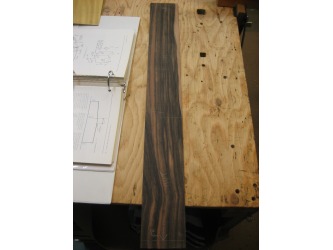
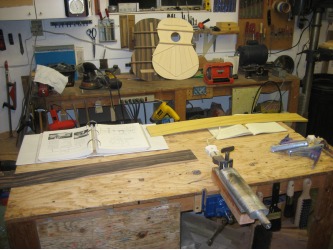
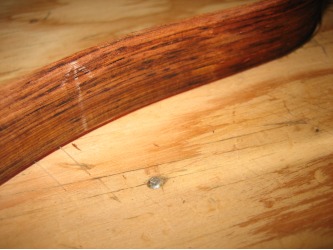
Today we started on the sides!!! But one last detail we did really quick was add the basic curve to the cusp on the head. We did this with the vertical drum sander. We'll finish the cusp once the fingerboard has been put on.
There a few different ways to construct the sides of the guitar. The traditional way is simply thinning the side to the desired thickness (2mm or so) and bending it to fit the curves to the pattern as closely as possible. Most of the guitars dad has built have been done this way.
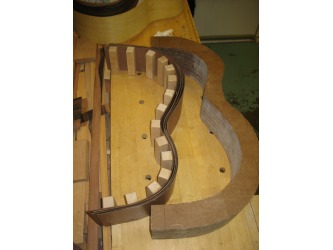
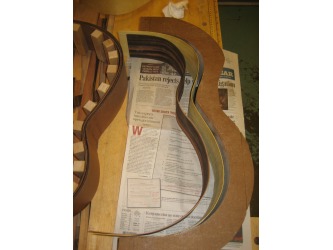
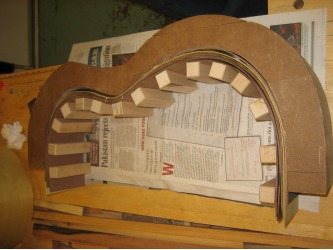
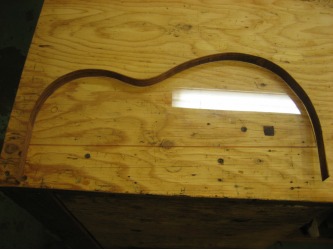
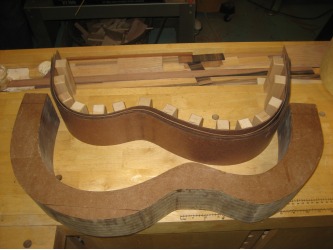
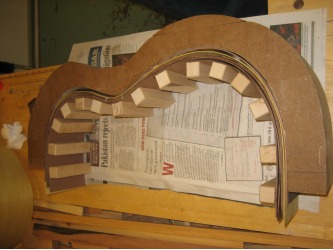
We decided to go a slightly different route...we are following the method Bogdanovich recommends - Laminating. His method involves thinning the side to 1.66mm and a second piece to 1.15mm, bending both to desired shape and gluing the two pieces together using a side mold.
The laminate method, in my opinion, has one great advantage...when bending the side, you don't have to be exactly perfect with your bends. Gluing the two pieces together in the mold pulls the side into nearly perfect shape.
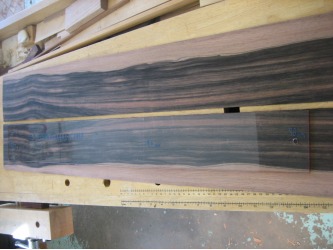
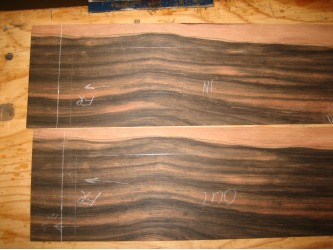
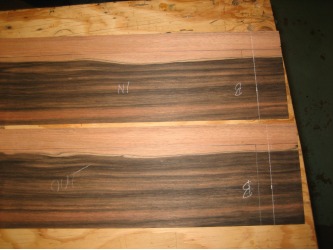
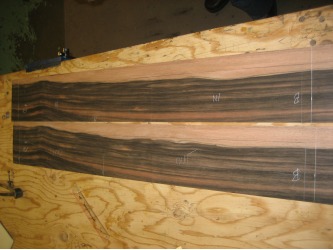
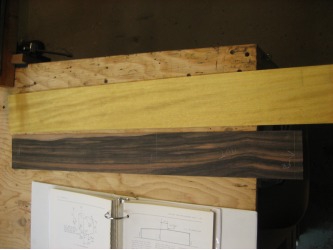
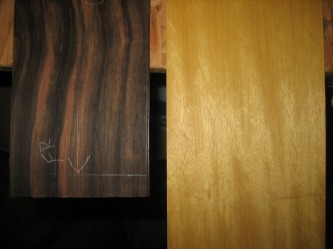
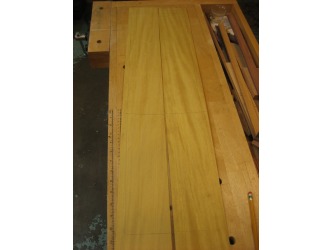
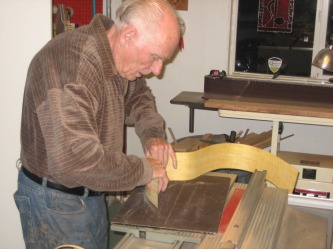
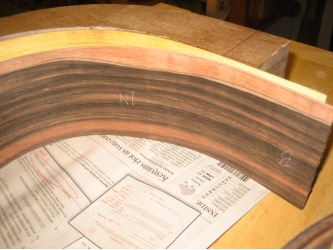
We are using macassar ebony on the sides (same as back) and yellow heart for the laminate. First step was to thin the woods down to the appropriate thickness and square at least one edge of the total length.
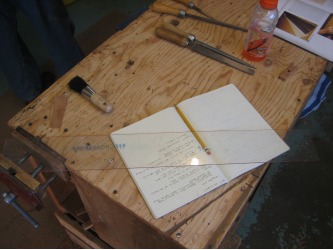
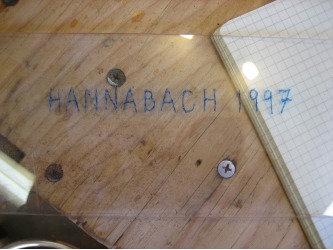
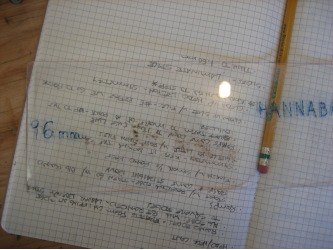
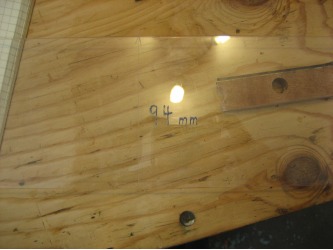
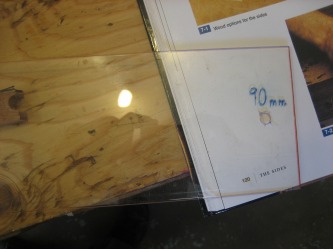
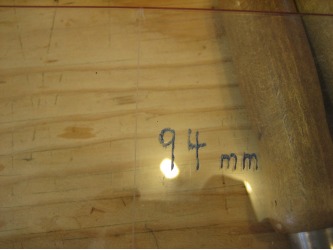
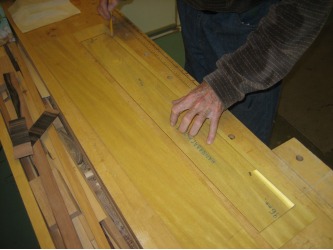
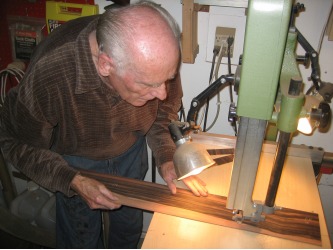
Then you want to lay out the side. First decide which side of the sides will be the outside. Then we traced them using a template from a Hannabach side. The side is 96mm wide at the bottom, 94mm wide at the waist (waist is 11.5cm from the top of the side) and 90mm wide where the side slots into the neck. After the sides and laminates were marked we trimmed the sides a bit using the band saw. Remember the sides are mirror images, so when you trace and cut the dimensions, make sure you flip the template over when you trace the second side. Otherwise you'll end up with two sides that are exactly the same...not good!
Also keep in mind one edge of the side should be straight...that's the edge that will glue into the top. The bottom edge of the side tapers from 96mm wide to 90mm as outlined on the pattern. It's best to slow down and measure twice and cut once and mark clearly on the side which will be on the inside and outside of the guitar and which edge is the straight edge.
They yellow heart will add a cool contrast to the inside of the guitar...
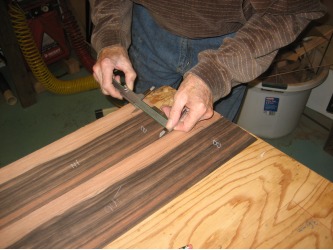
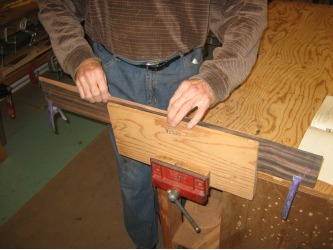
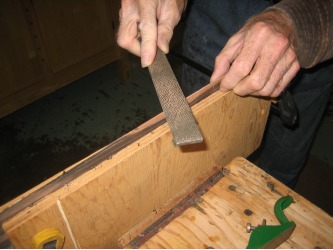
Before bending, we decided to trim the sides a bit. We cut the basic shape with the bandsaw then followed that up by clamping the sides together and using a plane and file to straighten out our cuts to match the 96 to 94 to 90 taper. We also left about 1cm on each edge. We'll finish trimming the sides after they have been glued to the top. Having them glued to the top makes them more ridgid so they are a bit easier to trim.
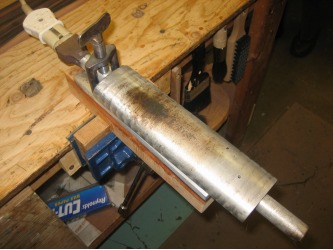
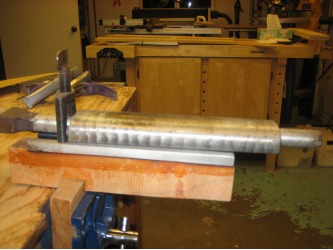
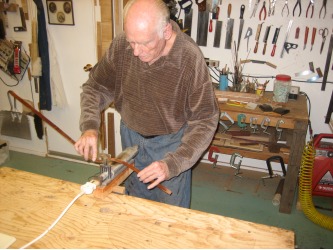
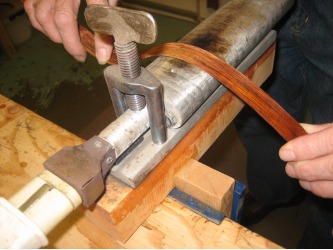
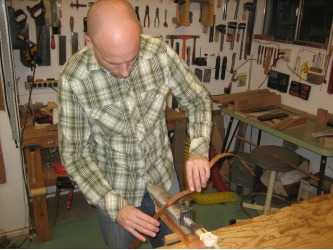
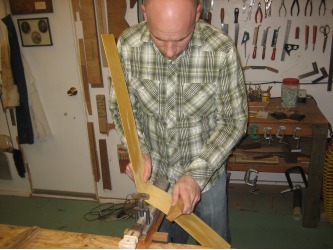
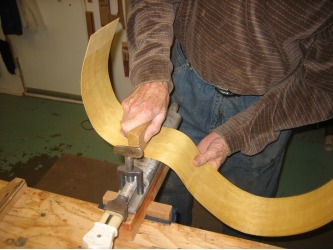
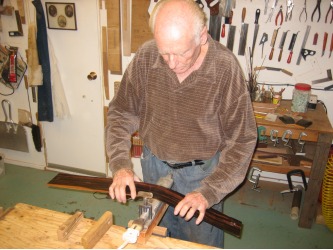
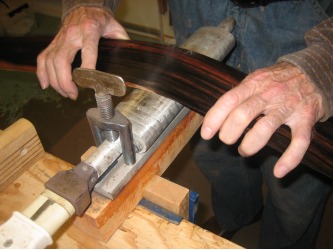
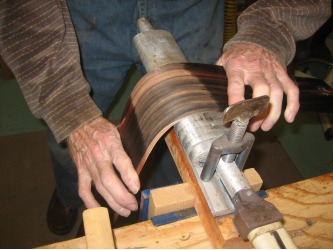
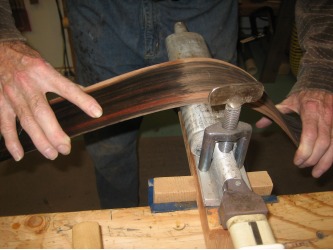
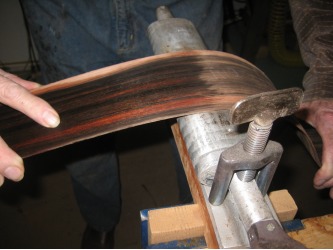
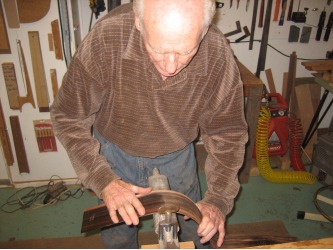
Now on to bending. There are a lot of different bending irons out there. Dad brought the one he uses back from Germany. He added a switch to it to more easily turn it on and off (that's the only way to control the heat). If the iron is too cold, the wood won't bend as you would like it to. And if the iron is too hot, you run the risk of leaving burn marks (which seem to never completly come out...even after sanding).
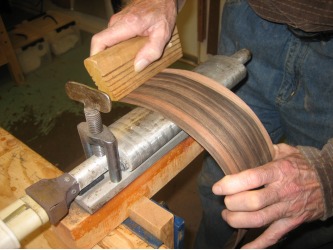
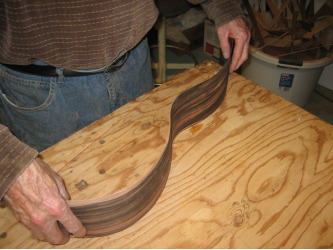
Basic things to keep in mind when bending: wet the wood, use little bending motions, keep the wood moving on the bender, keep grain as perpendicular to the bending iron as possible (if you don't the side will have a twist in it), and if you bend too far one way flip the side over and correct yourself.
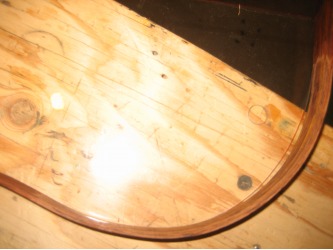
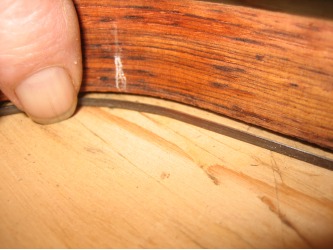
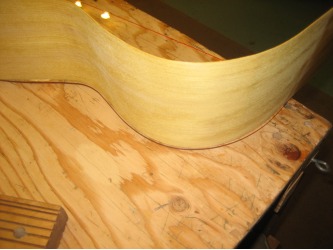
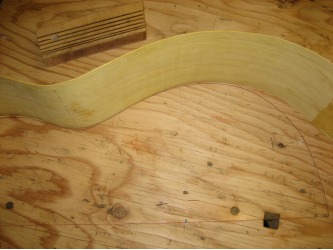
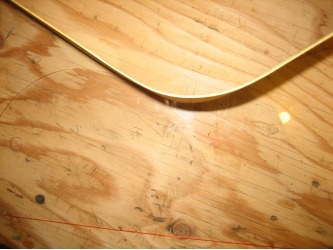
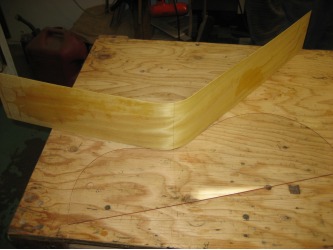
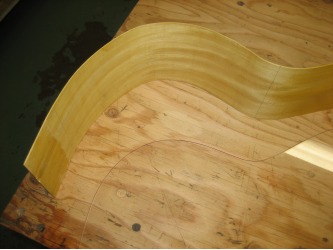
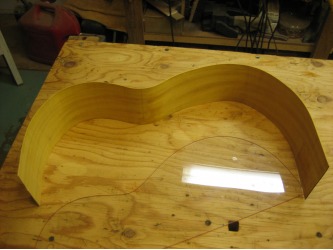
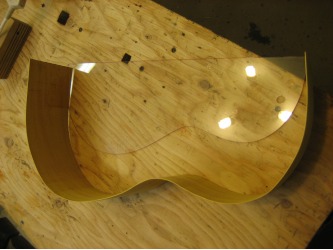
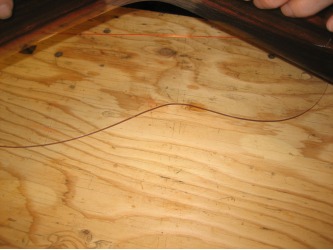
We started by doing some practice bends on a couple of scraps...this gave me a chance to get a feel for the bending process. When you are checking the bend against the template, rest the side on TOP of the template and not on the table pulled into the edge of the template.
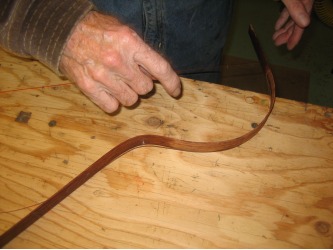
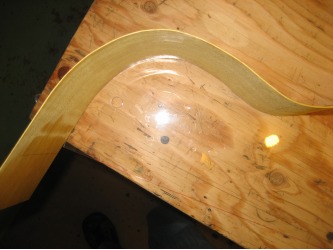
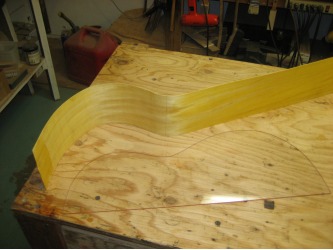
After the practice pieces we started bending the yellow heart laminate.
Having me bend the sides easily added an hour to our work time! To become efficient at side bending you just need to practice...anything worth doing well is worth doing poorly at first!
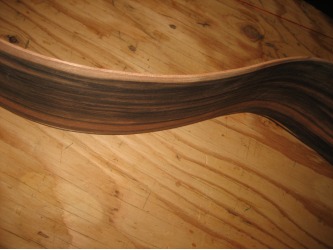
Now on to the macassar ebony sides. Dad will bend the sides so they follow the template very closely and so we won't be here all night! It only took dad about 15 mins to bend the side. We only bent one tonight so we could get it in the mold overnight. Below are some more pictures and a little video of the side bending.
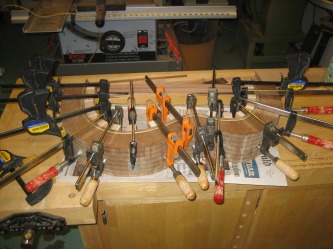
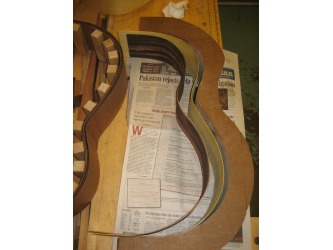
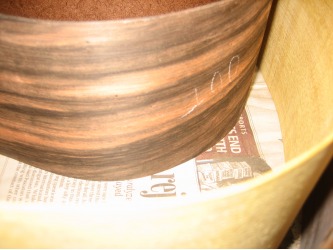
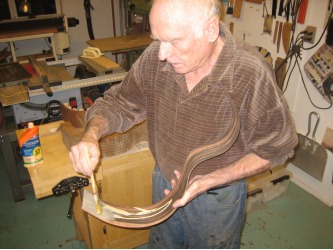
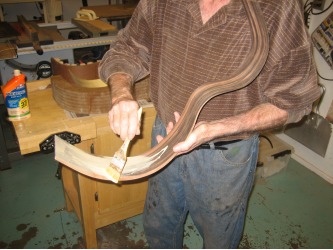
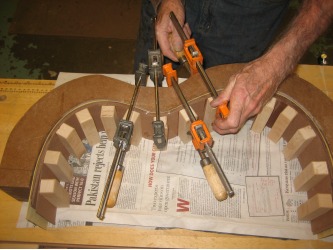
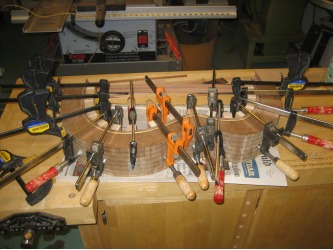
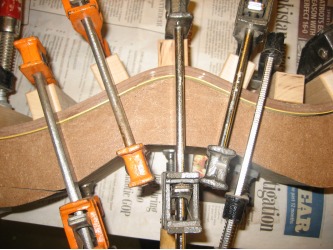
The last step for the night was to get the laminate and one side in the mold to glue overnight. Set the pieces in the mold as they will be glued and mark the inside of the side where the glue will go. It's really easy to pick up a side or laminate and apply the glue to the wrong side.
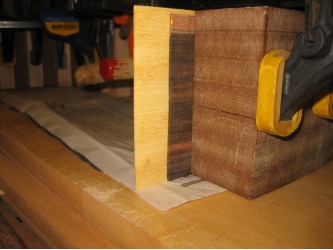
Put a piece of wax paper or newspaper under the mold so it won't stick to your work bench. Also, make sure you don't have any glue between the side and the mold itself.
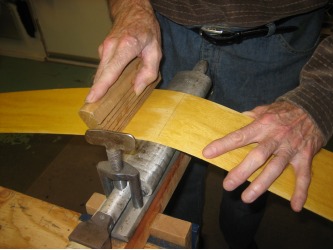
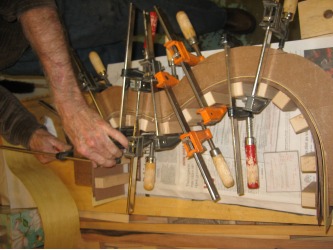
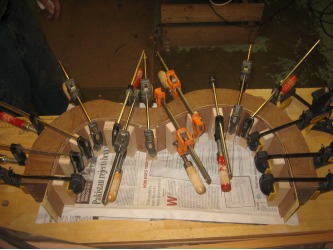
Apply the glue liberally and set the pieces in the mold. Start clamping from the center and work your way out to the edges alternating left then right. Also make sure the flat edges of the laminate and the side are flat down on the bench. Dad even sanded the flat edge of the laminate on the sanding glass before we glued it. With the wet glue it's easy for the laminate to shift...so take a close look and make sure everything is lined up as it should be.
