< Work Day 6 Work Day 8>
Work Day #7 - November 6th, 2008 (3.5 hrs)
Work on the neck continues...
We started by deciding the wood we would use on the head plate. Typically, builders use a thin piece of white wood w/ a dark wood on top. But this is another part of the build that you can pretty much do whatever you want.
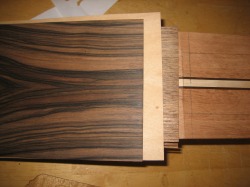
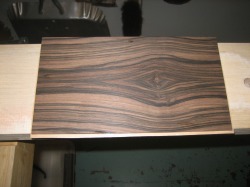
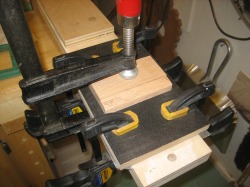
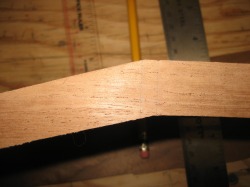
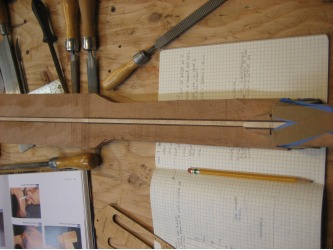
We decided on a thin veneer of maple w/ macassar ebony on top. Dad had a piece of macassar that we split, thinned and glued together. The macassar is about 1.6mm thick and the maple is about .5mm...apply glue and stick them together. While the veneer is gluing, we double checked the head and fingerboard for square and we had to sand them a bit on the belt sander. You want to make sure you have a nice straight line where the head ends and the neck begins.
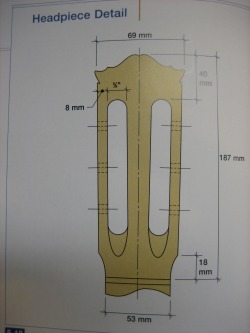
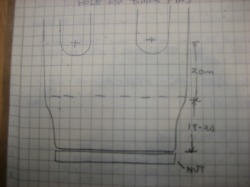
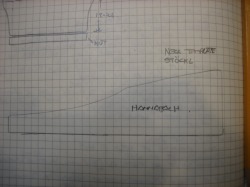
While straightening out the head, we looked at various head layouts. Starting from the nut, the first 17mm-20mm up is called the cusp. And different builders have various opinions on how tall the cusp should be. The next measurement starts at the top of the cusp and goes up another 20mm to the center of the hole for the tuning pins.
Dad's guitars are usually 20mm and 20mm. Bogdanovich prefers an 18mm cusp (but doesn't show the next measurement). Hannabach uses about a 20mm and 20mm.
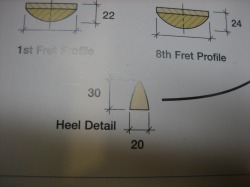
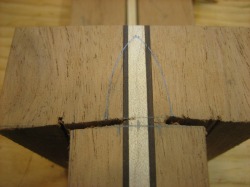
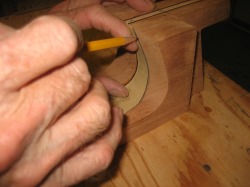
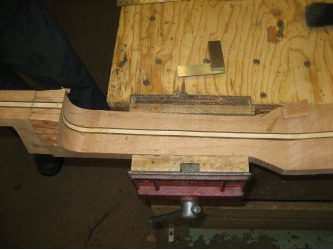
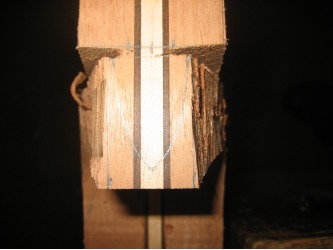
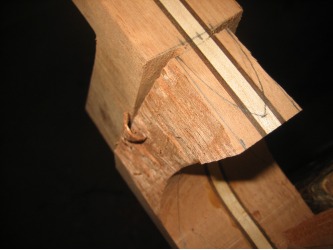
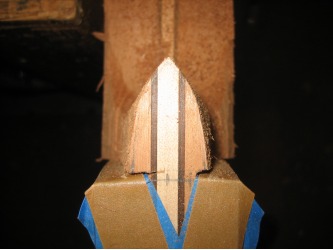
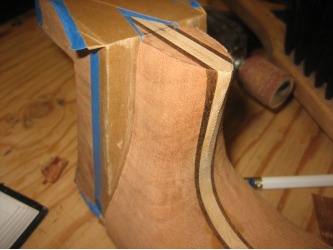
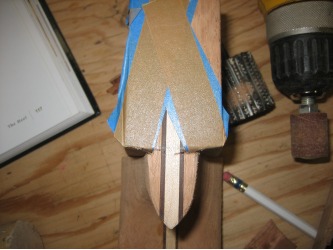
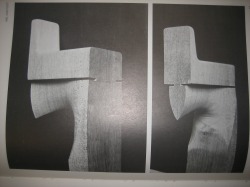
So with the headplate veneer gluing, we started to shape the heel of the neck. The first step is to decide on its measurements and design. Heel width and height is again subjective. Bogdanovich likes the heel to be 20mm wide and 30mm tall. Another builder whose book we looked at likes a 20mm by 38mm. We went with the 20mm X 30mm and used a set of French curves to draw the point.
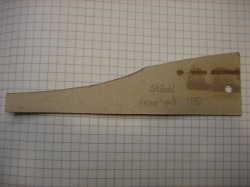
After we decided on the heel shape, we used a neck template (stöckl) that dad copied from Hannabach when he was there in 1972. This will give us some guidlines when it's time to start chisling.
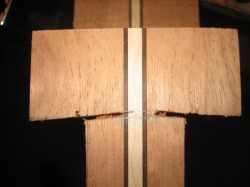
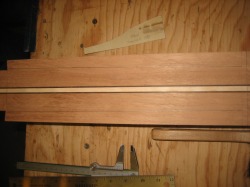
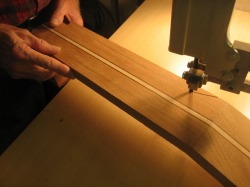
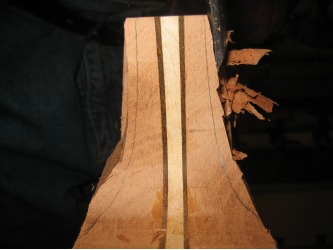
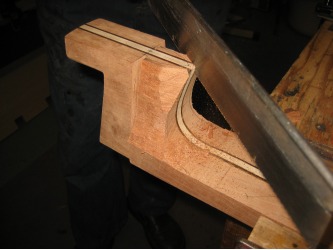
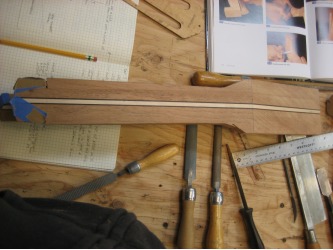
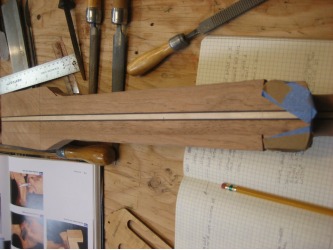
Then we mark the fingerboard so we can trim part of the neck w/ the bandsaw.
The fingerboard measurements we will use are 53mm wide at the nut, and 63mm wide at the 325mm length mark (12th fret).
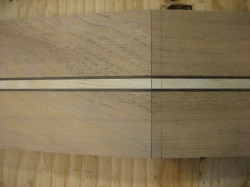
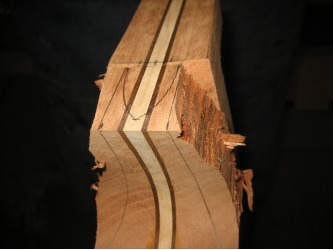
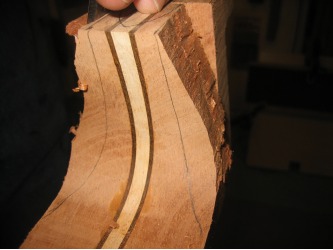
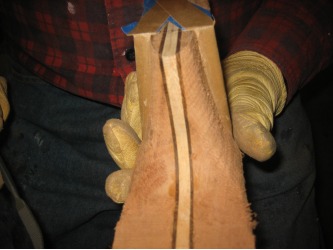
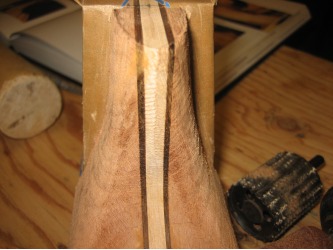
Since we have a laminate in the neck, we need to make sure our fingerboard measurements are accurate so the laminate is centered.
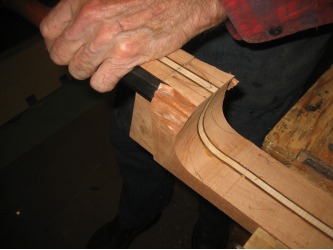
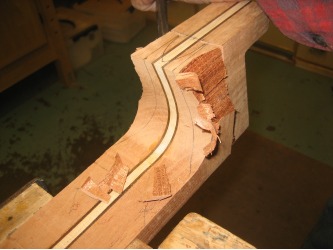
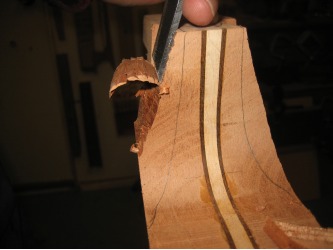
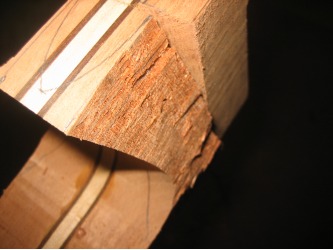
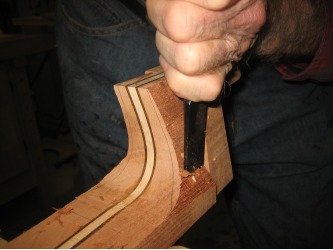
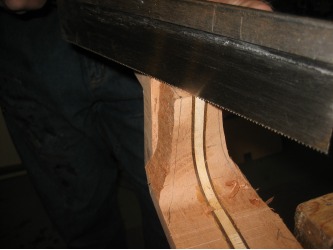
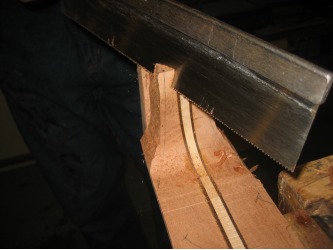
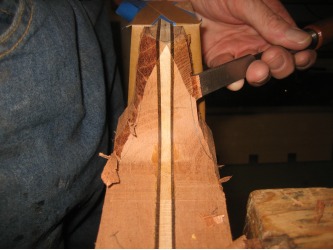
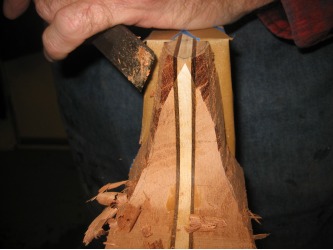
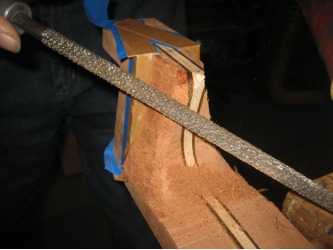
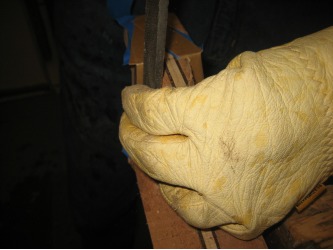
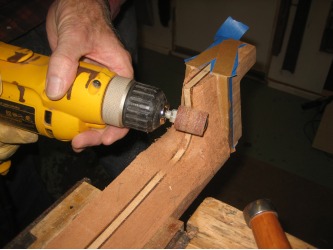
Now we begin the chiseling, cutting, rasping, filing, and sanding...
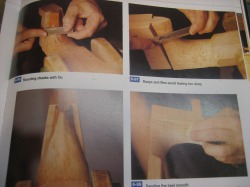
For me, using the chisel was the most daunting (sharp chisels make a huge difference...in both speed and safety). I was afraid of taking too much off w/ each cut. You need to pay attention to the direction of the grain when using a chisel. If you are trying to make a cut straight across but the grain drops down, then your cut will likely slope down as well. So if possible, cut from the other side of the piece or chisel against the grain.
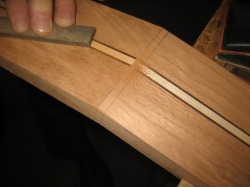
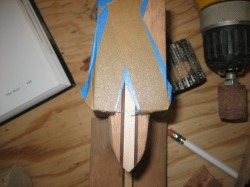
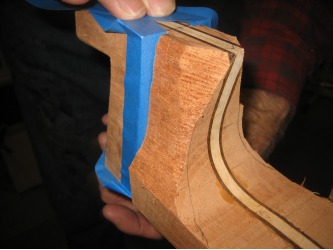
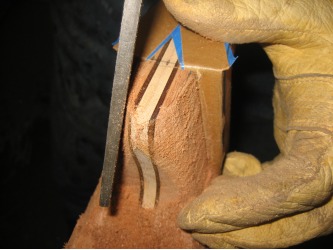
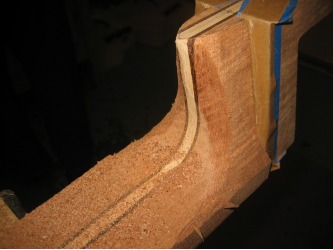
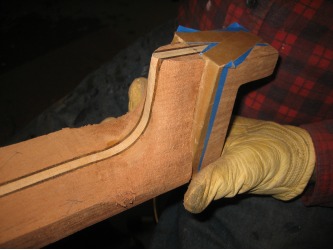
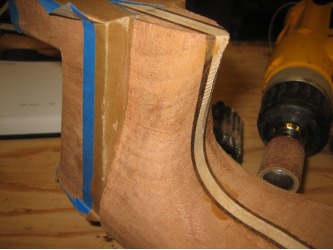
We used some tape on the foot to protect it from the rasps and files we used...you don't want to leave marks on the foot.
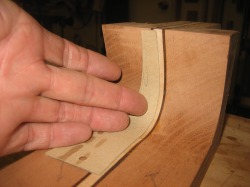
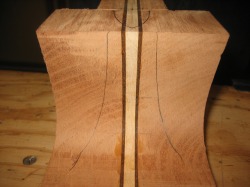
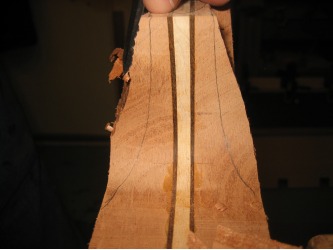
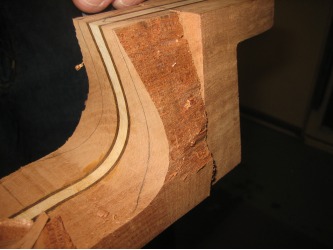
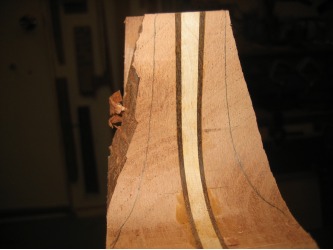
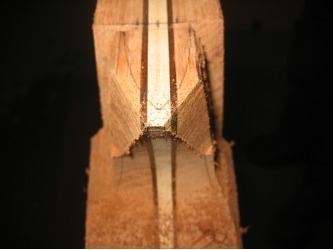
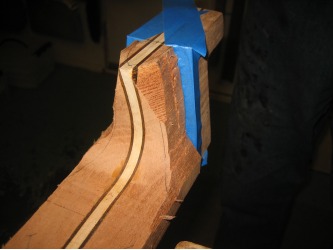
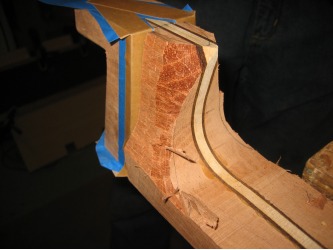
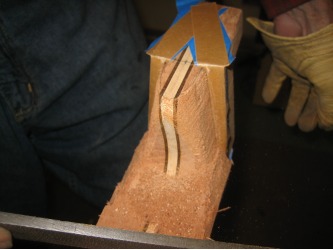
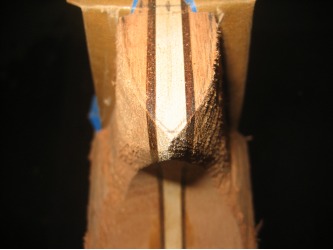
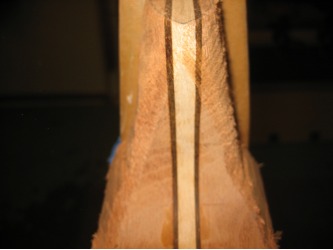
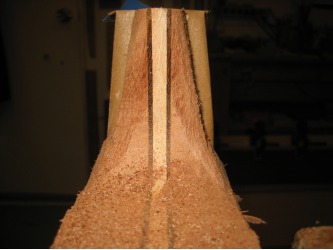
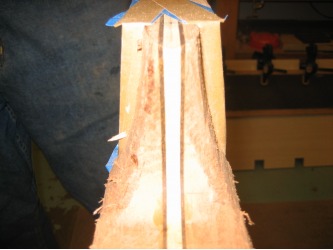
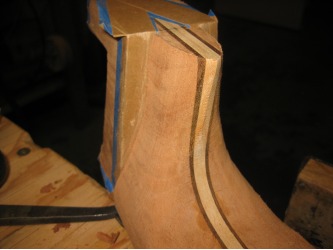
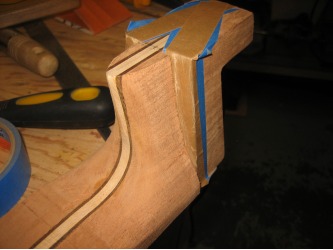
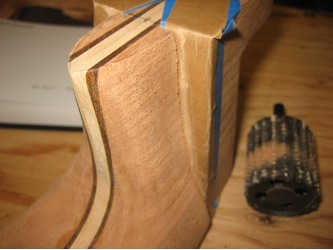
There are some gentle curves you want to shape into the heel. You want a nice curve from the heel to the fingerboard. The heel is 20mm across at its widest point and the fingerboard will be 63mm. So you want the center of the heel to be a touch narrower then gradually curve out to the fingerboard.
Also, we want to have a nice curve from the the point of the heel to the back of the neck. This is a tricky curve to get just right along w/ bringing the heel to a nice point.
One of the most important things to pay attention to is symmetry. When you are looking at the heel, it should be as perfectly symmetrical as possible. This is one of the hardest things to do. It becomes really easy to sit and work the heel to death...meaning in trying to get it just right, you can spend hours and hours. At some point, you just have to say it's good enough and leave it alone.
But the bottom line is patience...take your time and if you're like me, only remove small amounts of wood at a time. It's easy to remove more, but a lot harder to fix a spot where you've taken away too much.
