< Work Day 5 Work Day 7>
Work Day # 6 - October 28th, 2008 - Neck continued (3.5 hrs)
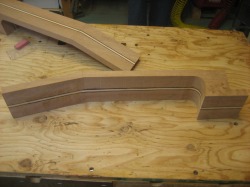
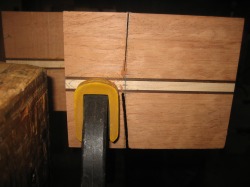
Tonight we continued work on the neck. After the glue dried from adding the laminate between the two neck halves, we trimmed the laminate to the shape of the neck. Also, we surfaced the area where the fingerboard will eventually go and the front side of the head.
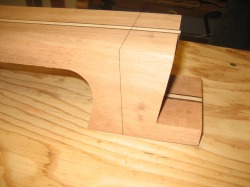
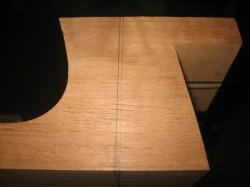
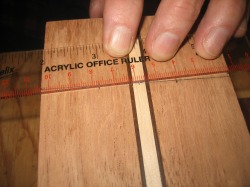
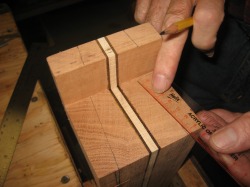
Now we started to draw out the lines to start shaping the foot and heel. The first line we drew was where the 12th fret will go. Which is 325mm from the bottom edge of the nut. This is where the sides will meet the neck. On the sides of the foot, we marked a line 2mm back from the 12th fret line. This would be the baseline for the 2mm slot we will cut for the sides.
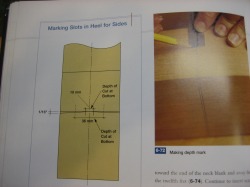
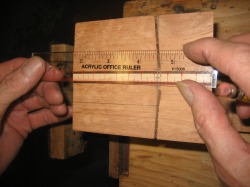
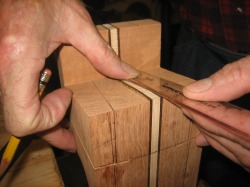
Next we marked the angle and depth of the cut. On the top of the neck the cut will come in 18mm from the center on both sides. And on the bottom of the neck, the cut will come in deeper...to 5mm from the center on each side. With those lines drawn, we use a straight edge to mark the angle starting at the 2mm line drawn on the side of the neck connecting to the 18mm line on the bottom of the neck and the 5mm line on the top.
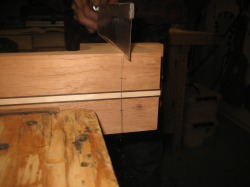
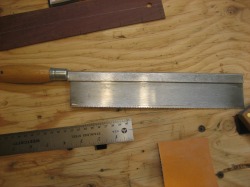
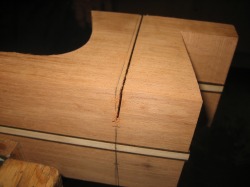
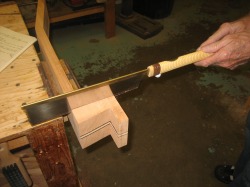
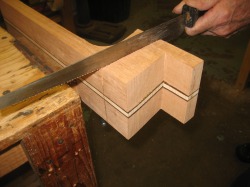
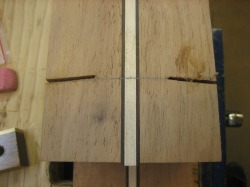
With the lines for the cut finished, it was time to start cutting. We started w/ a thin back saw to get the line started then finished the cut with a Japanese saw. After the first cut w/ the Japanese saw, we opened the cut further using a saw with a thicker blade and the final cut was made using a dry wall saw. When making each cut, be sure to "feel" for the bottom of the cut. You want the cut to be even across the length of the groove. Since the groove is angled and slanted, it's important to pay attention while sawing. If your cuts are perfect, then the angles will match up evenly, but if your first cut is off, you need to match your first angle on the opposite side...so your second cut will have to be off in the same way the first cut is.
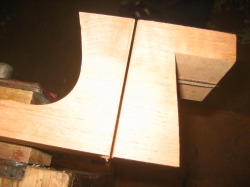
We will likely need to open these cuts up a bit further but we won't worry about that widening until we have the rest of the foot and heel shaped.
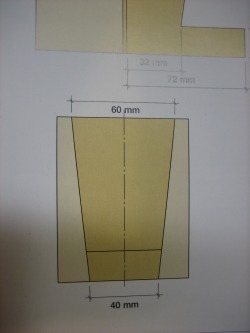
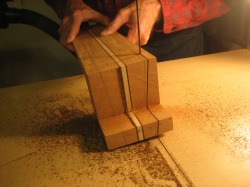
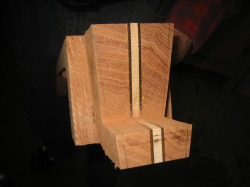
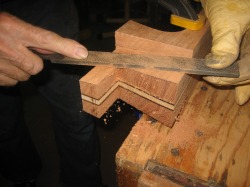
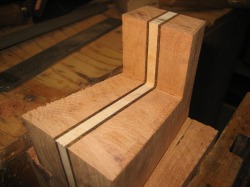
Next we laid out the lines to shape the heel and foot. The foot will be 60mm wide and the heel will be 40mm. After the lines were drawn, we took out most of the material on the bandsaw. After the bandsaw, we finished using a combination of files, chisels, and sandpaper.
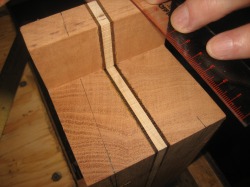
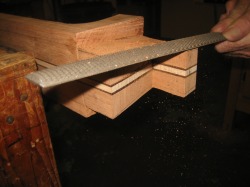
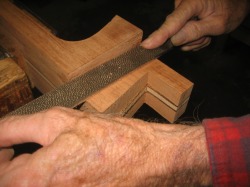
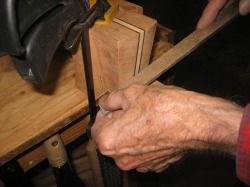
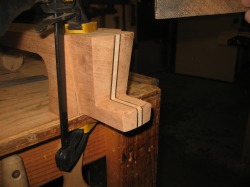
A couple of things to keep in mind from the two pictures above. First, when using the file you'll want to keep it as flat as possible and by having the file contact the surface all the way across as shown above, you'll avoid a rocking motion and rolling over the edges. We want this surface to be smooth and flat.
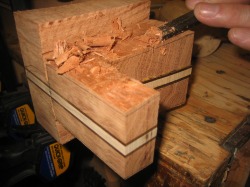
Second, be aware of grain run out. The grain of the wood is described as run out. So when you are using a chisel, take a close look at the grain pattern. If the grain is perfectly parallel to the line you are tring to chisel, then you are a lot less likely to have the chisel bite and create a split or gouge well beyond the line you are trying to stay inside.
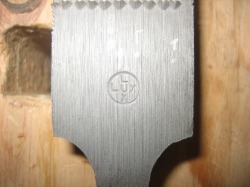
Dad uses files he bought in Germany. One is a Lux rasp purchased at the German equivalent of Home Depot, Obi. The other rasp dad uses a lot is a hand hewn #4 he got in 1972.
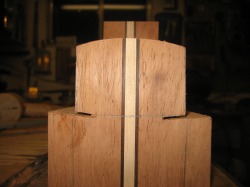
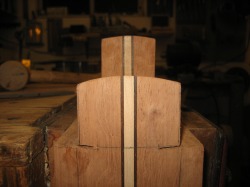
After we finished shaping the foot and heel, we decorated it a bit by rounding the surfaces with a file.
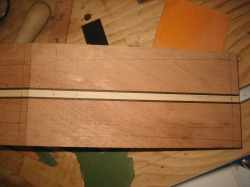
We finished this work day by drawing the basic dimensions of the head (80mm at the top, 63mm at the bottom which is 10mm up from the nut. I took the neck home with me to start drawing out some patterns for the head.
