< Work Day 4 Work Day 6>
Work Day # 5 - October 25th, 2008 (3.5 hrs)
We decided to leave the top and back as they are in a semi-finished state. When we get ready to attach them to the sides, we'll do the final shaping of all the bracing, which is all that is left.
So now...on to the neck.
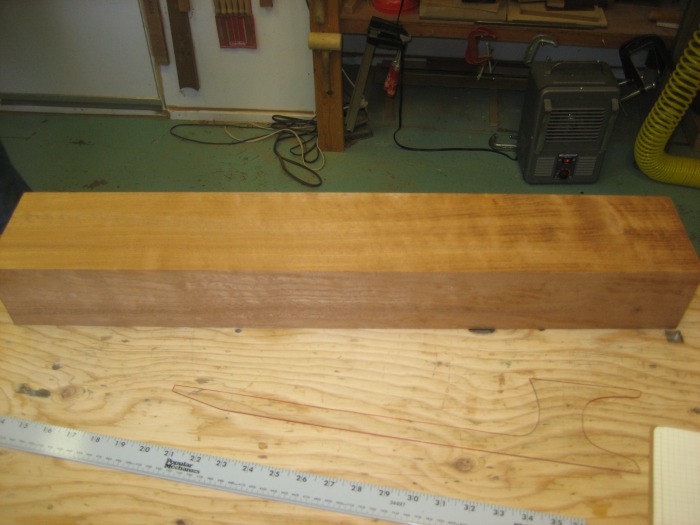
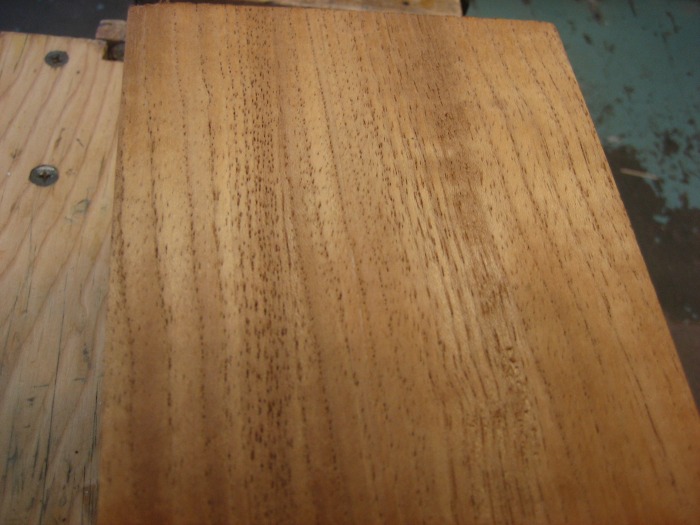
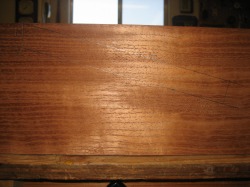
We chose a block of curly Spanish cedar for the neck. The block we purchased is big enough to give us two necks...so dad will have a neck ready to go for his next project.
 |
 |
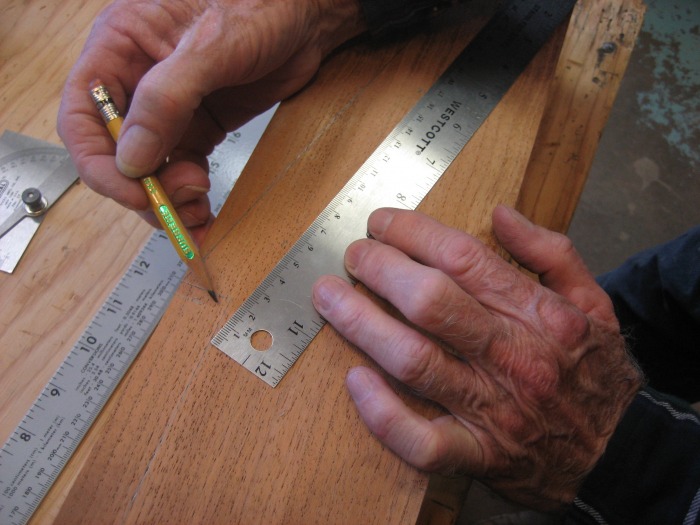
We start by laying out the basic outline of the neck with pencil. Our neck dimensions will be a combination of what Bogdanovich recommends and what dad has done with Hannabach's influence.
Again, different builders have different ideas of how the neck should be shaped. How large the head should be (length and width), how wide the neck is at the foot, how deep the heel is, etc.
For starters, we are making a 65cm string length guitar, so that string length determines the overall length of the neck and is the fundamental measurement when laying out the neck.
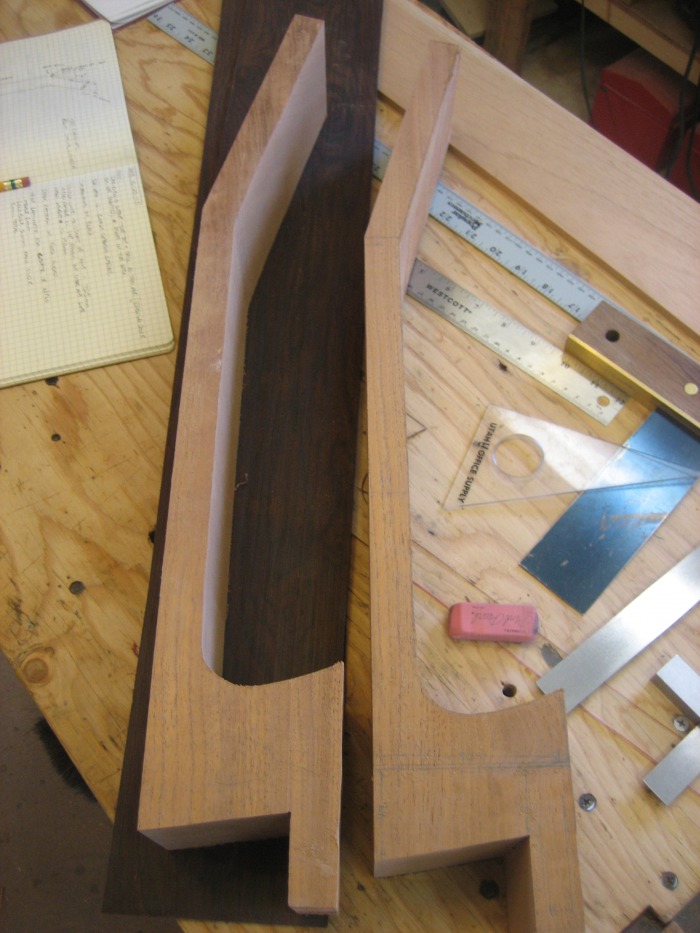
I'll start by showing a couple of drawings and the rough cut out neck.
 |
 |
 |
 |
 |
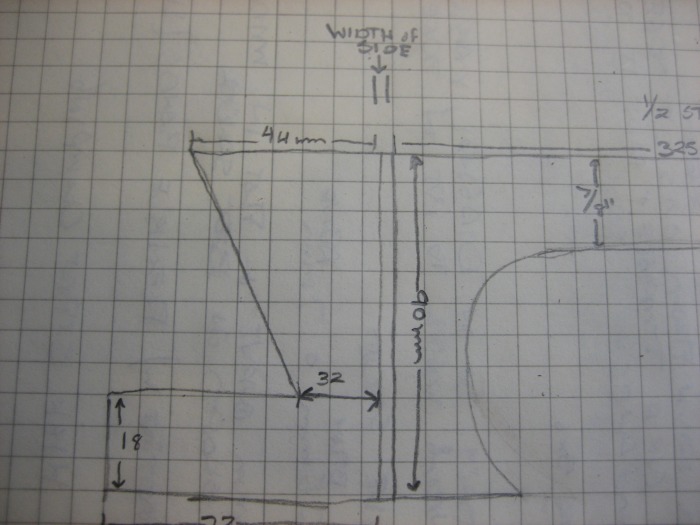 |
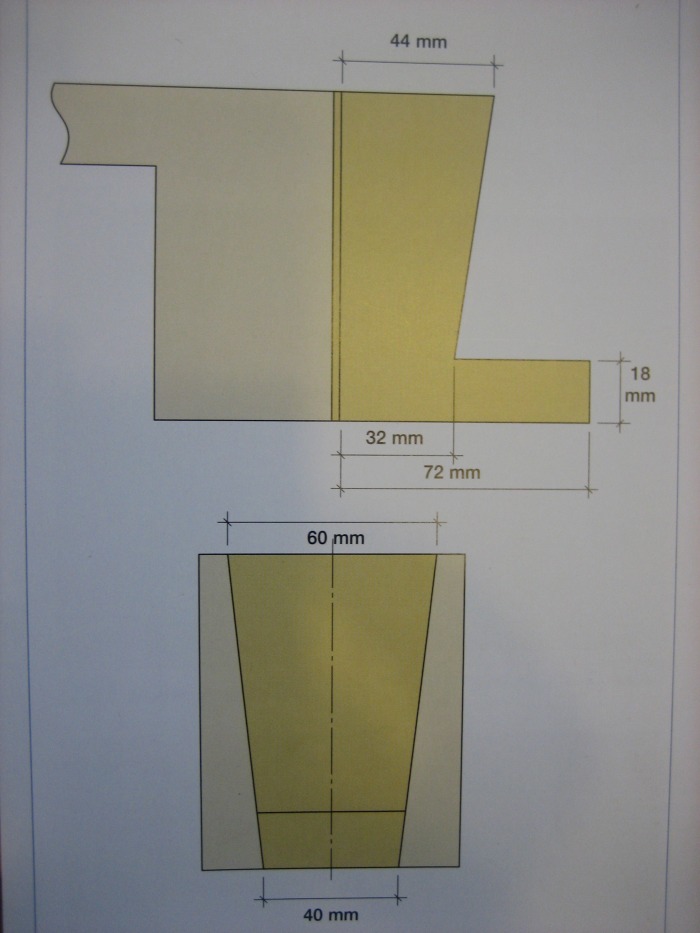
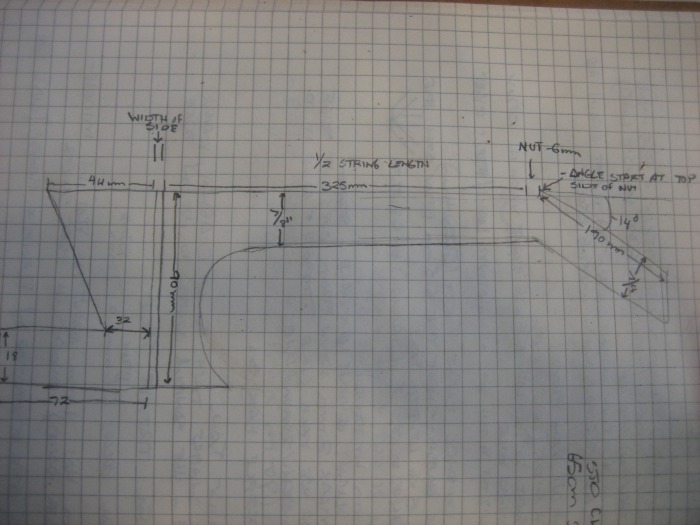
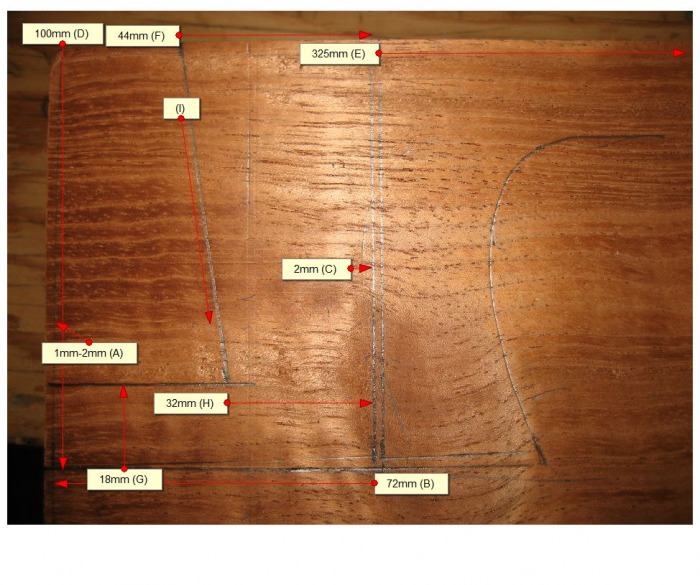
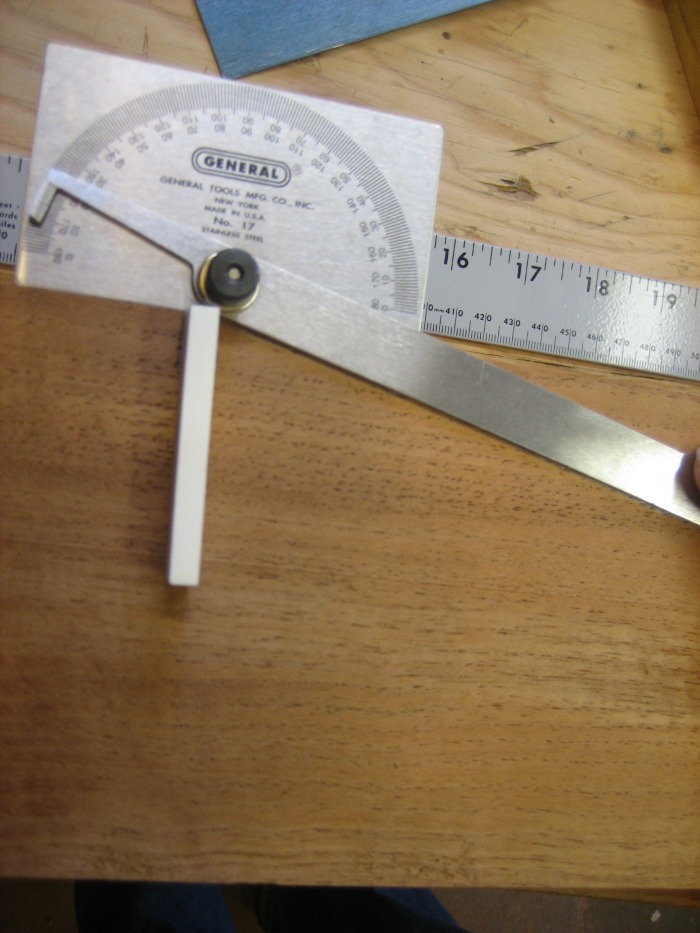
We first make a line 1mm-2mm (A) from the edge of the block from where we begin our measurements. Lines for the 12th fret and the nut are laid down first. The 12th fret should be 72mm (B) in. Then a second line approx. 2mm is drawn (C). Both lines should be 100mm from the top edge (D). From that second line, measure 325mm (E) (1/2 of our 650mm string length) which marks the bottom edge of the nut. From the 12th fret line measure 44mm back (F). Then mark a line 18mm up from the bottom line (G), make it about 45mm long. Then from the 12th fret line, make a small mark 32mm (H) toward the bottom of the neck. Draw a diagonal (I) between the 44mm (F) line and the 32mm (H) mark.
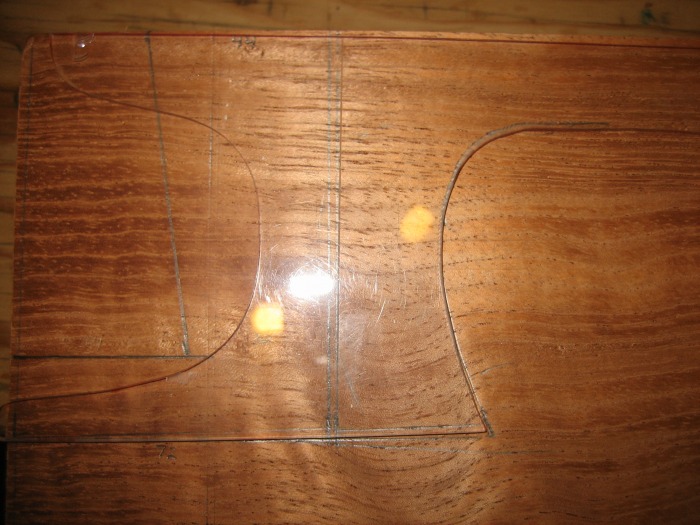
I know...it's a lot of measurements. And if I'm honest, when we started laying this out, I couldn't see it. It wasn't making sense. But to make the cut, we had to flip the block over and draw the same measurements on the other side. When we made the second set of measurements, I was finally able to see how it was going to work.
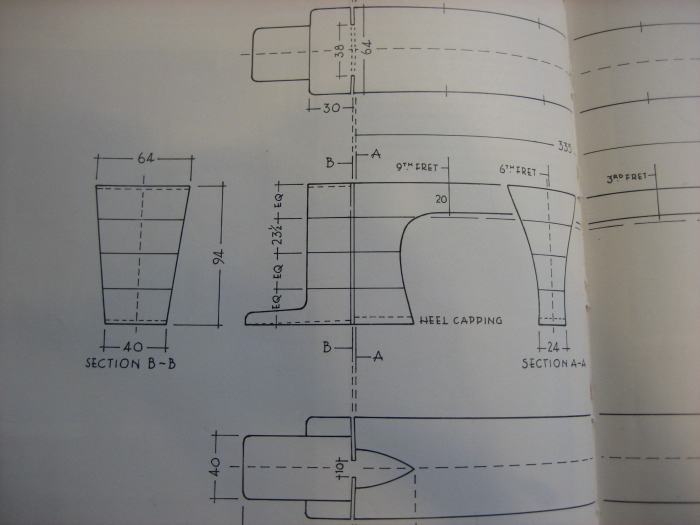
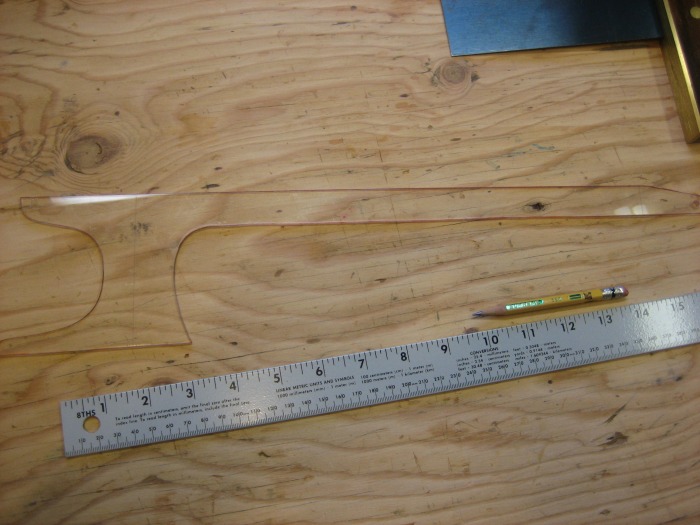
To make the curve where the heel cap is, we laid Hannabach's template on our block lining up the 12th fret mark.
 |
 |
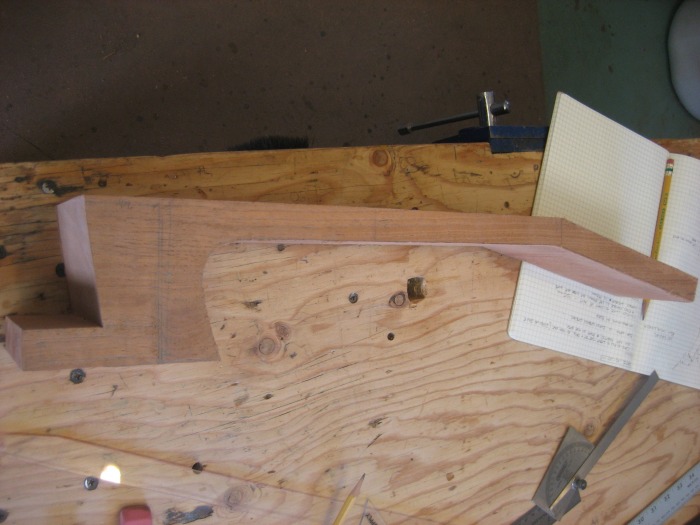
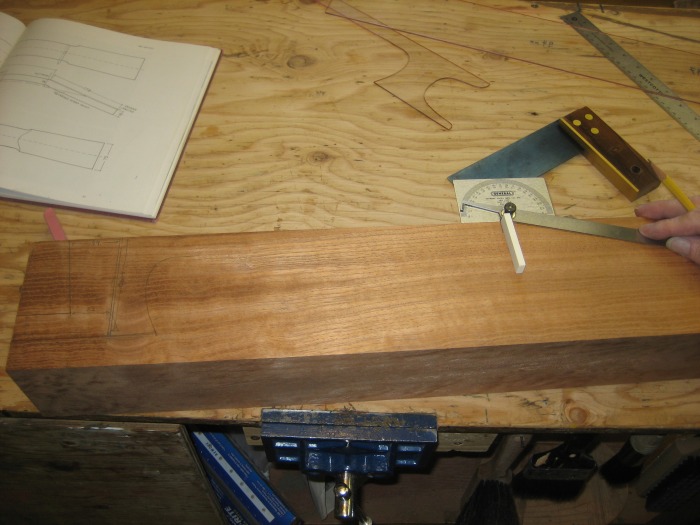
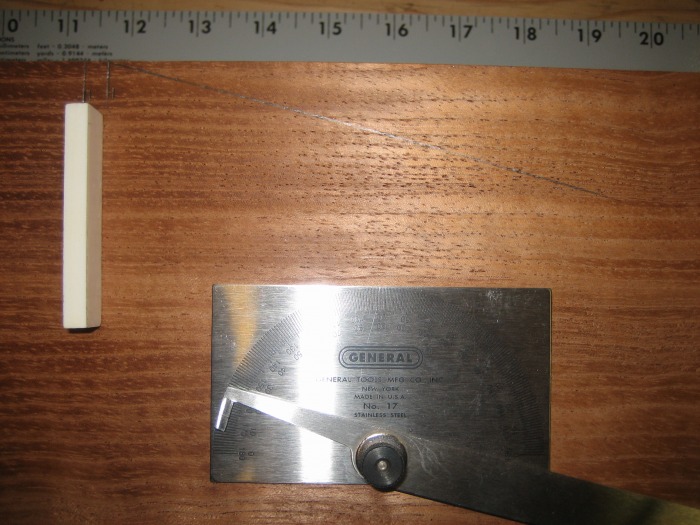
Now we move forward on the block to lay out the head. For the rough cut, the neck will be about 7/8" thick.
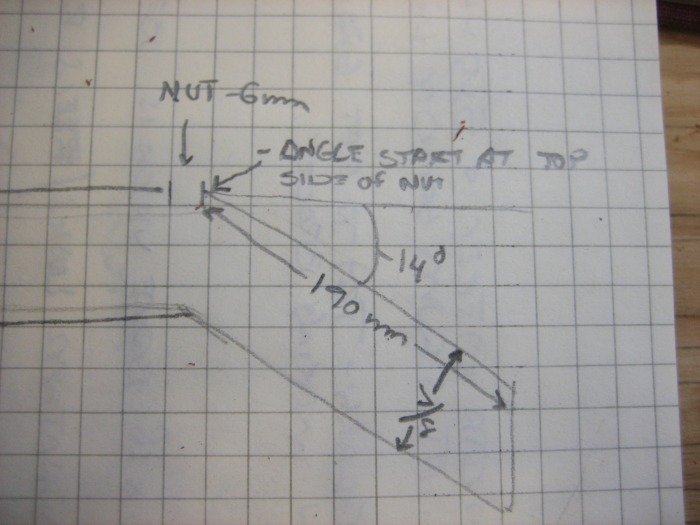
To draw the head, we start at the front of the nut (nut is about 6mm thick) and mark a line at 14 degrees. The head length will 190mm on the top line and 200mm on the bottom.
 |
 |
 |
 |
 |
 |
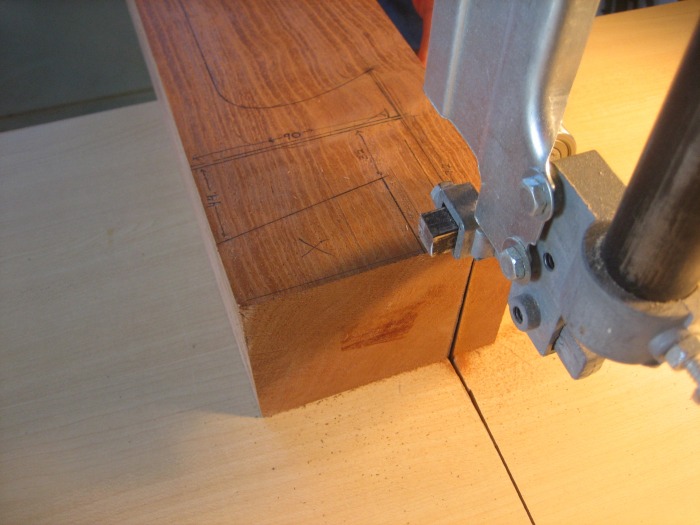
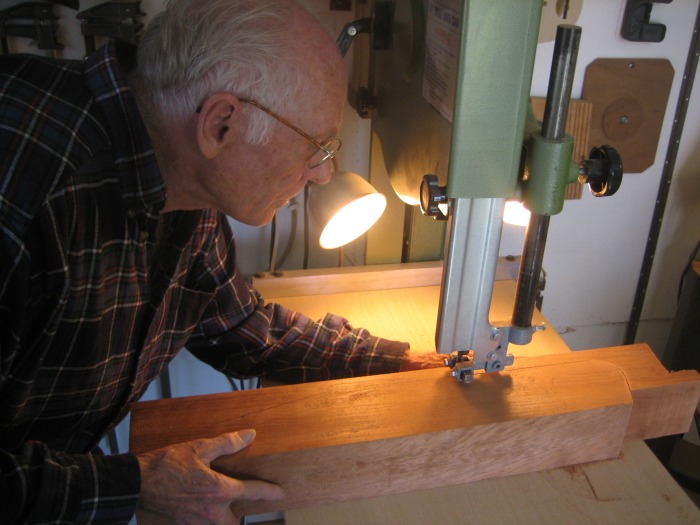
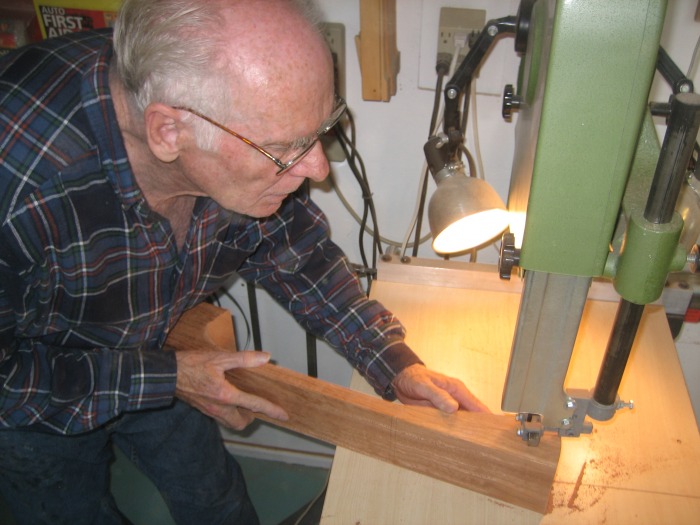
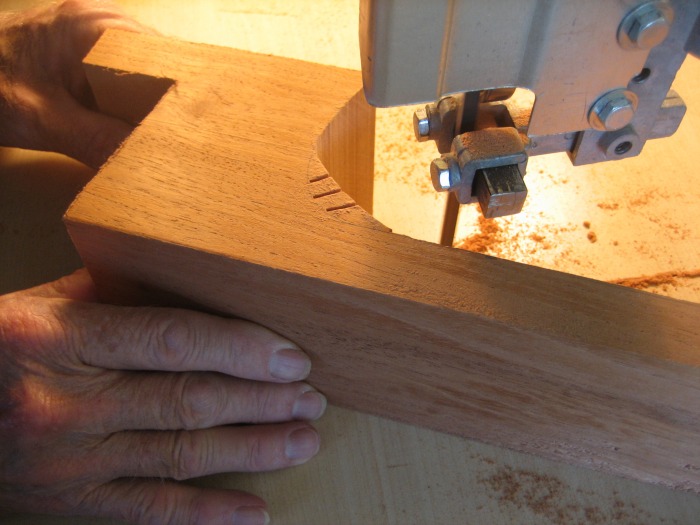
Once we had all our measurements - and checked them twice...we were ready to make the rough outline cut. We went to the band saw to make the cuts.
 |
 |
 |
 |
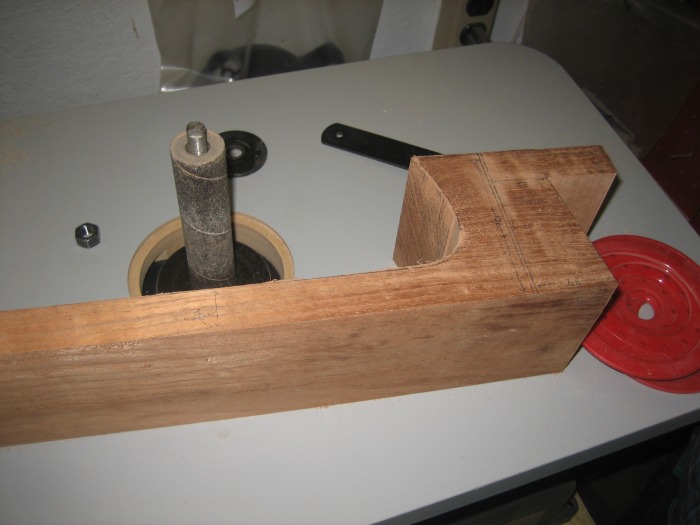
After the rough cut, we smoothed out the curve on the small oscillating drum sander.
 |
 |
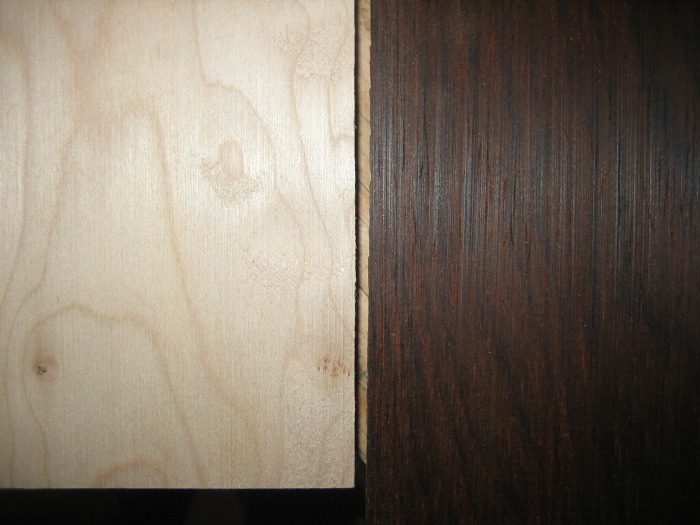
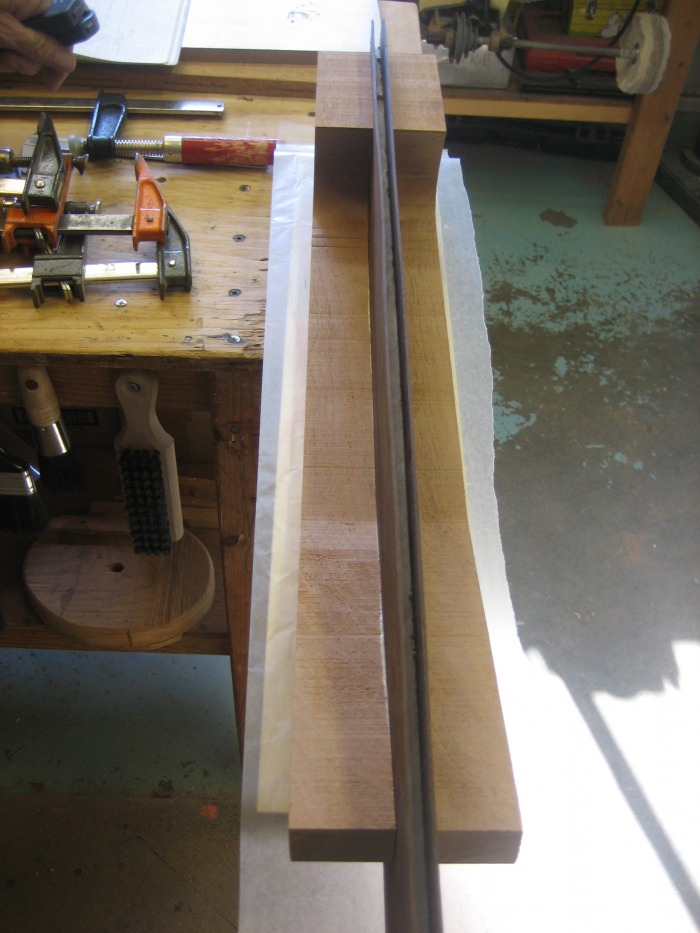
To strengthen the neck and add decoration, we decided to laminate 3 pieces of wood together into a 10mm wide strip that we will insert in the middle of the neck. We used two 2mm thick cocobolo pieces with a white 6mm maple strip in between. We applied glue to the two sides of the maple and stuck them together for an hour or so clamped between two long and straight boards.
 |
 |
 |
 |
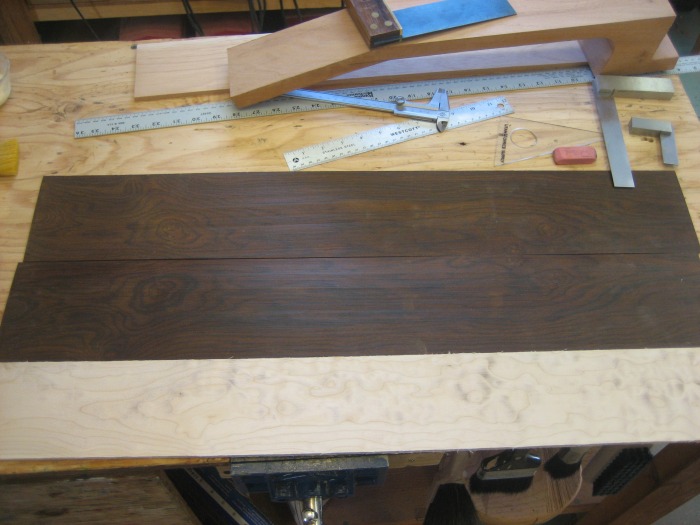
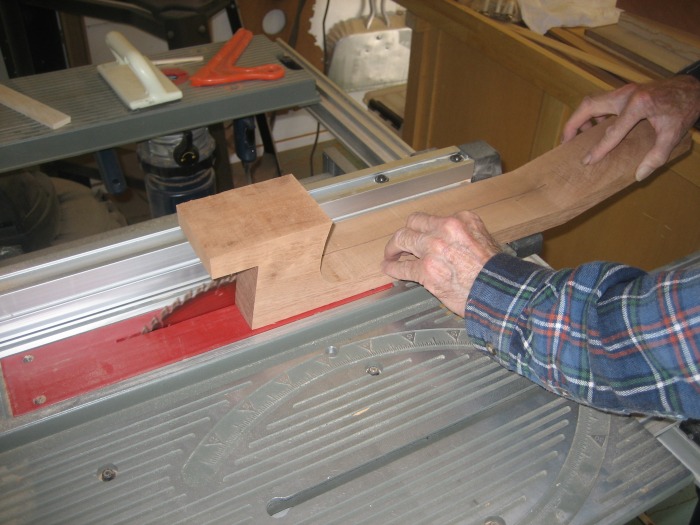
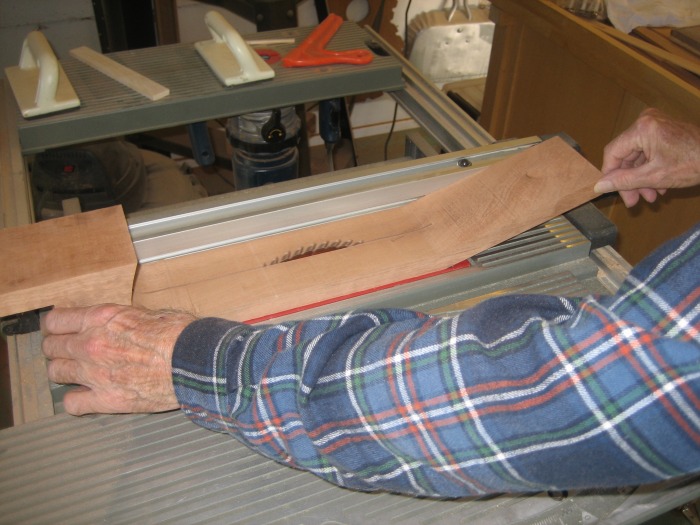
While the laminate glues, we prep the neck. First we square the fingerboard and head on the belt sander. Then we mark the center and saw the neck in half on the table saw.
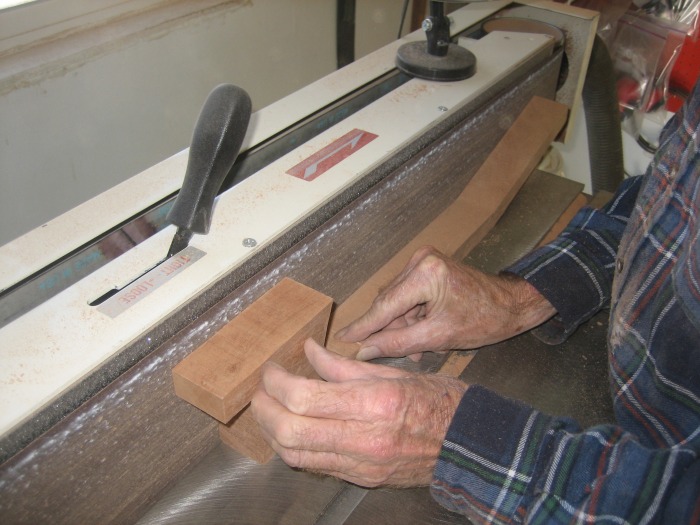
Once cut in half, we surfaced the center cuts so the laminate would fit flush to the two neck halves.
 |
 |
 |
 |
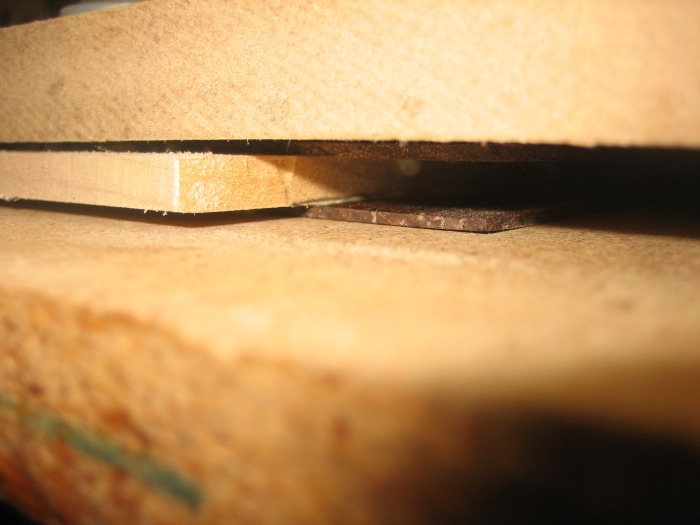
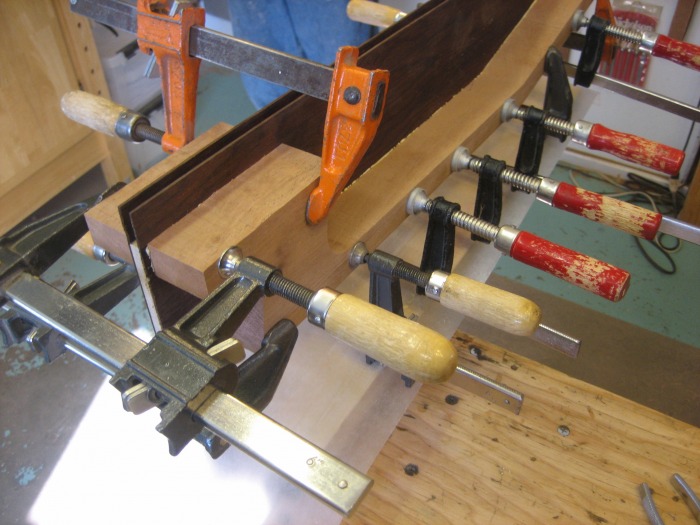
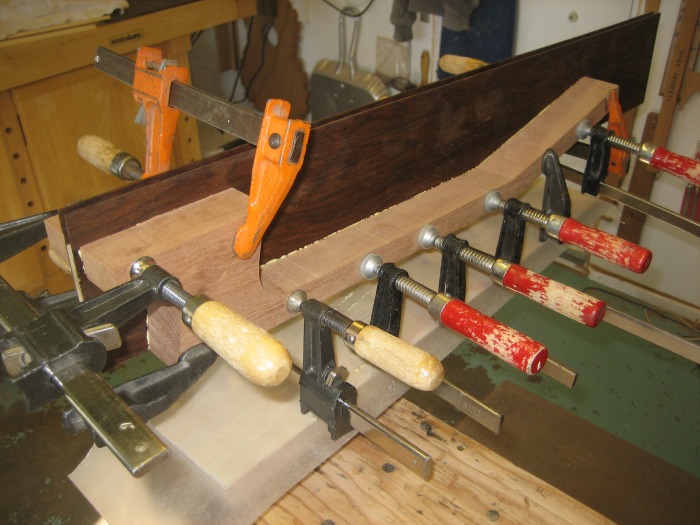
With the laminate glued, we trim one edge on the table saw. That edge will sit flush with the fingerboard. Then we sandwich the two neck halves with the laminate and glue it (use enough glue to get a good squish out). Make sure the laminate is at least flush with the fingerboard or even slightly lower than the halves of the neck.
And this is where we stopped for this work day. Next time we'll continue shaping the neck...
 |
 |
 |
 |
