< Work Day 2 Work Day 4>
Work Day #3 - October 11th, 2008 (3.5 hrs)
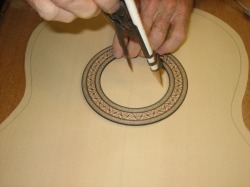
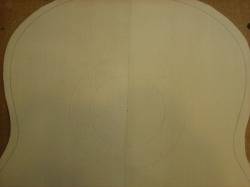
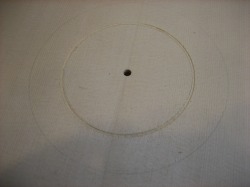
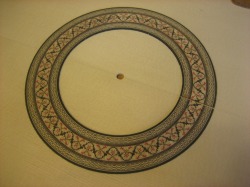
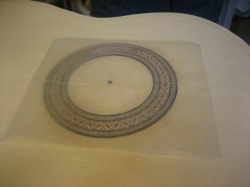
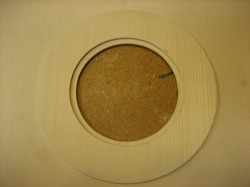
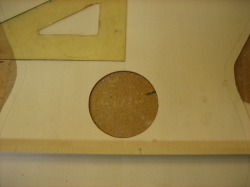
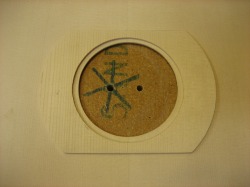
Today we continued the work on the top - placing the rosette. The first step was to mark the center of the sound hole from the pattern used to draw the outline of the top.
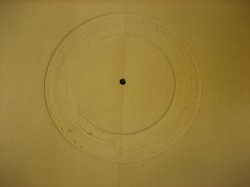
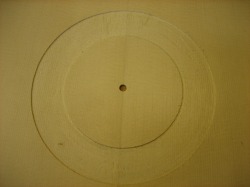
From that center hole we use a compass and draw the inner circle of the rosette. Measure the inside diameter (ID) of the rosette and divide by two, then set that as your radius for the compass and draw the hole. In our case, the rosette measured 86.7mm, so we ended up w/ a 43.35mm radius.
Then follow the same steps for the outside diameter (OD).
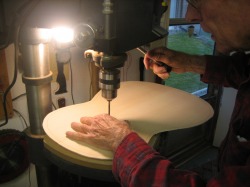
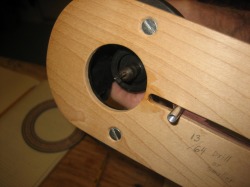
Next step, drill a hole 13/64" for the router guide.
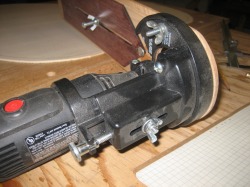
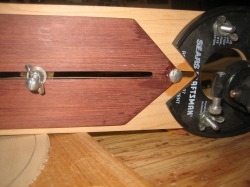
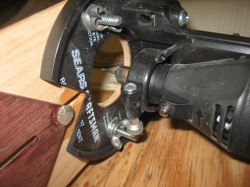
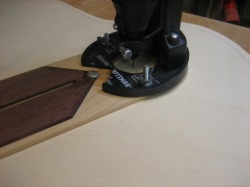
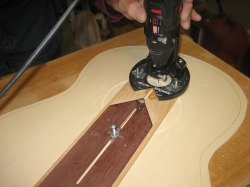
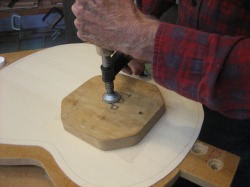
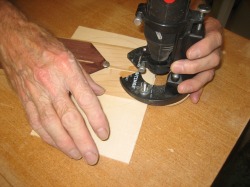
Dad uses a dremel style tool mounted to a vertical stand which is then mounted to a custom template for clearing away a specific amount of material to inlay the rosette. The dremel is fitted with a milling style bit (1/8") that directs the cut wood up and away from the surface.
First we set the depth of the milling bit by laying the rosette on the template. You want to set the depth so it is about .5mm less than the full depth of the rosette. Remembering we can always go back and take out more material on a second pass...but if you take out too much, then you start over!
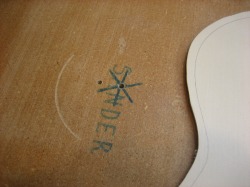
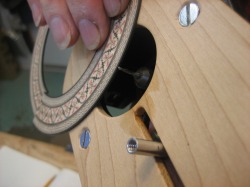
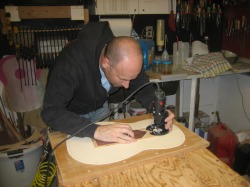
Underneath the top, dad has a piece of wood w/ a hole to receive the dremel router guide. Lay the top with the 13/64" hole over the hole to receive the dremel router and set down the dremel router. Make the first cut on the ID then jump out to the OD. While cutting, have the dremel running at full speed and turn the top under the dremel router rather than turning the dremel router on top of the wood. This keeps the cord of the dremel out of the way.
Here's a video of the dremel router in action.
After each circle of the router, lift it up slightly and blow out the dust and chips. THis will keep the template clean and laying flat on the top. As stated above, we start by cutting the ID then moving to the OD then work our way toward the center by cutting one width of the milling bit per circle.
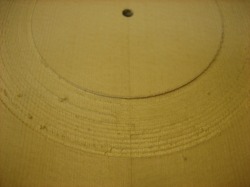
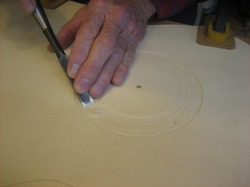
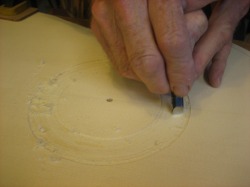
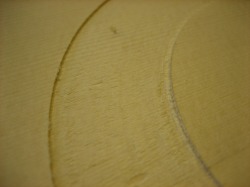
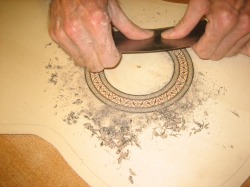
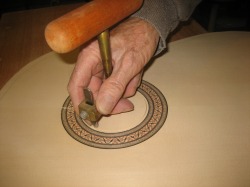
Once that is complete, we use a chisel to clean and even out the groove. If our measurements are correct, the groove should be narrower than what we need to drop the rosette in. Work in small increments taking out more and more material from the ID and OD until the rosette drops in.
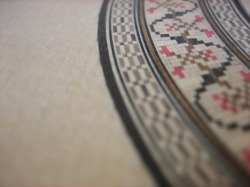
Also, the help the rosette to drop in, we take a file or piece of 150 grit sand paper and taper the ID and OD edge of the rosette.
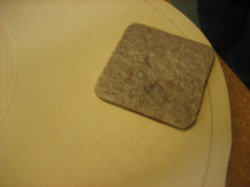
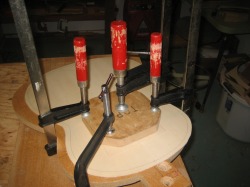
Before chiseling/cleaning out the groove, clamp down the top. Dad made these pads to place under the clamps...we don't want to damage the top in any way while under clamps. These are little scrap wood squares w/ packaging material glued to them.
To clean out the groove, we used the chisel normally and as a scraper as shown below.
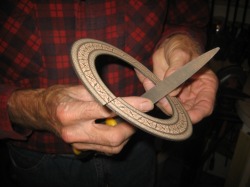
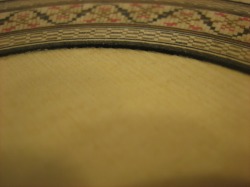
Tapering the ID and OD of the rosette before final fitting.
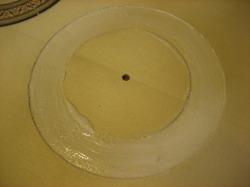
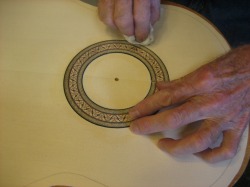
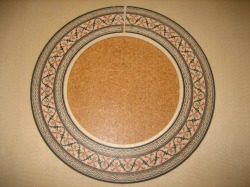
Time for glue...this is the same white glue I described at the beginning of this blog. After dropping the rosette in, the excess glue is wiped away using a wet paper towel.
Then place a piece of wax paper on the rosette and clamp.
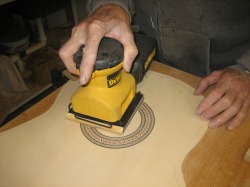
We let the rosette glue for an hour so now we can thin it to match the height of the top. We used a combination of the cabinet scraper and orbital sander to achieve the desired results.
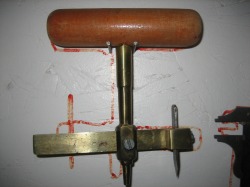
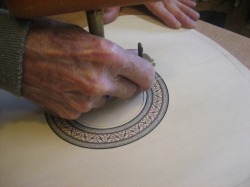
Once the rosette is even with the top, we can cut the sound hole. We could use the router, but we decided to use the hand circle cutter. This tool can also be used to cut the ID and OD for the rosette groove. After the ID and OD is cut, you would use a chisel to clean out the groove. This the way Hannabach does it and the way dad used to do it.
A lot of Spanish style classical guitars recommend a 42mm radius for the sound hole, so that's the size we went for.
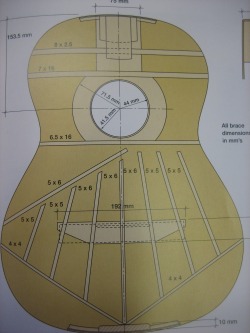
Now we turn our attention to the underside of the top to work on the bracing. We started by looking at bracing configurations from a few books dad has. And I think the conclusion we can draw is that there is no be all and end all bracing design. Every builder has their opinion on what works. So we are going to use a combination of Hannabach's design and Bogdanovich's design. Below is a look at Bogdanovich's layout with dimensions (in millimeters).
We started the bracing by making the patch around the sound hole. All of the bracing is made from the same wood as the top...engleman spruce.
So for the sound hole patch, we cut a pice w/ an OD of 5 5/8" and an ID of 4mm less than the ID of the sound hole. The patch is just under 2mm thick (1.9mm).
To cut the hole for the patch, we use the same dremel router set-up we used to create the rosette groove.
When gluing this patch, match the grain with the grain of the top...so this will be placed vertically.
Before gluing it down, we will trim the top and bottom to where it meets the horizontal braces.
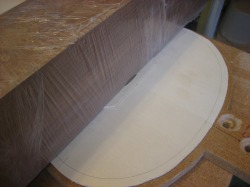
Time for glue. We used a large chunk of wood to glue down the patch. Again, you always need to watch for slippage. When you apply pressure or clamp, the wood will slide on the glue and may end up somewhere you don't want it.
And that's it for this work day!
