< Work Day 37 Work Day 39>
Work Day # 38 - March 14, 2009 (.5 hrs)
Instead of working on the guitar this morning, we (we being my dad, me and Daryll - a friend of the family who is a violin maker) decided to take a field trip to Jan's house in Draper. Jan is the man to see about Englemann spruce. He has been cutting it since the 70's. He is responsible for making it a staple tonewood for luthiers everywhere. Dad got to know him during a guitar building workshop they both attended in Arizona in the mid 70's. They've remaind colleauges and friends ever since.
Our purpose was to look through his stash of tops and see if there were any he'd sell us. I found 2 sets and dad found 3. We also looked for scraps we could use as bracing...and we found a bunch. Then he showed us some African cherry he got from a neighbor in his ward. This neighbor was contracted by the church to do the finish woodwork in the new Draper temple and he had a bunch of the wood left over from the job which he gave some to Jan. And Jan being as generous as he is gave dad some to take home. When it came time to go, we tried to pay Jan for the wood we had picked out but he told us not to worry about it and let us have it! Amazing! Thanks Jan!
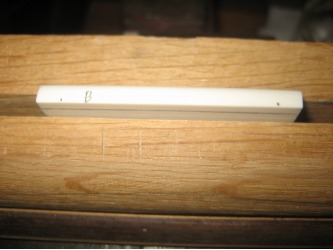
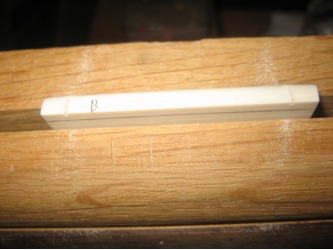
But before we went, we had about 30 mins to continue prepping the nut.
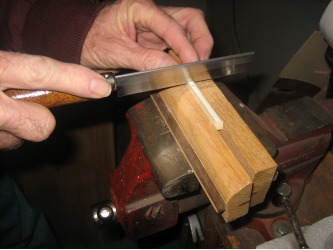
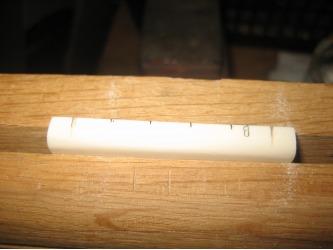
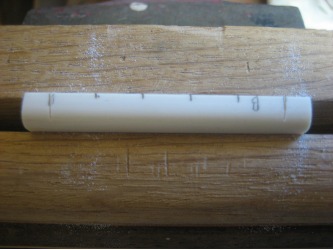
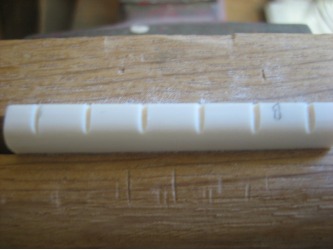
We spent our time marking out the string grooves in the nut. First start by marking the bass side so you know what you're doing. Then make a mark 5mm in from both sides. These will be the lines for the 6th and 1st strings. After making the pencil line, start a small cut with the bone saw.
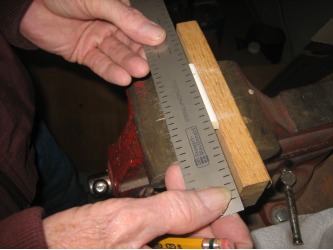
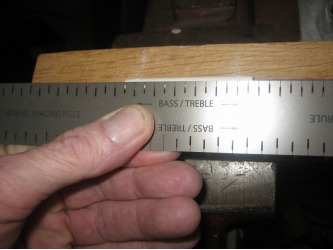
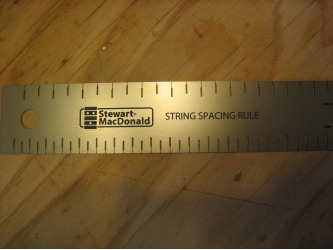
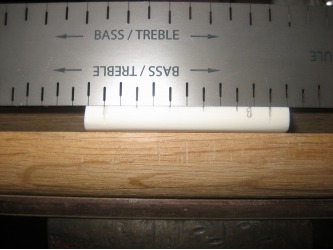
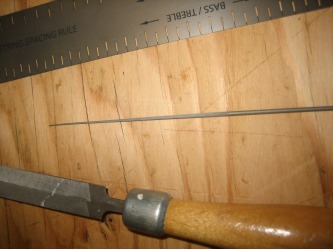
With the starting cuts in place we used a string spacing guide dad got from www.stewmac.com. It's a slick little ruler that helps you mark the lines for strings 5, 4, 3, and 2. Simply orient the ruler matching the bass side of the nut to the bass side of the ruler and slide it until you have marks that line up with the cuts we just did for strings 6 and 1 and there are 4 strings in between. This ruler is a great way to get the string spacing just right.
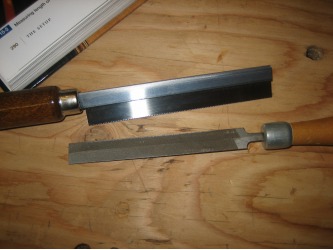
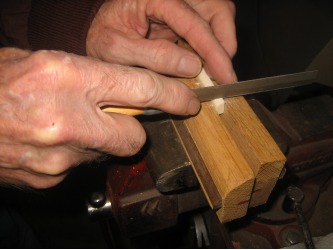
With the lines drawn, we take the bone saw and make a small cut. We don't want to cut too deep. The grooves we are making for the strings should only be deep enough that 1/2 of the string drops into the groove. To open up the grooves after the bone saw cuts, we use a fret file and to open the slots for strings 6, 5, 3, and 3, we follow the fret file with a very small round file. The final fit for these grooves will be done when we have the strings on. So for now we just want to open up the slots a bit and not go too deep.
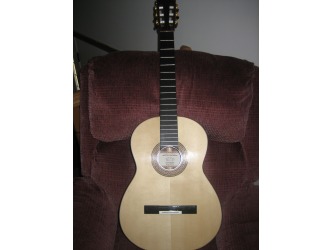
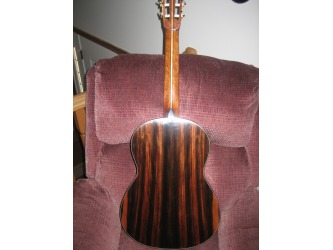
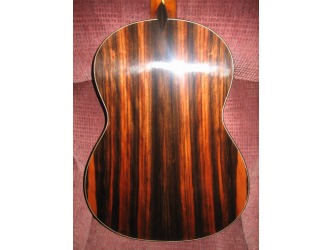
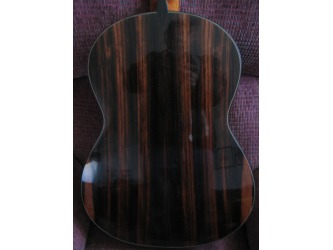
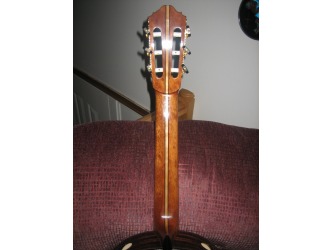
I've also added a few pictures of the guitar after the bridge has been glued on.
