< Work Day 38
Work Day # 39 - March 17, 2009 (3 hrs)
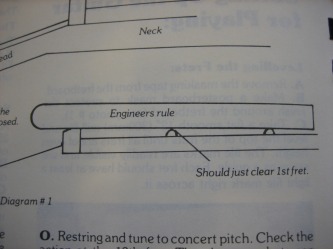
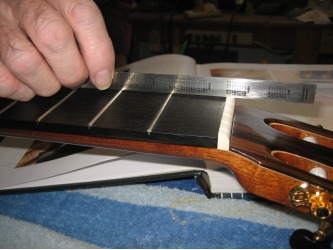
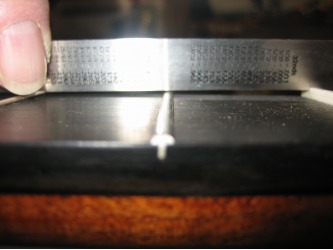
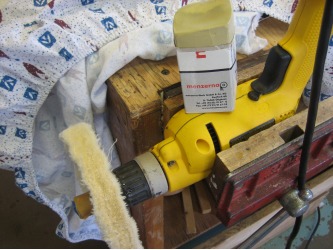
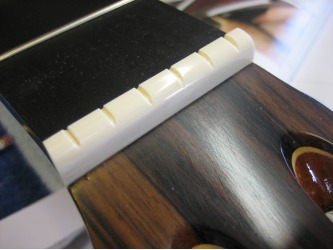
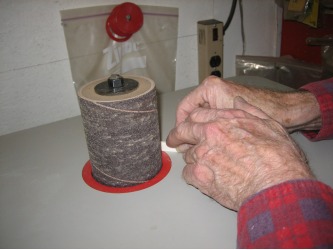
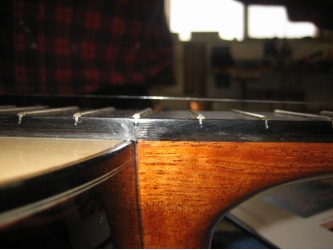
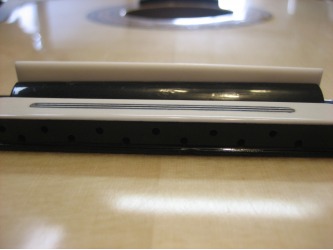
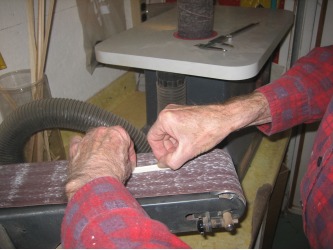
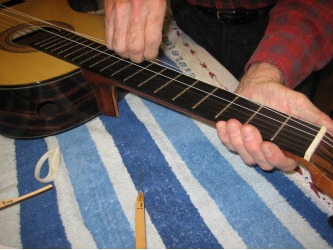
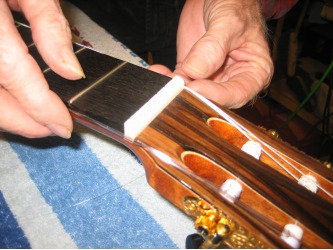
We continued finishing the nut. We needed to lower it a bit which we did on the belt sander. The height of the nut is somewhat subjective. It depends on how high the action is that the player wants. Dad prefers a lower string height. One guitar builder, Jim Williams, shows a proper height by setting an engineers rule from the nut to the second fret. The rule should just clear the first fret. The final height will be set once the strings are on. So with the basic shape and height set, we sanded it up to 1000 grit paper then buffed it to bring up a nice shine. The buffing compound is a fine grit.
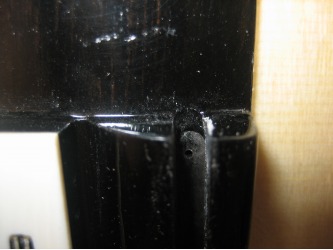
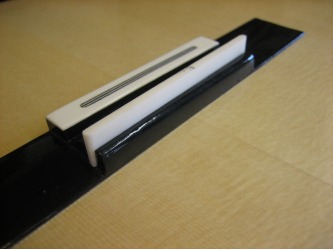
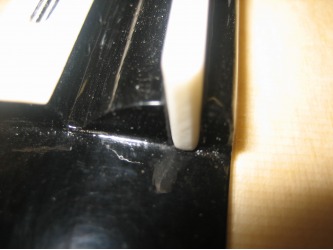
On to the saddle. First we mark the width and sand it down. We also put a round edge on it to match the round edge of the slot. The saddle should drop in fairly easily in the groove. If it doesn't, trim it until it does. That goes for the width and thickness.
With it sized properly we next put in the 1mm drop in height from the bass side to the treble side. Our saddle ended up with a height measurement of 10.5mm on the bass side and 9.5 on the treble.
With that height set, we rounded the top edge of the saddle. Some guys round it from both sides, others round only one edge. We also knock down the bottom edges of the saddle that will ride in the groove. This helps the saddle settle in to the groove more easily.
We want the string height to be about 4mm at the 12th fret. So with our nut and saddle in, we take a test string and line it up and take a quick look at our string height. Final height will be done when the strings are on.
We give the saddle the same treatment as the nut. Sand with 600 and go to 1000 then polish w/ the buffer.
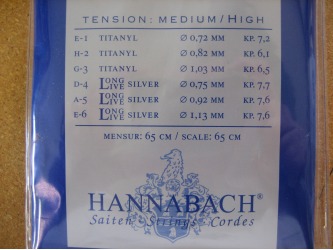
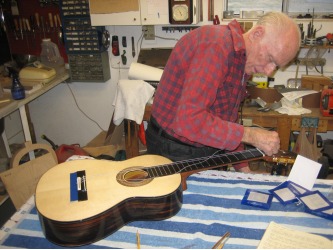
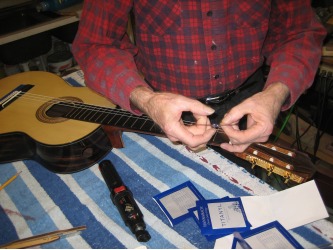
Time for strings! Hannabach recently send dad a bunch of tuners and he included a set of Hannabach strings...so those are the ones we are going to put on.
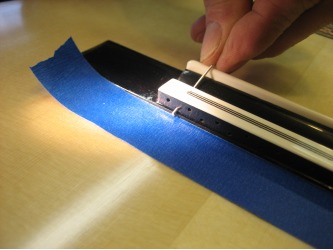
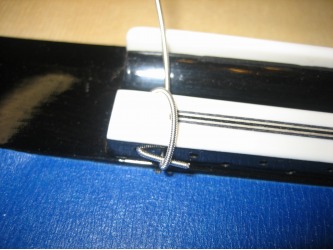
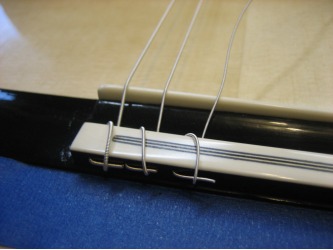
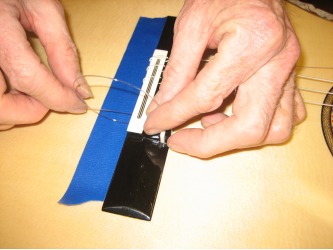
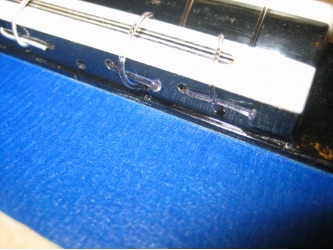
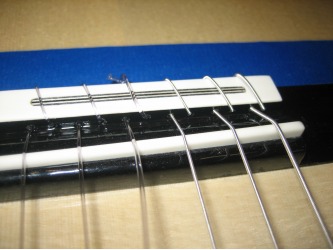
Dad strings the guitar in this order 6, 5, 4, 1, 2, and 3. For the wrapped strings (6, 5, and 4) take the end that is wrapped tightly and feed it through the second hole in the bridge, loop it around and put it through the 1st hole. Then bend over a little bit of a tail which will be held by the loop we just made.
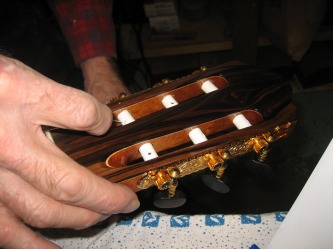
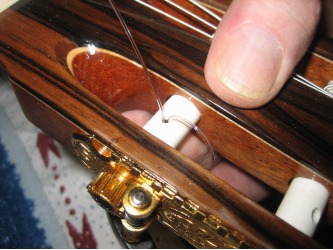
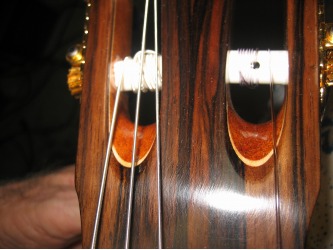
Then on the machine head put the string through the hole and start winding. Start winding the string to the right side of the hole. Then when the string starts to tighten, wind the string to the left side which give the string a straight shot back to the bridge. We do the same thing for string 1 just on the opposite side.
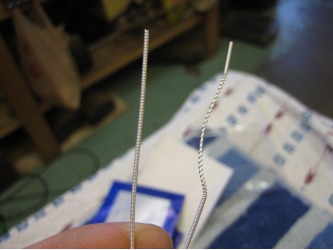
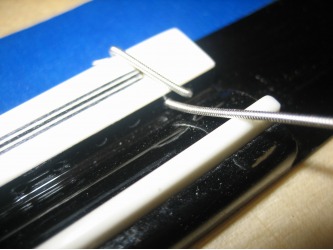
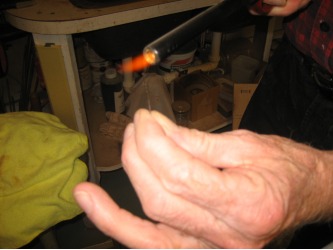
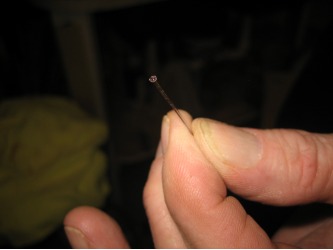
For the unwrapped strings, there are a couple of differences when stringing them. On the bridge side, we heat up the end of the string to melt a bit of a ball on the tail. This helps prevent the string from sliding through the bridge when we start to tension it. Dad has seen them slip out before and damage the top.
Also, we double wrap the string on the machine head post...again to help it from slipping out.
Once the guitar is completely strung, we slowly bring it up to pitch. New strings stretch a lot...so it will need to be tuned and played quite a bit before the strings are completely broken in. We can also stretch the strings a bit when installing them.
One thing to keep in mind when stringing the guitar, if using a power winder, loosen the screw on the machine head that holds the standard gear to the worm gear.
After the guitar was strung and tuned, dad played a few chords and we started hearing a little buzz from the 4th string...to try and remedy this, we made a new saddle and put that in. And nothing really changed. So then we turned our attention to the nut. What we found was the string grooves we cut in the nut were too deep for a few of the strings.
We could have made a new nut, but a quick fix is taking baking soda mixed with super-glue and filling up the grooves, then filing them down to a shallower depth. And this was the fix...with the grooves not as deep, the buzz is completely gone and the guitar plays beautifully.
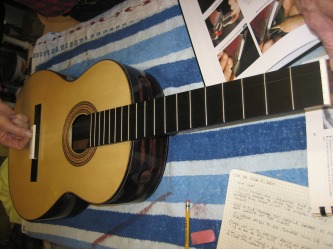
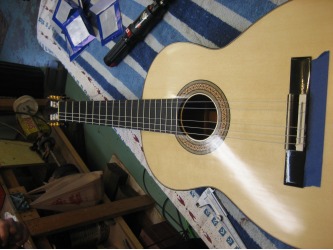
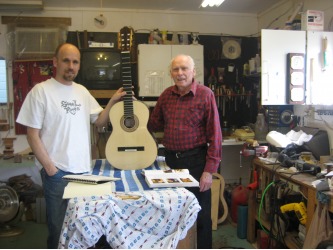
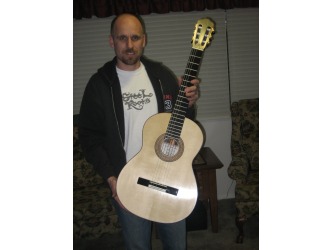
And just like that...it's finished! It looks awesome! We had a total of 39 work days and total work time of 128 hours.
This has been truly a once in a lifetime opportunity and one that I will indeed remember for a lifetime. It's a little bitter-sweet; on the one hand I'm excited to have finished the guitar but on the other I'm saddened my twice a week visits will come to an end. We've had such a great time over the past several months. We never felt rushed and really just enjoyed the process.
Thanks again dad for taking the time to show and teach me your craft in such detail and with such patience. And thanks to my mom for feeding me and taking such good care of me while we worked on the guitar. At the end of each work day I would inevitably take home some homemade goodies!
And finally, I picked a few of the 2000+ pictures I took during the build and put them together showing the entire build process. Enjoy!
