< Work Day 36 Work Day 38>
Work Day # 37 - March 10, 2009 (3.5 hrs)
We started by sanding down the back after the 4 new coats we put on last time. We took our time sanding and this time things turned out much better. No dry spots and the shine came up nicely. In 6 weeks or so we'll hit the whole guitar with the buffer to bring out an even better shine.
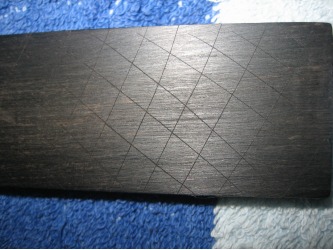
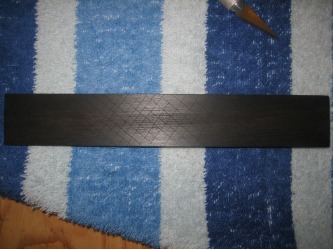
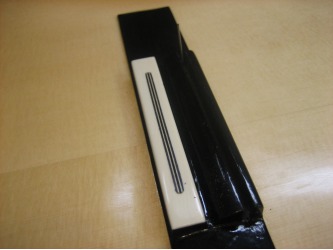
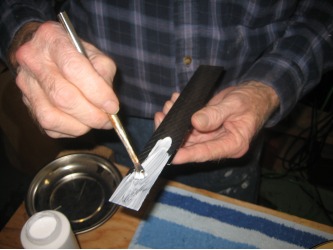
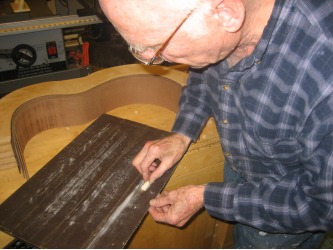
Ok...so now with the lacquer finished, we're in a position to glue on the bridge. We prepared the bridge by sanding the bottom into a very gentle arch to match the curve of the top. Then we crosshatched the bottom of the bridge.
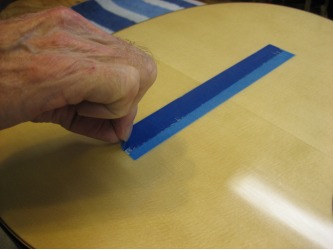
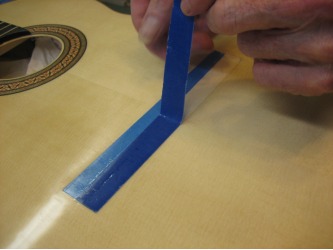
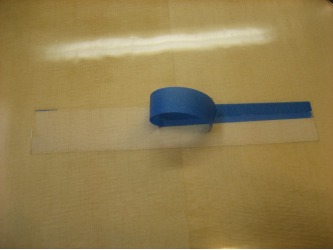
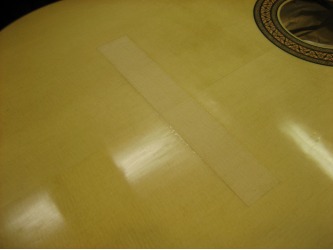
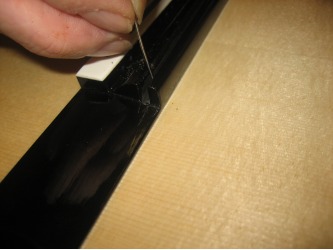
Then we prepared the top. First we needed to remove the tape. Since lacquer had been applied over the top of the tape, you need to cut along the edge of the tape. Make sure all the tape is completely cleaned out from the edges of the lacquer.
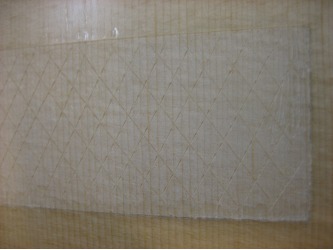
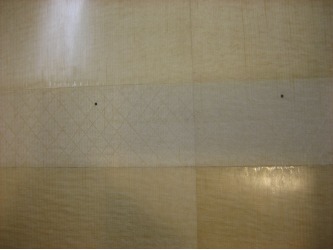
Once the tape is off, we crosshatch the surface of the top as well.
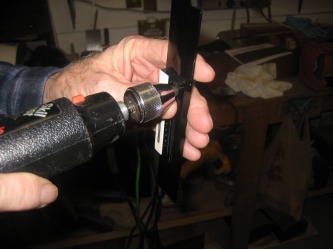
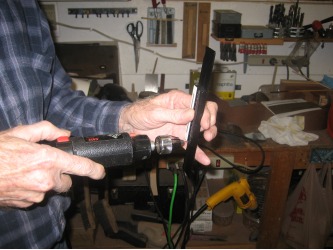
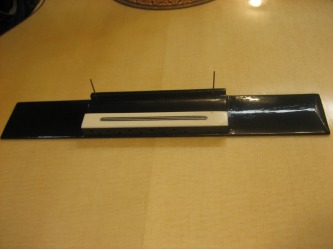
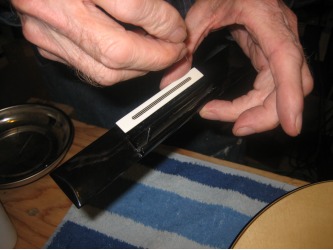
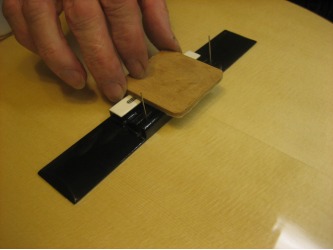
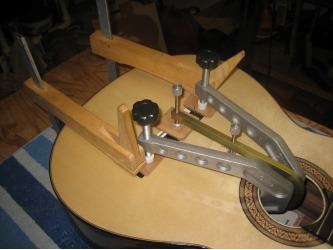
To keep the bridge from moving under the pressure of the clamps, we will use a couple of guide pins like we did when gluing the fret board down. We drilled two small holes through the saddle slot. Then we positioned the bridge on the top (no glue yet) and finished drilling the holes into the top. If our placement of the bridge brace is correct, we should drill through the top and into the bridge brace...and with a little bit of luck, our holes did go into our bridge brace.
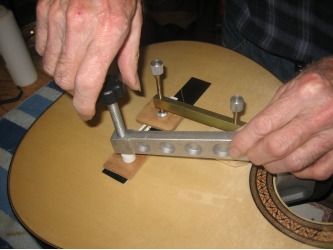
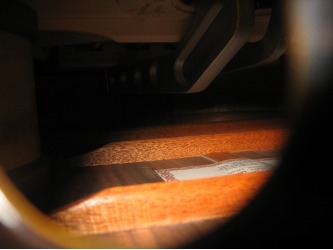
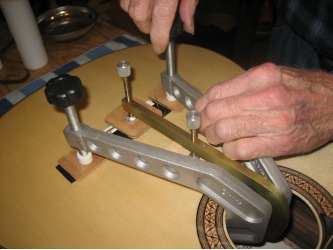
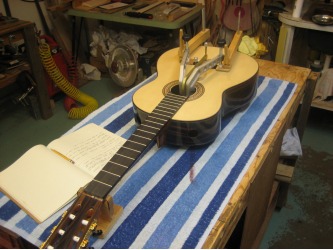
Now we removed the bridge and applied the glue, lined up the holes with the guide pins and put the bridge down. We used 3 clamps to hold down the bridge. On the underside of the top, we placed a specially notched block that rests over the fan bracing which gives the clamp a surface to rest on on the underside of the top. We leave the guide pins in while the bridge is gluing.
You'll want to let the bridge set up for at least an hour before removing the clamps...but we wouldn't string it up until it has sat at least over night.
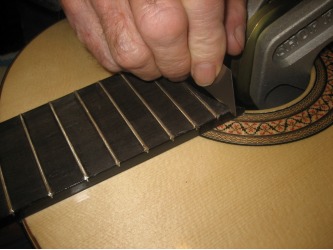
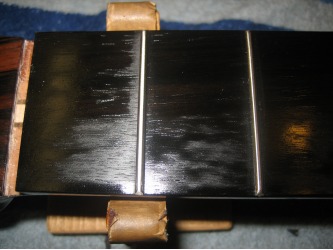
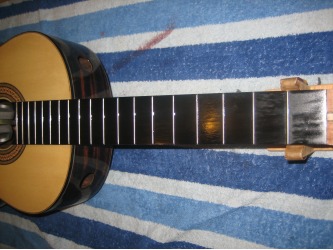
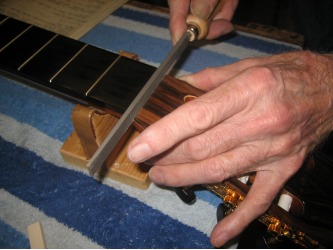
While the bridge was gluing we turned our attention to finishing the fret board. We use a razor blade to scrape any lacquer that found its way to the top of the finger board and edges of the frets. Once it is cleaned off to our liking, we use steel wool and "sand" the frets and fret board. This evens out the fret board and shines the frets.
Take care when cleaning up after the steel wool...best to use compressed air.
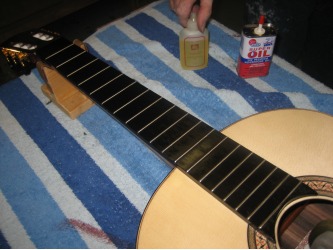
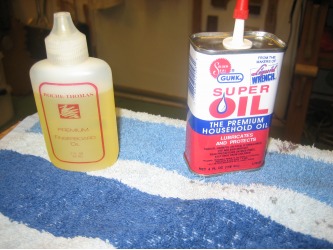
With the fret board cleaned off of any pieces of the steel wool, we oil the fret board. This is the only finish that is on it. Special fret board oil is available, but not necessary. Any 3 in 1 or sewing machine oil will do just fine. We let the oil soak in for a good hour or more then wipe off the excess and the fret board is finished.
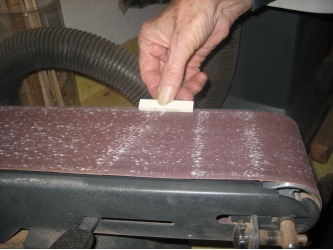
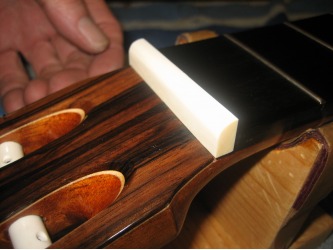
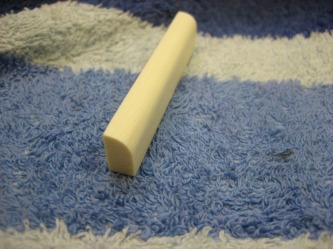
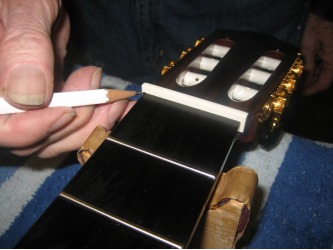
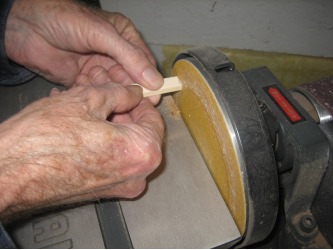
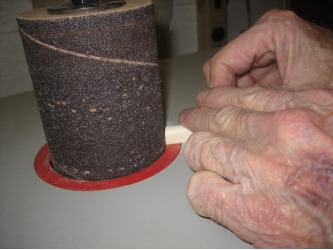
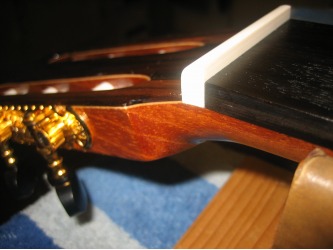
This process went pretty quickly so we had some time left to start prepping the nut. We start by rounding the edge which will face the head. We did this on the small belt sander. Then we checked the width of the nut and sanded a gentle curve in the ends to match the curves of the cusp. We put that gentle curve in using the spindle sander with the 3" drum on it. And that was it for today. We're almost there!
