< Work Day 24 Work Day 26>
Work Day # 25 - February 5, 2009 (3.5 hrs)
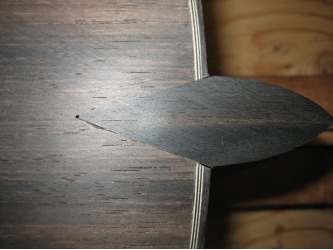
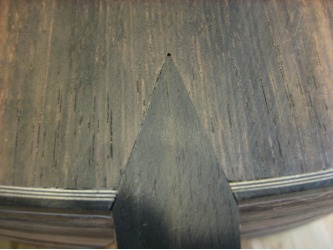
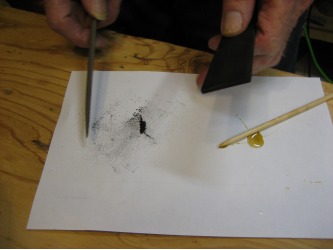
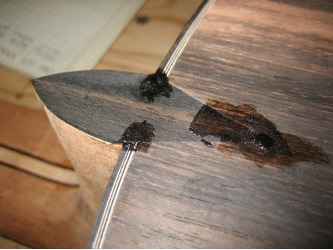
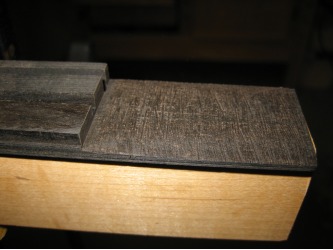
Before we jumped to the bridge, we filled a couple of little spots on the heel cap with some ebony filings mixed with hide glue.
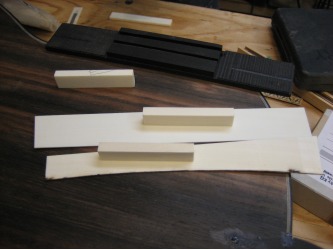
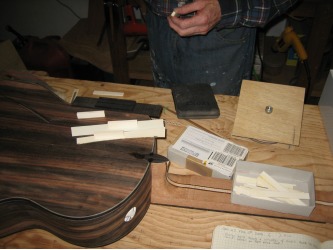
Next we spent some time finding pieces of ivory from dad's collection to use on the top of the tie block and for the nut. So we'll be using real ivory in both those spots. We'll use bone for the saddle.
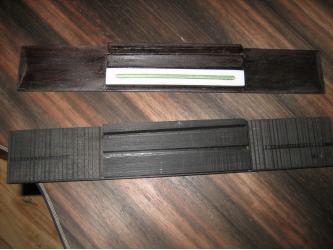
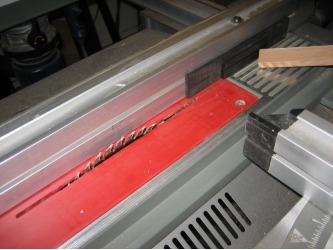
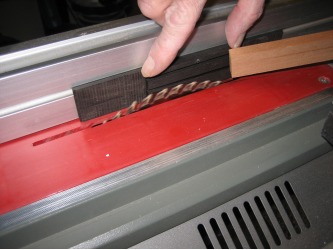
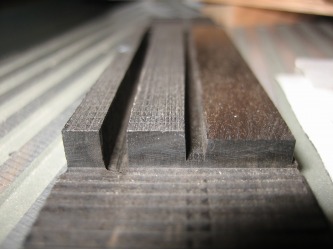
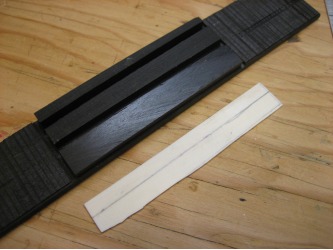
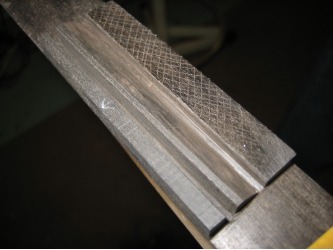
Once we found the piece we'll use for the tie block cap, we measured the thickness of the cap and took that much out of the top of the tie block...we took off 1mm. We used the table saw to do it.
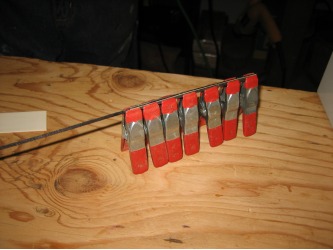
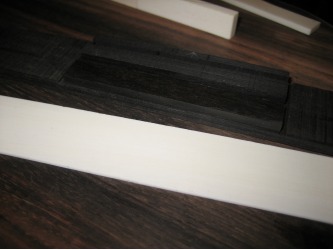
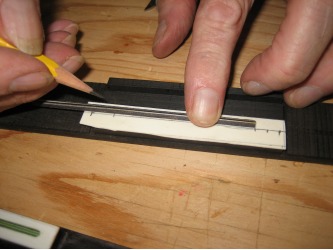
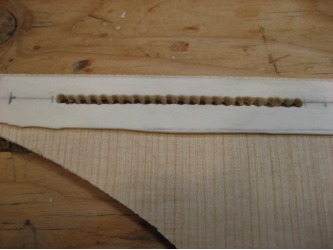
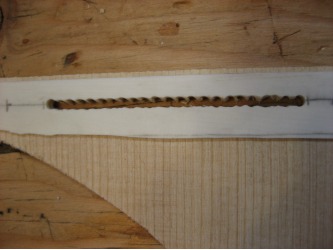
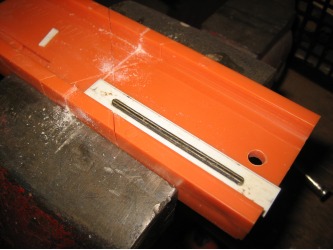
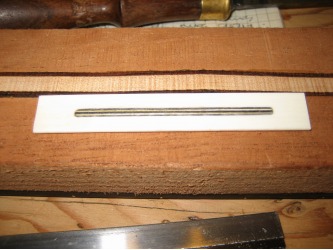
For a little decoration in the tie block cap, we will inlay a piece of purfling...actually 3 pieces of purfling glued together. While that was gluing we cut the ivory to about a 12mm X 84mm piece to give us a little wiggle room. The cap will end up being close to 10mm X 80mm.
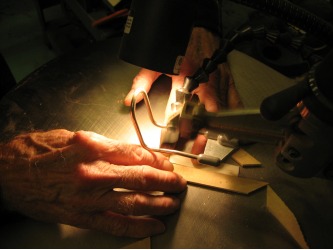
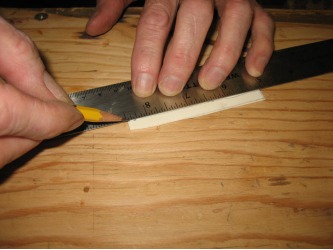
Once the purfling is glued, we mark the center line of the ivory and decide on the final length of the inlay. We're going w/ 60mm which will leave about 10mm on either end. Keep in mind how delicate the ivory is when cutting it. So far the safest way I've seen is by hand saw. But we did trim a bit of it on the little scroll saw. The thin ivory is just so easy to crack...
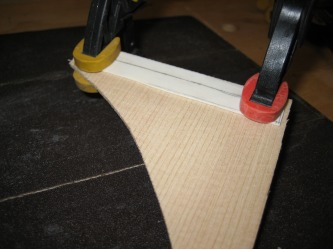
To help keep the ivory together, we glue it down to a piece of thin scrap from a top. Only use a few drops of glue so you can easily remove it from the scrap once the slot is finished for the inlay.
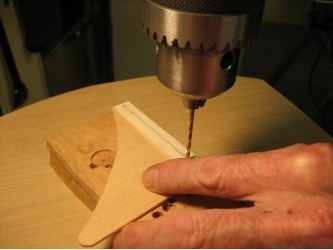
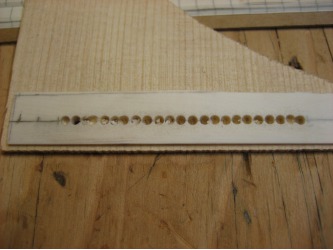
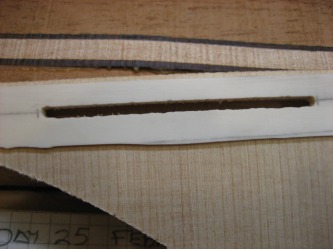
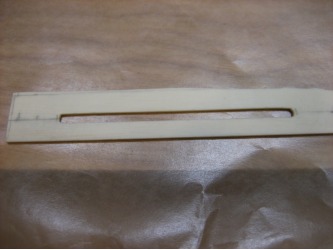
With the center line drawn on the ivory, we find a drill bit that is about the width of the inlay and drill holes along the line. With the holes cut, we move to the dremel with a diamond tip. And we finish the slot with a file...making sure you don't make the slot to wide for the inlay.
With the slot cut, we now trim the inlay to size and round the ends. And we remove the ivory from the scrap. To do this, we soaked it in hot water and used a razor blade to separate the ivory from the wood.
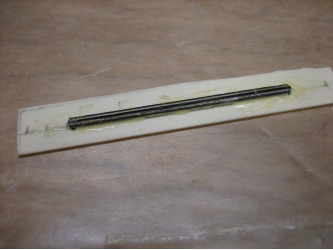
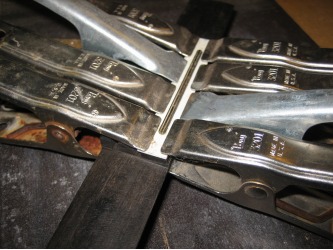
We then use the white glue or Titebond and glue the inlay in. Put it down on a piece of wax paper. Make sure the inlay is sitting flat. We'll let that glue for 15-20 mins.
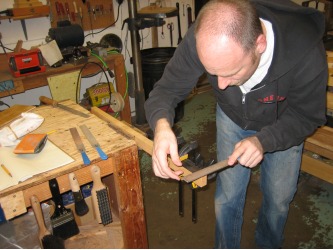
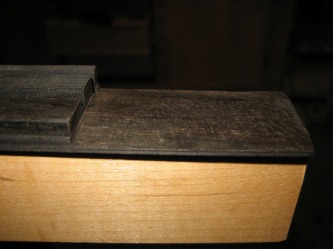
While it's gluing, we worked on the bridge...rounding the wings with a #3 rasp, then #5, then a file. Bogdanovich wants the wings to be about 4mm thick after they've been shaped. So we're trying to stick to that measurement. Make sure you don't thin them too much. You want a square edge all the way around the bridge...meaning don't thin the wings to the point they are smooth with the top.
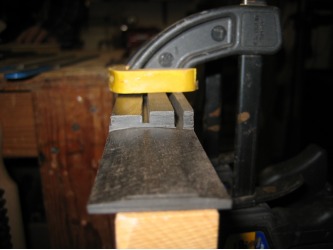
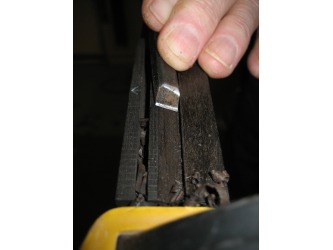
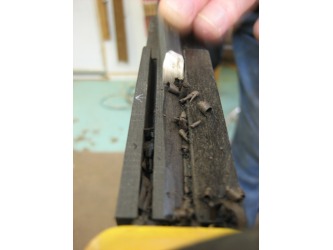
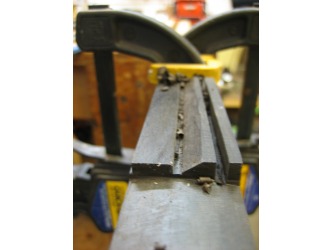
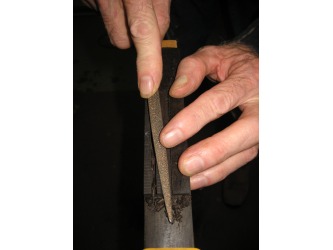
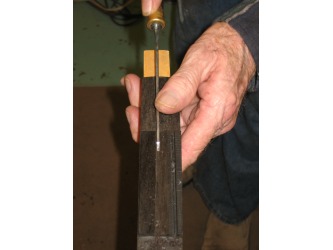
We also cut an angle into the top edge of the front of the saddle. We used a chisel mostly, and cleaned it up with a file. Also, make sure the channel (between saddle and tie block) is at least as deep as the wings are thick. We used an 1/8th inch chisel to clean this groove out.
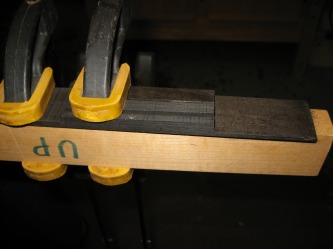
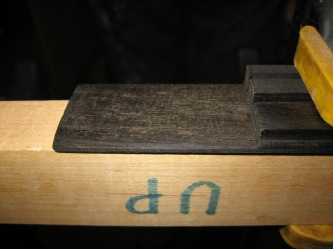
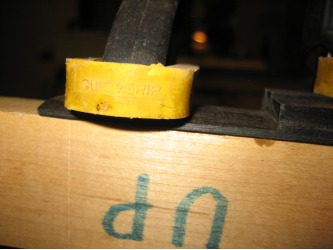
With the top edge of the front of the saddle shaped, we can glue down the ivory tie block cap. We first shaped the cap a bit by trimming the ends with a saw and small mitre block and hitting the cap lengthwise on the belt sander.
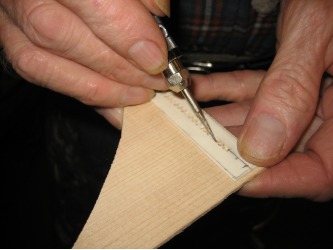
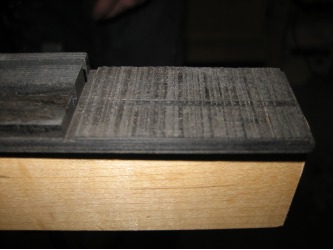
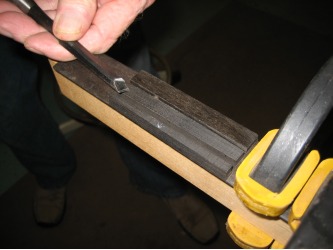
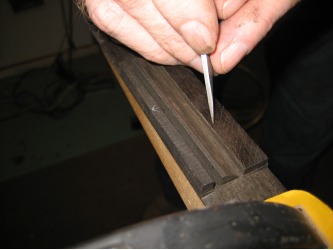
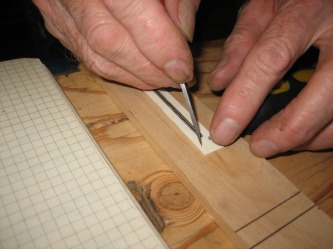
First score the top of the tie block and the bottom of the ivory...this will improve bond between cap and tie block. Then we're ready to glue it down. After it dries, we'll finish shaping the ivory to the tie block.
