< Work Day 25 Work Day 27>
Work Day # 26 - February 7, 2009 (3.5 hrs)
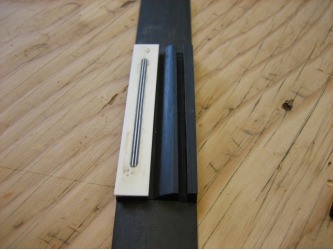
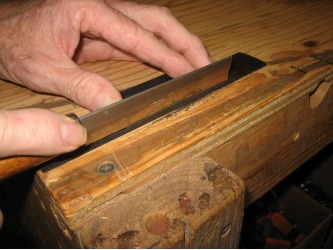
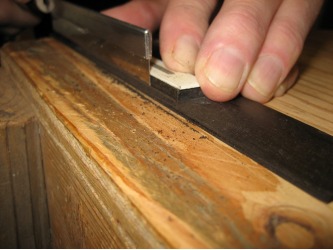
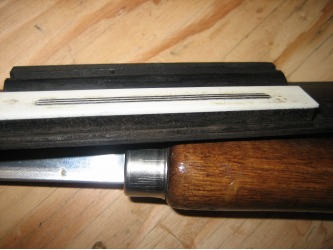
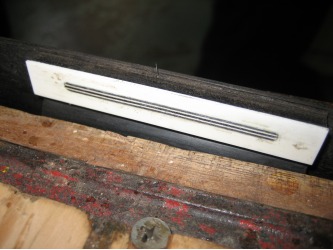
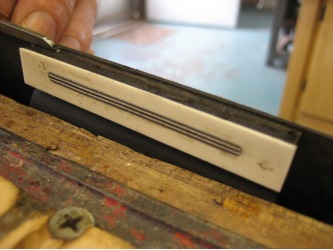
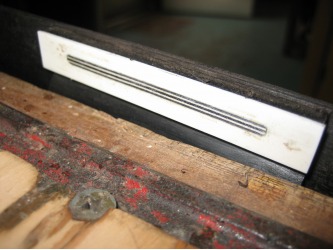
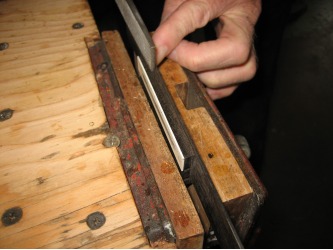
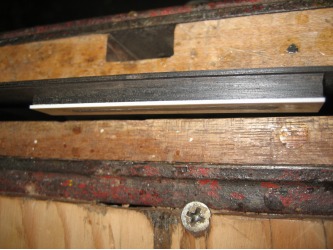
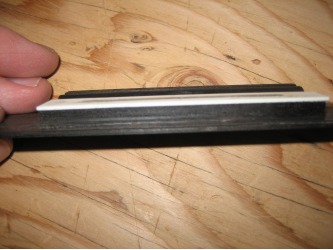
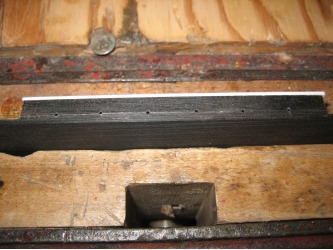
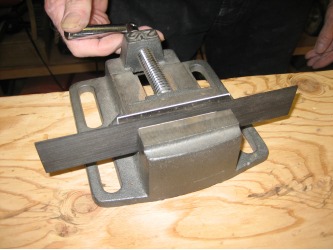
With the ivory cap glued, we first even the back edge with a file. Then we need to lower the ledge on the back. We used the little handsaw to make the first cut then finished it with the 1/8" chisel and file.
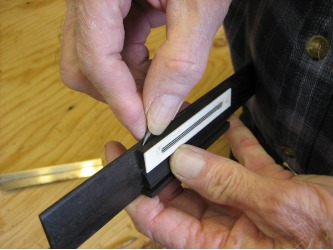
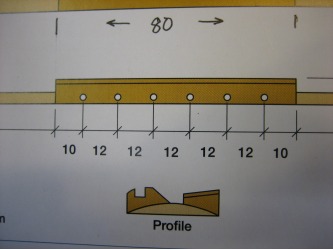
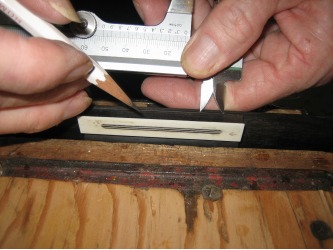
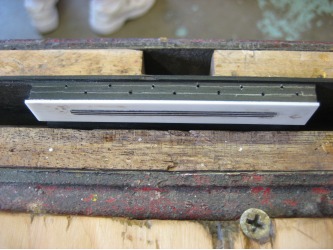
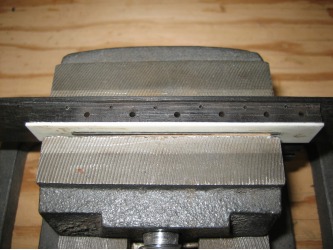
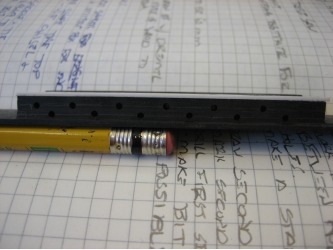
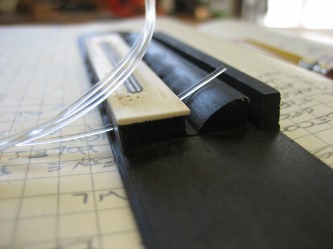
Now we are ready to drill the string holes. We start by drawing a line just above the ledge. We layout the holes using Bogdanovich's measurements. So we first mark a line 10mm in from the edge of the tie block, then 12mm to the next hole and so on to make 6 holes.
Use an awl to make a start for each hole. Then we make a second line about 2-3mm above the first line and eyeball the center of the holes below and make a mark. Use the awl to start these holes too.
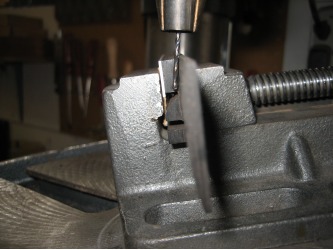
The bottom holes (string holes) will be drilled at an angle and the tie holes (top holes) are drilled straight. We will drill the tie holes first using a 1/16" drill. We chuck up the drill so not too much of the drill sticks out the bottom to make the bit as stiff as we can. This is important for the slanted string holes.
Next we tilt the drill press table to drill the string holes. There isn't a specified angle, just line it up and see where it needs to be. Make sure only as much bit is exposed from the chuck as needed to get the depth of the hole. This will help keep the bit from flexing and making the hole go in a direction you may not want.
Now we decided to put the bridge aside and finish it up in between coats of lacquer.
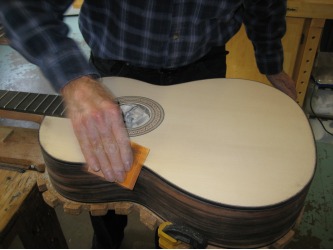
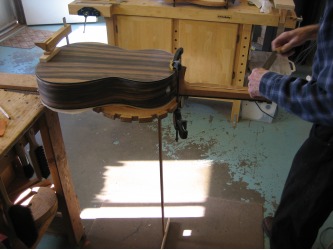
Before we start shaping the neck and doing the finish sanding of the whole guitar, we want to get a wash coat of shellac on the top. This will protect the light colored spruce top when we sand the dark sides and back.
So we start sanding with an 80 grit on a sanding block. Then move to 100 and 150. All on sanding blocks. Then when we hit the 220, we just use a folded piece in our hand.
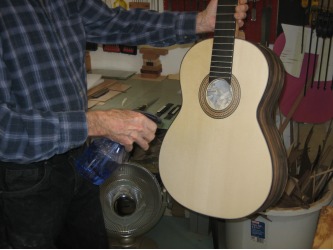
After the 220, we lightly spray the top with water and let it dry for 15-20 mins to "raise the grain". The water causes some of the wood fibers to stand up. So we'll get a better finish when we final sand with the 320. We sand with the 320 in the same way we did with the 220. And now the top is ready to get the wash coat.
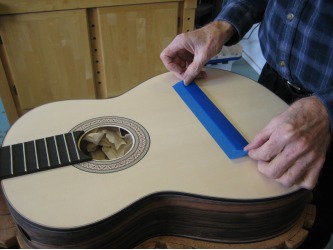
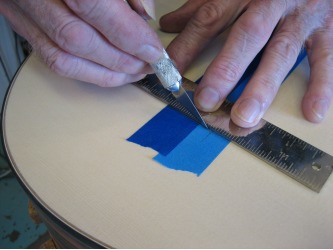
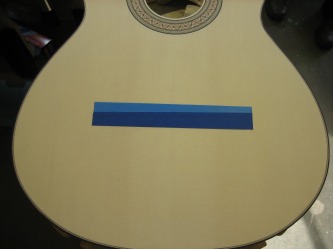
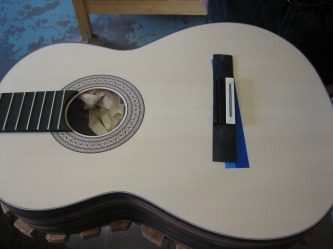
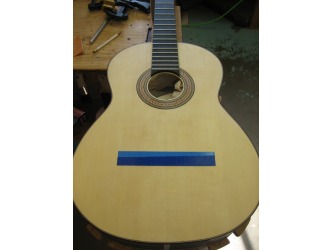
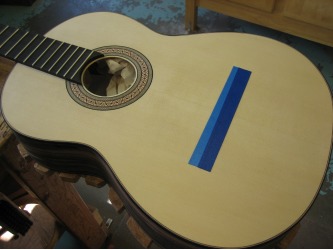
But before we do the wash coat, we need to mark the final position of the bridge and put masking tape (blue 3M) down so when we glue the bridge we are gluing on the raw wood (no shellac or lacquer).
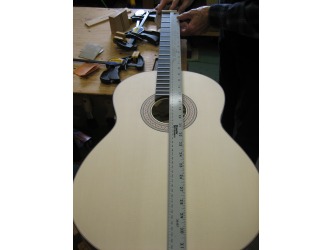
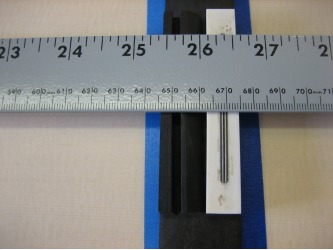
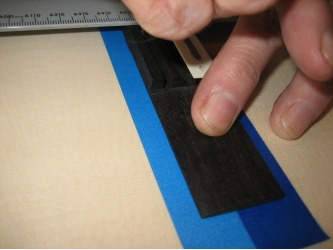
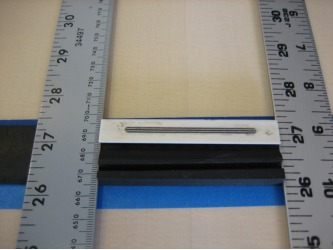
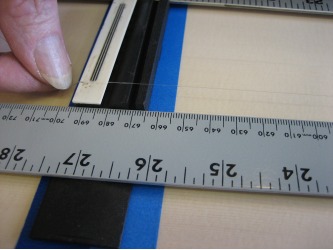
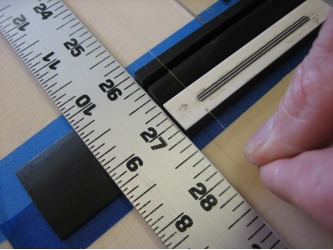
To mark the position of the bridge we first lay a ruler down from the nut down to bottom of the guitar. At 650mm we put down a couple of strips of tape. Then we lay down the bridge so the front edge of the saddle is right at 650mm (our total string length). To compensate for the change in string length (shortened) when you press down the string on the fret board, we move the bridge 2.7mm back. So the front edge of the saddle will is now at 652.7mm. Make a little mark on the tape. We'll use this mark when we square the bridge on the top.
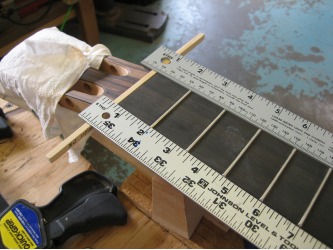
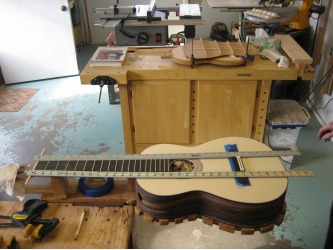
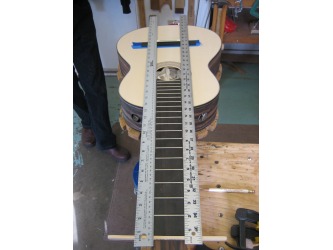
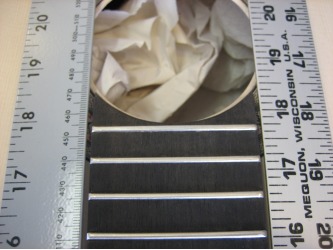
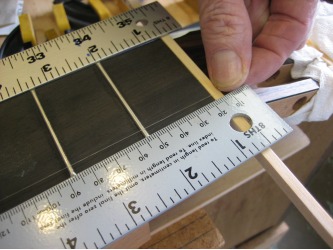
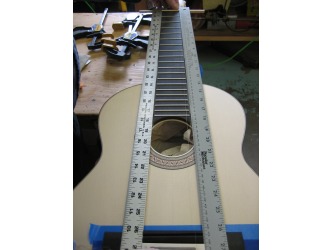
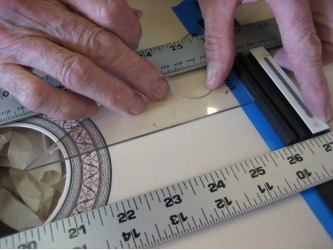
Next, we get two metal yard sticks out and set them on either side of the fret board. We use a long piece of wood in place of the nut so the yard sticks have a place to rest. The yard sticks will rest on top of the bridge's wings right up against the 80mm wide tie block. Then take a look at the spacing between the yard sticks at the19th fret and make the spacing even. This centers the bridge in relation to the fret board and ultimately where the strings will run.
Now a few more alignment checks before we outline the bridge on the tape. We put a little pencil mark on the tie block ivory cap at the 1st and 6th string (10mm in from each end) and at the nut we come in about 5mm. Then we take a guitar string and run it from the nut to the bridge on our marks. We do this at string 1 and 6. This lets us check our alignment as the string will sit and we make adjustments as necessary.
One last check is to make sure the bridge is perpendicular to the center line of the top. We lay a clear right angle on the top and rest it against the top edge of the bridge and line it up with the center of the top.
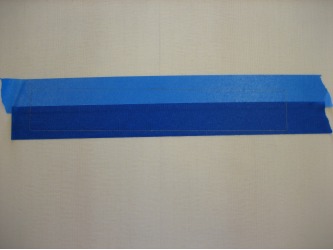
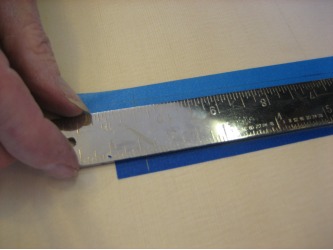
Once we have the bridge lined up with the yard sticks, the string, the right angle and at the proper distance from the nut, we are ready to outline the bridge on the tape. Once that outline is drawn, we take an exacto knife or razor blade and a straight edge and cut the tape on the outline and remove the extra tape. The tape will keep the wood clear of shellac and lacquer so the bridge will be able to be glued down on the raw wood.
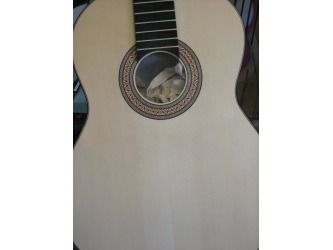
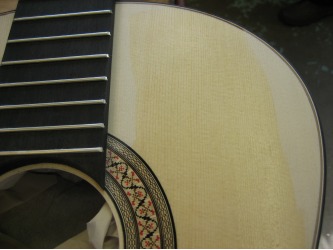
Now we're finally ready to shellac. For this wash coat, we dilute the shellac to 1 part shellac and 2 parts denatured alcohol, mix it up and apply with a brush. Once the shellac dries we'll have a good idea what the final color of the top will be.
Once we're done final sanding the entire guitar, we'll apply a wash coat just like this one to the whole guitar (minus the fretboard) as an under coat for the lacquer.
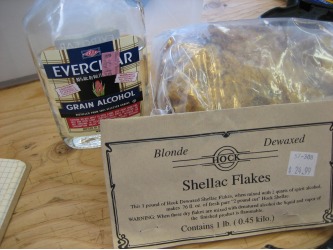
The shellac we used came in liquid form...but you can buy shellac flakes and mix it yourself. Interestingly, the flakes are mixed with Everclear grain alcohol. Some guitar builders use shellac for the final finish of the guitar using a technique called French polish. Some guys like it because it is a thinner finish...not as much build up as several coats of lacquer. But the flip side is it isn't as scratch/wear resistant as lacquer. French polish seems to be an art unto itself...
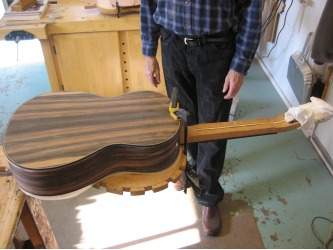
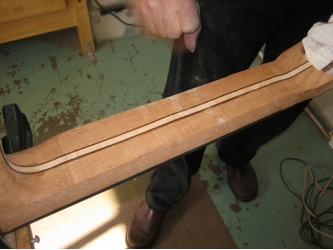
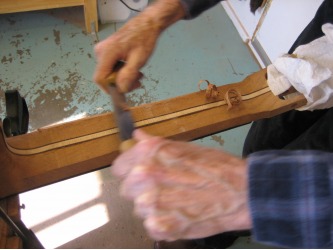
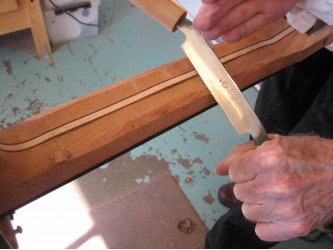
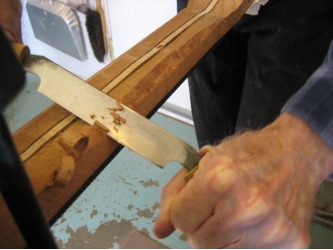
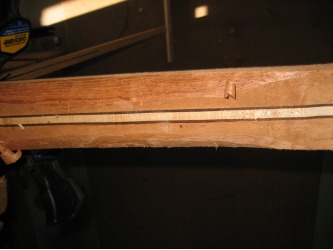
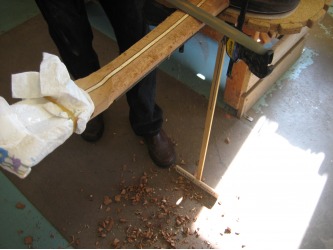
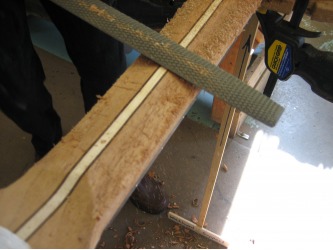
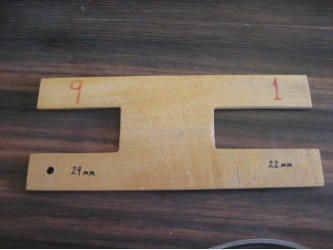
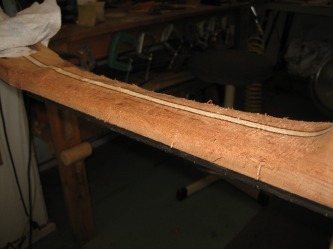
With the last little bit of work time today, we started shaping the neck. We used the spoke shave to take off the edges and get our basic shape. Then we worked the #3 rasp a bit to start rounding it. The neck will be around 22mm thick at fret #1 and 24mm thick at fret #9 and dad has a little template made so while filing we can check and recheck the thickness. But when using the spoke shave we don't want to thin the neck so far that the thickness template will slide all the way over the fret board and neck. We just want it to reach in a few millimeters so we can end up with a nice "D" shape as we round the back of the neck.
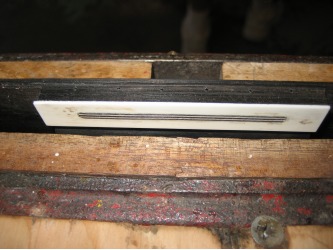
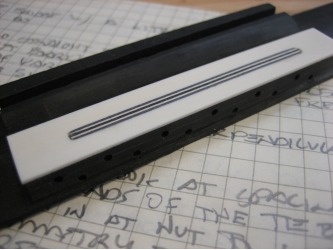
And for a little something to do while we waited for the shellac to dry, we smoothed the top of the tie block inlay with a file. The black and white purfling inlay looks good against the ivory cap and ebony bridge. It turned out really nice.
We still have a fair amount of work to do before we're done, but we are certainly getting closer. Once we finish shaping the neck (which is a rather time consuming process), we will finish sand the entire guitar. After that, we'll apply our wash coat everywhere except the fret board and start building up the coats of lacquer. And in between coats of lacquer, we'll finish the bridge. The bridge just needs some work on the edges of the wings, final trimming of the ivory tie block cap, and overall final sanding. Once it's sanded, we throw on a coat of shellac and it's ready to go.
Once the lacquer on the guitar is done, we'll glue the bridge, put in the nut, cut the string grooves, put in the saddle, screw in the tuners, string it up and give it a test drive!
But like I said...there's still a fair amount left even though it seems like only a few steps are left.
