< Work Day 23 Work Day 25>
Work Day # 24 - January 31, 2009 (3.5 hrs)
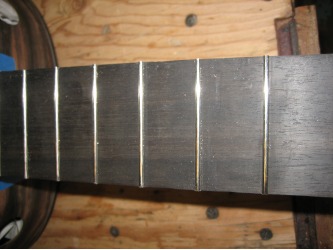
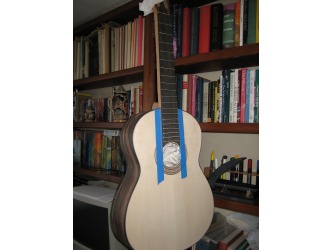
With the frets all glued in we worked on getting them completely finished.
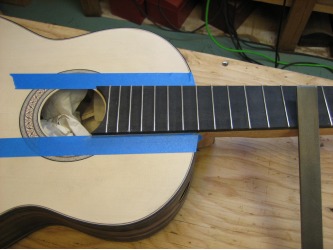
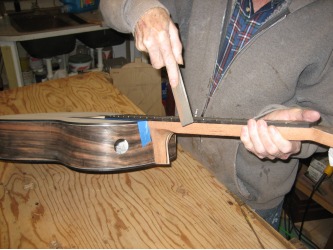
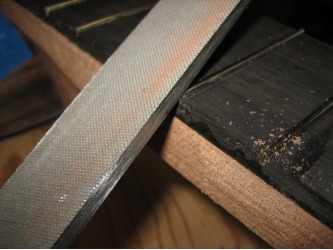
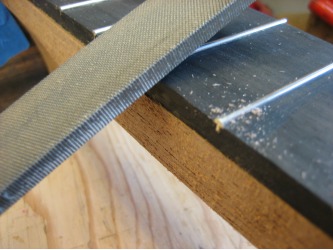
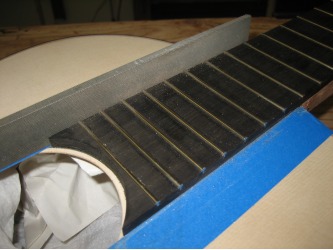
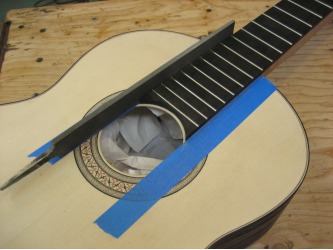
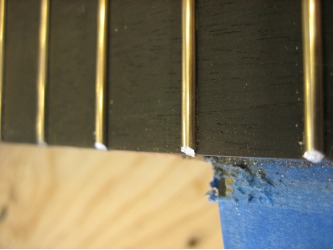
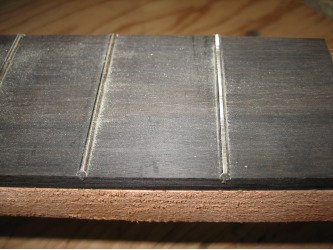
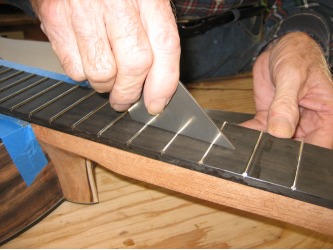
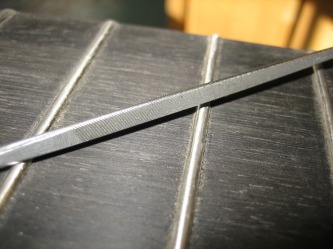
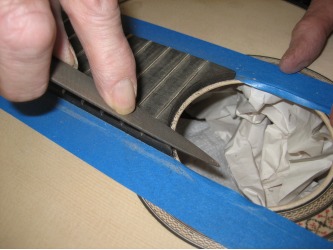
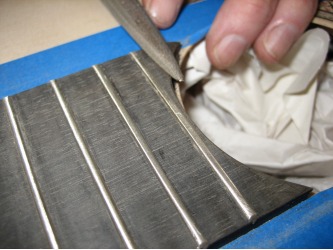
First we file the edge of the fret in a downward motion. We're using a fine, double-cut file. One edge of the file has been smoothed so it can run along the top of the guitar when filing frets 12 through 19. We also put down some tape next to the fret board on the the top for added protection.
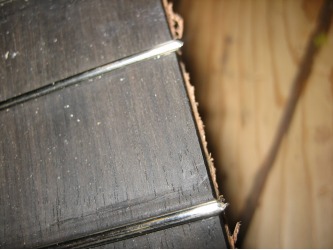
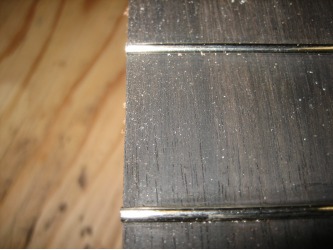
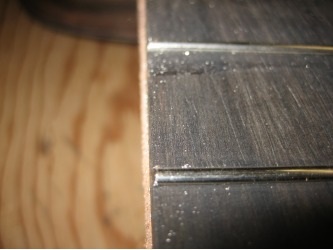
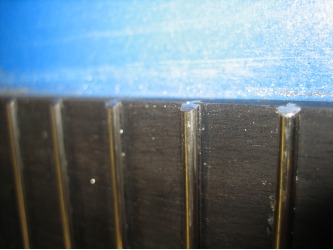
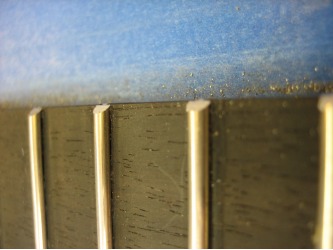
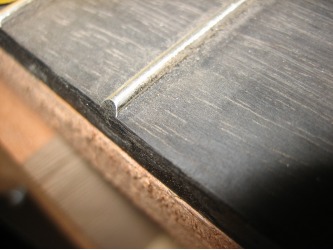
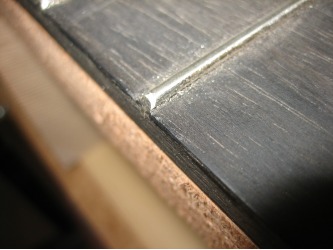
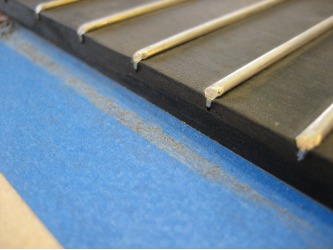
Second, we use the same file and start to put a bevel onto the sides of the frets. We're looking for about a 30 degree angle. This bevel makes the frets more comfortable when sliding your hand up and down the fret board.
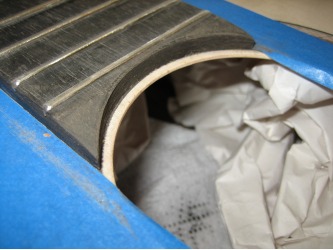
We work the file to bevel a little at a time and take our time so we don't damage the top with the file. If you get a little sloppy holding the file, it's easy to ding the top or inside of the sound hole.
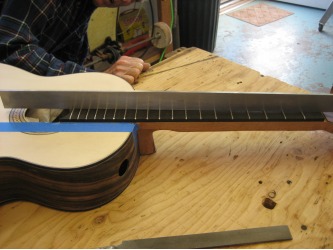
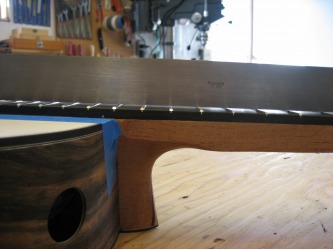
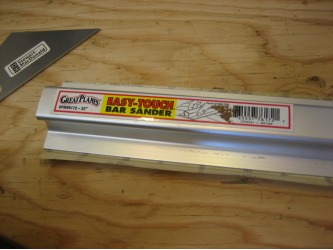
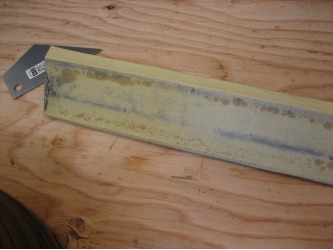
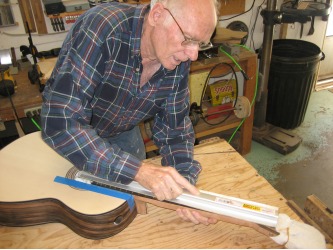
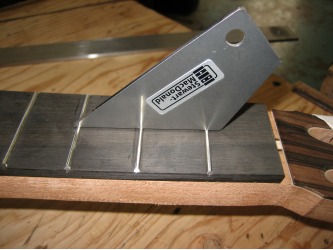
Third, we place the straight edge across the frets to check how level they are. We saw some daylight from about the 10th to 17th fret so we used a bar sander with 220 paper on it. The bar sander is something used in model airplane building. This bar sander allows us to sand them all at once and stay nice and level. We can also check the frets with a fret rocker tool. You place this over three frets at a time and if it rocks, you can take down the high fret.
When sanding, pay attention to the thickness of the frets. You don't want to take them down too far. In our case, we needed to lower the first 5 frets and last 5. But it's really easy to make the frets too low which will cause problems when playing. But if you need to, it's better to remove the most from frets 16-19...only the top players are going to be playing in that neighborhood.
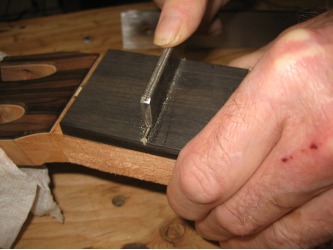
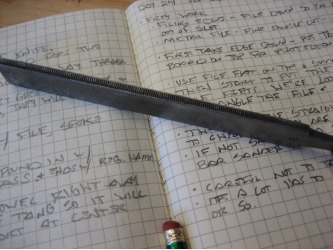
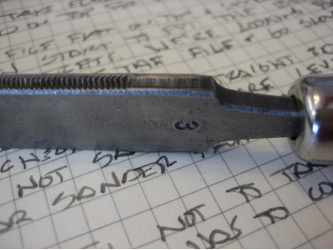
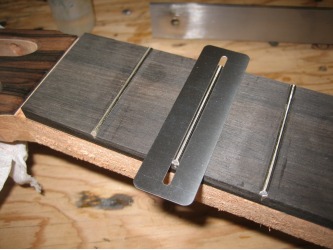
Fourth, we use a fret file to bring back the round shape of the file. The file we're using is one that dad brought back from Germany in 1972 when was with Hannabach. Rock the file a bit from side to side and be careful of the fret board. You can also use a small fret board protector as pictured.
Fifth, we take a small triangle file to take the edge off the bevel. The file dad has has been modified to have smooth edges to minimize any marks you might make on the fret board.
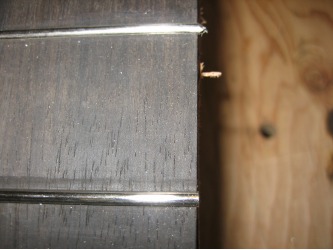
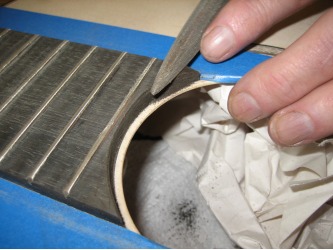
Then we took a file to clean up the edge of the fret board around the sound hole. We also tapered the points just a bit.
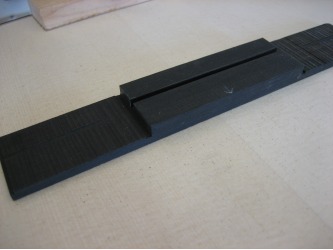
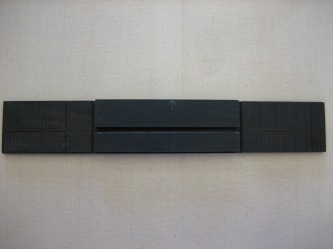
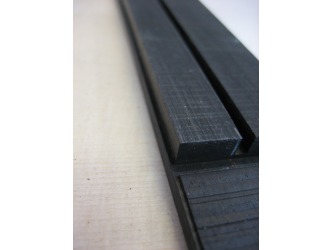
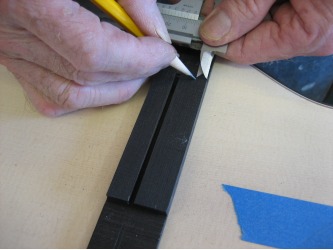
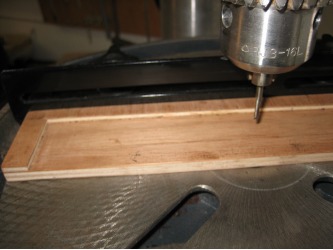
And the last thing today we did was get the basic shape of the bridge worked out as described in Work Day #23. But we did take one more step. We cut the channel for the saddle. This channel isn't cut parallel to the edges. It has a 1mm slant. So we measure in from the back of the bridge 5mm on the treble side and 6mm on the bass side. This give the bass strings just a bit more length when you are pushing them down on the fret board. The thicker bass strings tend to shorten themselves more than the treble strings which will cause the pitch to go a bit sharp. So giving the bass strings a bit more length with this angled saddle lowers the pitch slightly.
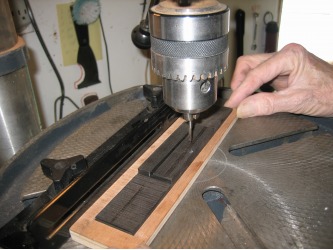
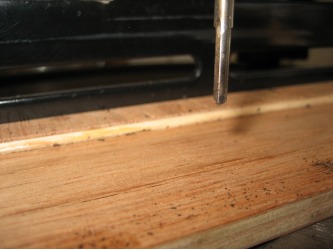
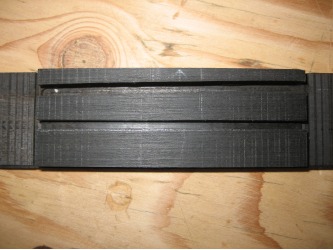
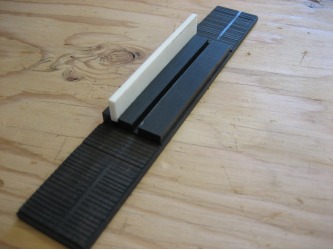
To cut the channel, we used a 1/8th router bit that you would use with a Dremel but we put it in the drill press. Then we set up a fence on the drill press to slide the bridge across. Dad also made a guide that the bridge will sit in that already has the angle built in. With 2 sets of hands, the cut came out really nice.
We also spent about an hour today trying to figure out a way to make that angle cut on the table saw. And at the end, we did figure it out! Maybe we'll use our "new" method next time.
