< Work Day 18 Work Day 20>
Work Day # 19 - January 13, 2009 (3 hrs)
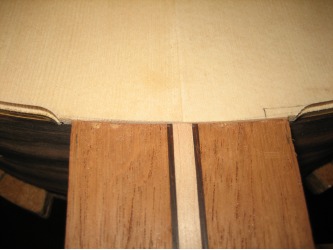
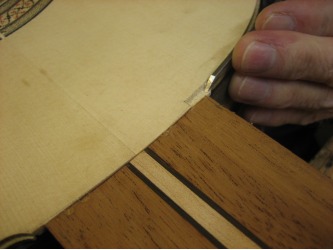
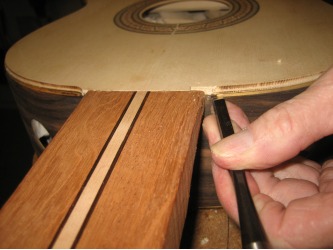
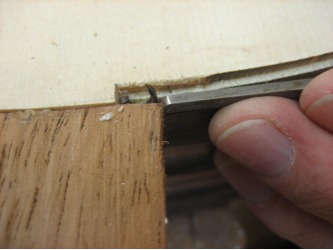
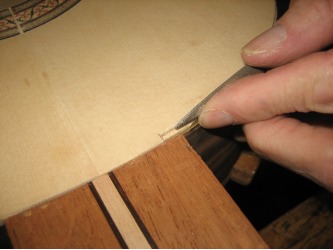
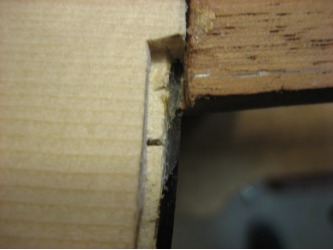
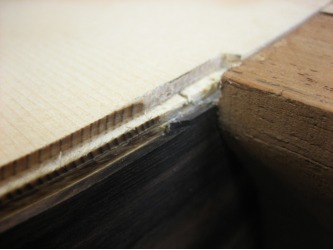
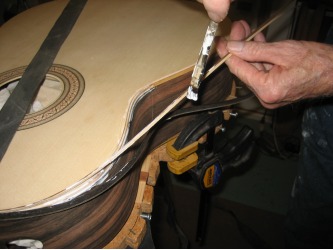
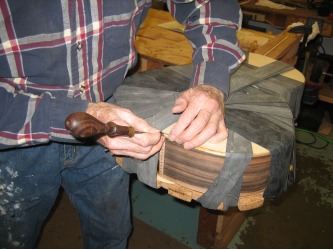
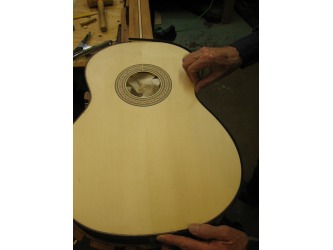
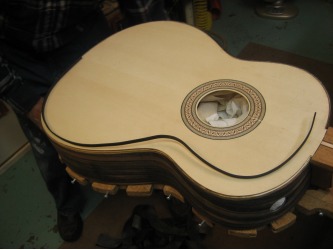
Today we started by cleaning out the channel for the binding and purfling at the neck where the router didn't reach.
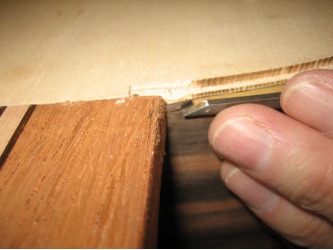
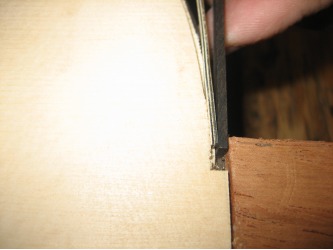
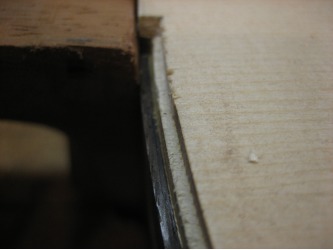
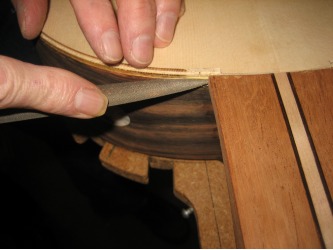
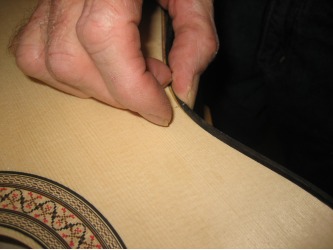
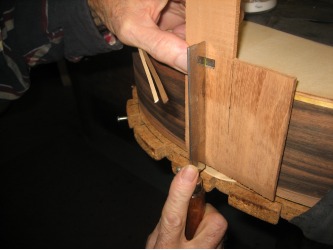
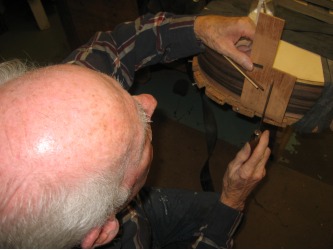
Use a pencil to draw on the top following the cut channels to about 1/2" into the side of the neck. Use a knife to cut the top, then chisel out. Do this in steps...don't try to cut the entire depth of the channel out at once.
Most of the work is done with a chisel...use a file to finish cleaning up the channel.
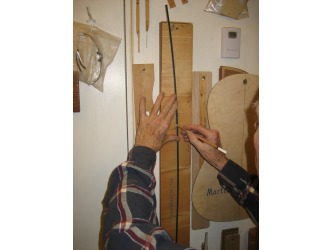
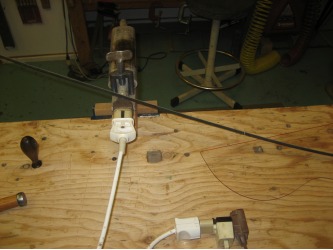
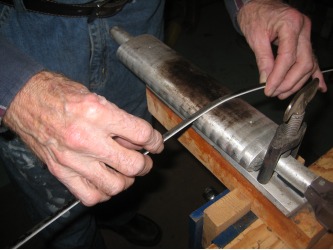
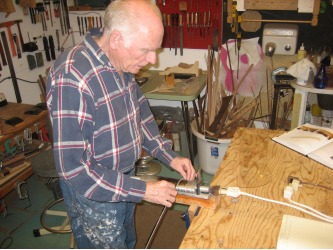
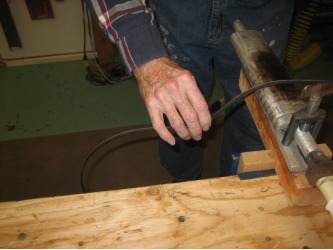
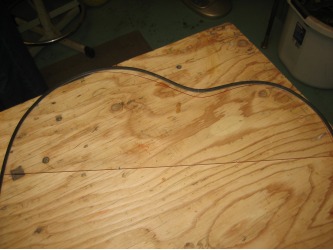
Next we needed to get the bending iron out to bend the binding. We use the same template to match the curves as we did when we bent the sides. Mark the waist line on the binding from the side template and double/triple check the orientation of the binding before you bend it. You want to make sure you end up with a left and right side...
When bending, wet the side of the binding that touches the iron and take your time. Make sure to get some heat into the binding before applying bending pressure. Bindings can separate when bending, so be careful and again, take your time. Make sure your bends are smooth and have no flat spots. The bends don't need to be perfect, but get them as close as you can.
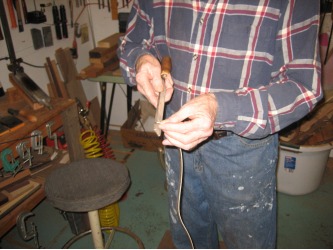
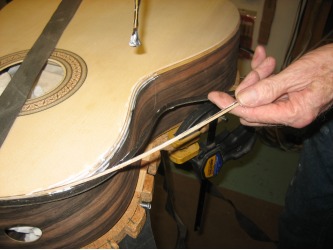
Line the binding up at the waist and mark the top. Work your way toward the neck and trim the binding, clean up the cut with a file. Then do the same thing but working from the waist to the bottom of the guitar and trim the binding a bit long. We'll do the final cut at the butt joint when we glue.
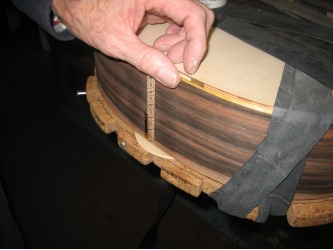
You also want to test fit the binding/purfling sandwich in the channel at the neck before gluing.
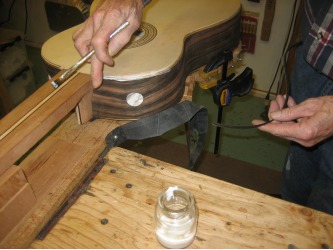
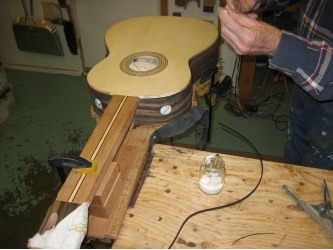
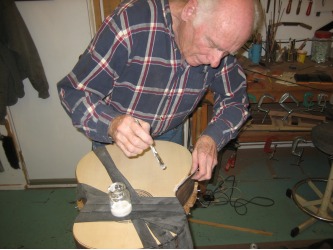
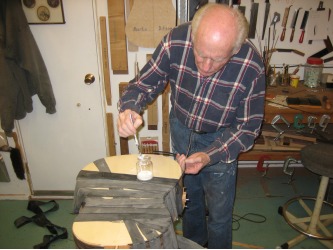
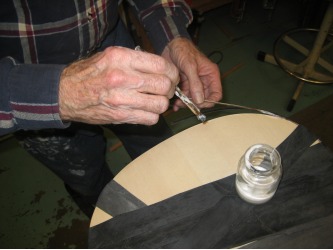
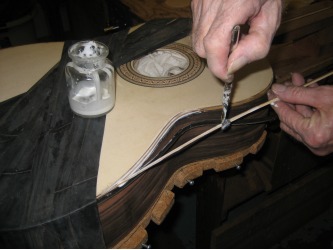
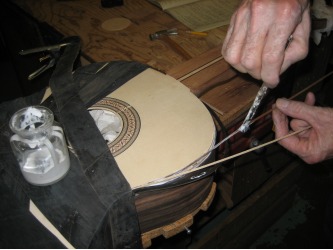
With the binding trimmed (we'll trim the purfling while we glue) we're ready for glue. We are using white glue and only applying glue to about an 8" section at a time. Make sure to apply glue in the channel, both sides of the binding and purfling. We start at the neck and will work our way back.
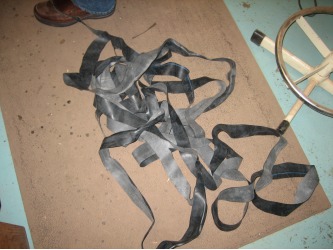
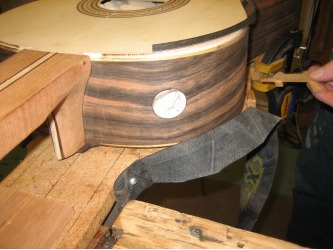
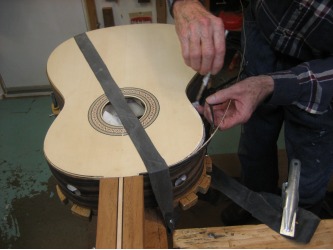
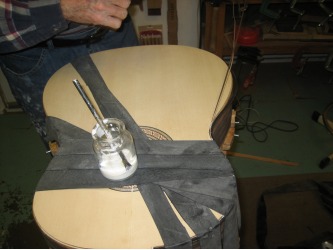
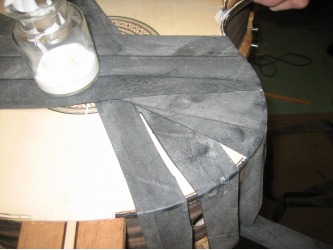
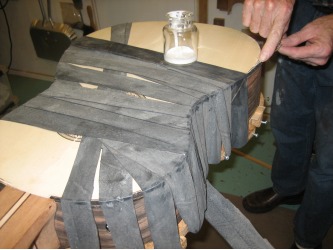
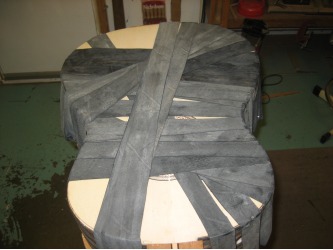
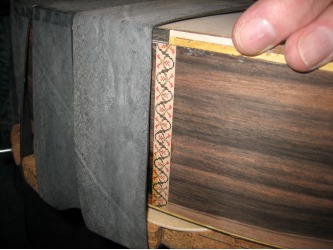
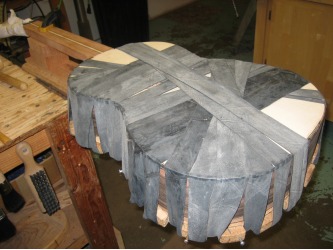
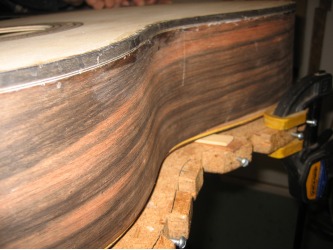
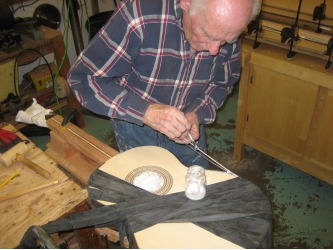
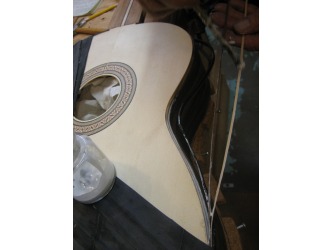
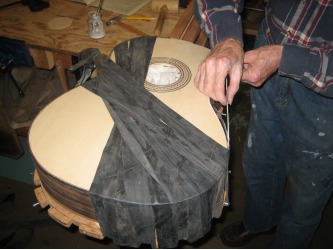
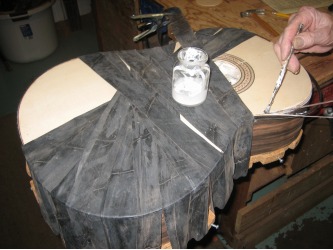
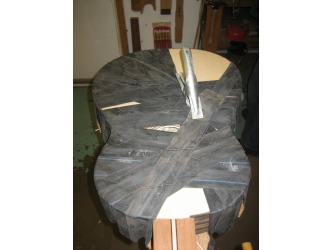
Put the binding and purfling in the channel, squish it down with your fingers and wipe away any squish out then start wraping with the tube. To "clamp" the binding to the guitar, we are using a 35' length of inner-tube. The tube is from a passenger car that has been cut into one long strip and thoroughly washed.
There are lots of different ways to clamp the binding/purfling. Bogdanovich uses masking tape, Hannabach uses twine...and we are using basically a great big rubber band!
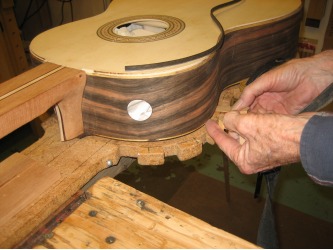
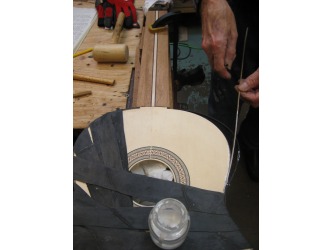
:When stretching the band across the guitar, you want to get a good pull on it to get good tension on the binding/purfling so we don't end up with any weird gaps between the top and purfling/binding. We used a few small wedges under the back to support it under the tension of the rubber band.
After about 3 wraps of the band, take a small hammer (wood or metal) and use it to help seat the binding into the channel. Hit the binding from the top and from the side. Put 3 more wraps down, tap with the hammer, then we're ready to glue another section. 3 or 4 times gluing and you should be at the bottom of the guitar. And having an extra set of hands during the gluing process makes things go nice and smooth.
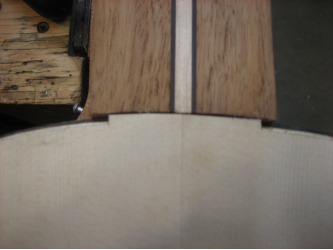
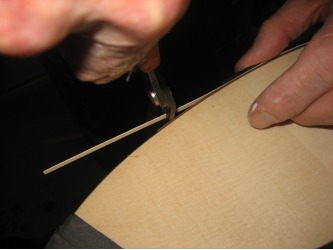
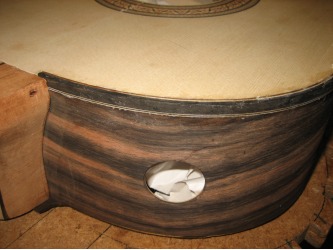
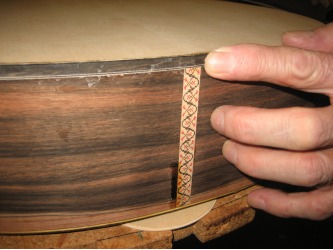
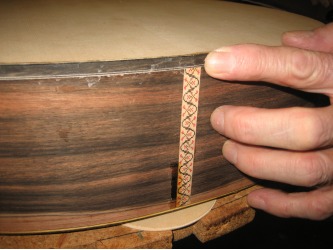
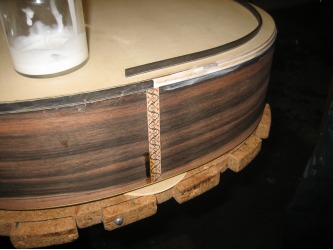
Once we make it to the bottom, we'll cut the binding to size. We are going to make butt joint where the left and right side binding meet. Mark the binding where it will end up in the center of the butt joint inlay. We use a little saw and a piece of scrap behind the binding to make the cut.
The purfling we will continue on around the bottom of the guitar a few inches and trim it. We'll trim the white about an inch shorter than the brown so they are staggered.
We left the band on for about an hour while we bent the binding for the other side. You only want to glue one binding at a time...so we'll repeat this same exercise 3 more times (one more on the top and the two on the back).
Our first binding/purfling sandwich glued nicely...no weird gaps or slipping. Wrapping with the rubber band leaves you a little blind as to how it's gluing...so you won't know if you've made a mistake until everything is glued! So again, take your time...
For the next binding we will start at the butt joint and work our way forward. So start again with the binding at the waist and mark the top. Work your way around to the back and mark where the binding will need to be cut. Then work your way to the front and trim most of the excess off. The final cut at the front will be done during gluing.
The cut on the second binding at the butt joint needs to match the already glued binding. We matched it on the disc sander then we were ready for glue. The process is the same...apply glue to just a section of the binding, purfling and channel and start working your way to the front of the guitar. Remember to tap the binding from the top and side after about 3 wraps of the rubber band.
When you get to the neck, trim the binding and purfling with a hand cutter and finish gluing and wrapping with the rubber band. We'll let this glue for at least an hour...and that's it for today.
