Sagers Soehne
  • Home
  • Guitar Gallery
  • Guitar
  • Leather Work
  • OS Gallery
  • Handmade Straps
  • My Collection
  • "Handmade" Blog
  • Piano Tuning
  • Contact

First Post!

9/20/2008

1 Comment


Work Day #1 - September 20th, 2008 (3 hrs)

Today I started building a classical guitar with my dad.  I've wanted to do this for a long time.  So today was the day to begin. 

http://picasaweb.google.com/mxracer/Guitar - this Picasa album has larger pictures of all those posted below.

We started a few months ago getting all the wood together.  I ordered a set of sides and a back from an online wood dealer.  I got macassar ebony for the back and sides.


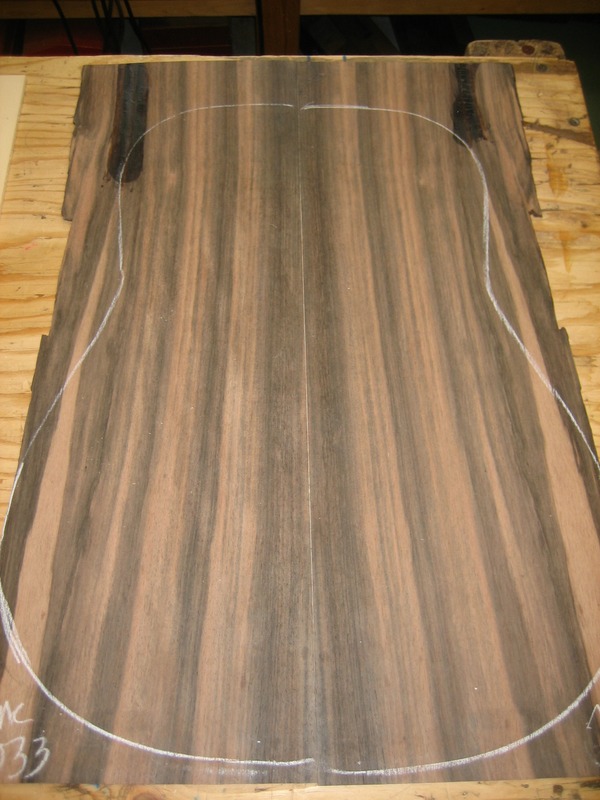
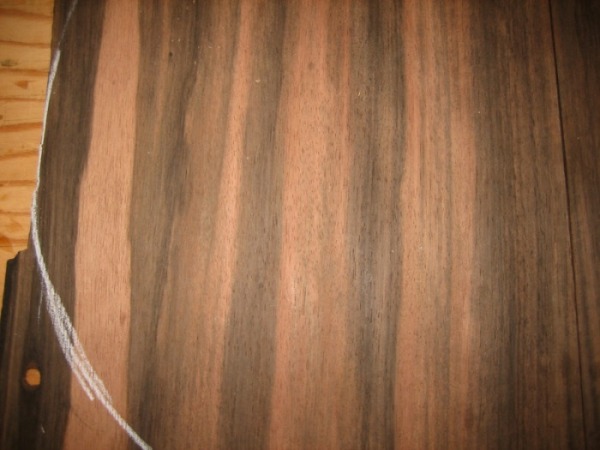
The stripes are amazing..

Then for the top we chose engleman spruce...it's a light-weight, light colored wood.  For a top, you ideally want the grain to be tightly and closely spaced.  This will add to the rich tone of the instrument.

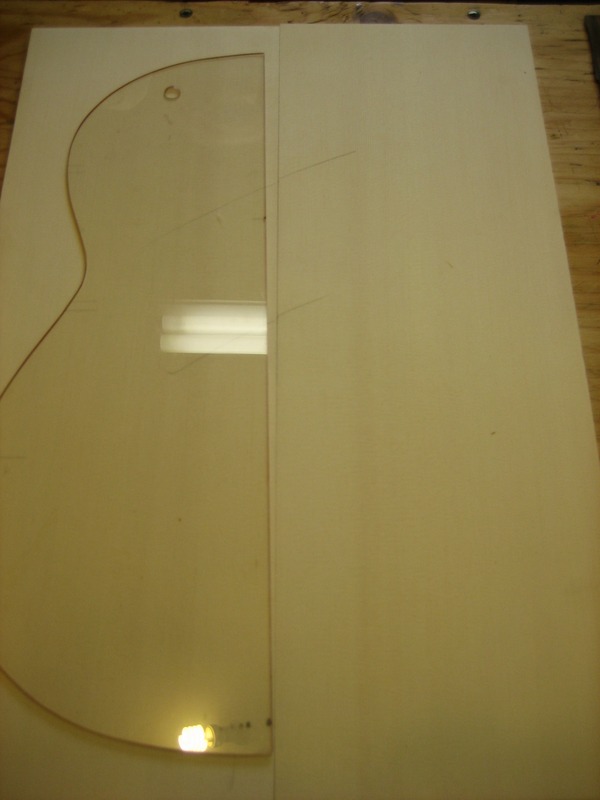
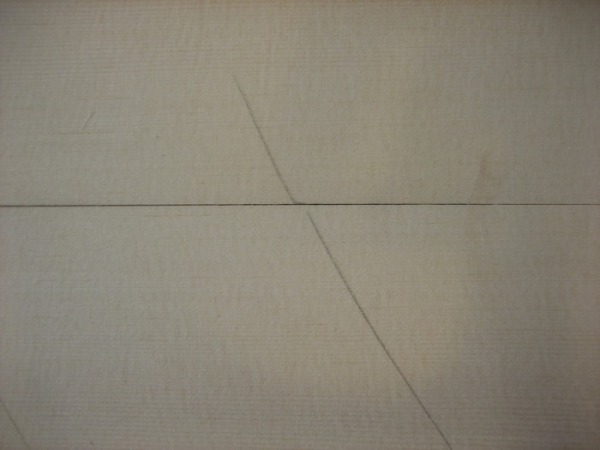
Then we looked at rosette's, the fingerboard, and head plate.  We were trying to get an idea of what colors we could play with and what would look good.

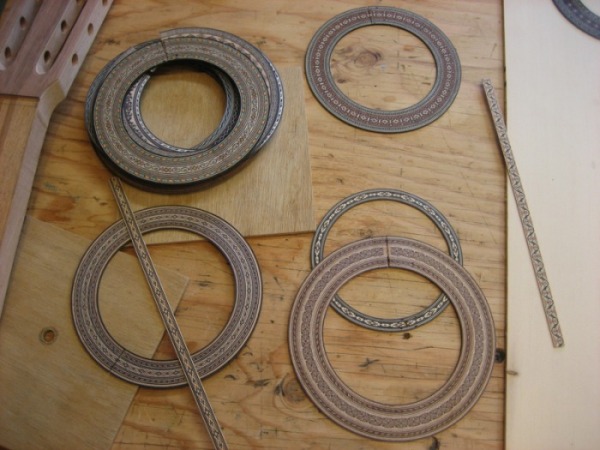
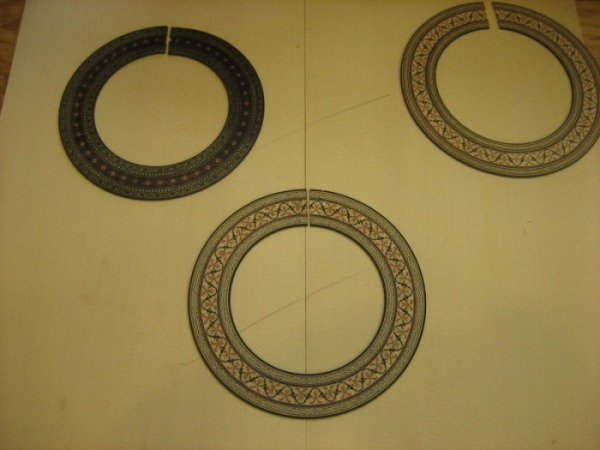
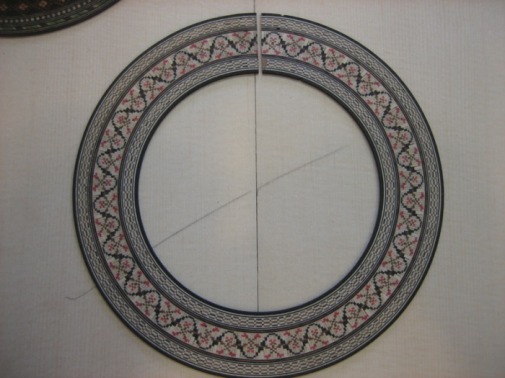
Depending on what we decide on for a head plate, my top pick for the rosette is this one.  It picks up the light color of the top and has a real classic look. 

And before we go any further, here's a look at my dad's workshop.


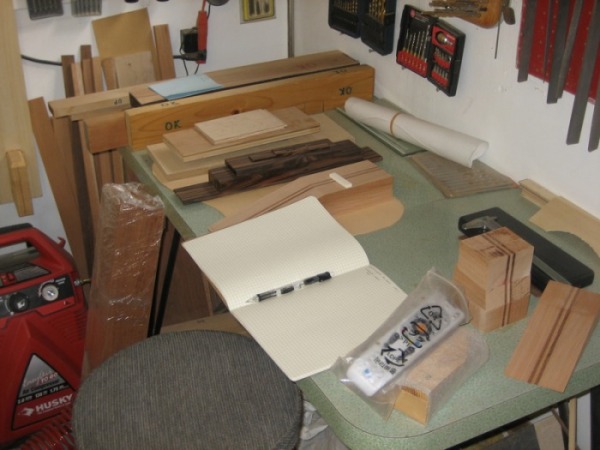
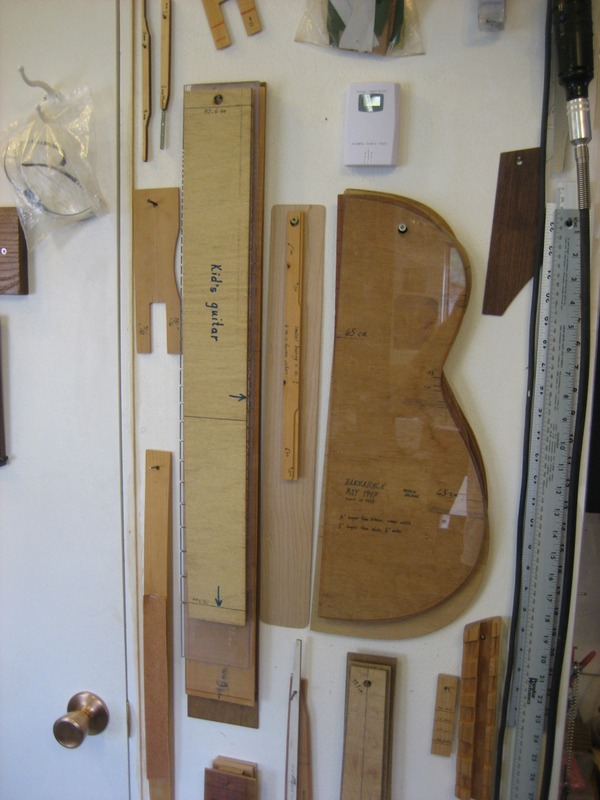
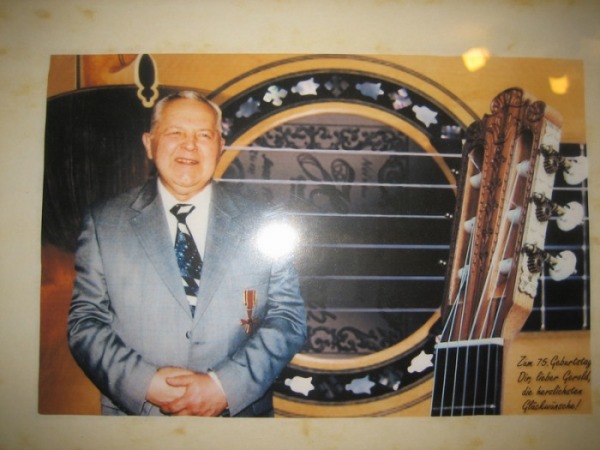
Above is a picture of Georg Karl Hannabach...he is the master guitar builder from Germany who taught my dad how to build guitars.  He came to my dad's house in 1997 and built a guitar w/ him while he was there...a pretty cool opportunity!

Ok...now on w/ the build.

We first started on the back. With a rosewood back, Hannabach recommends a thickness of 2.3mm - 2.6mm.  The pieces I bought were around 2.7mm.  So we ran the wood through a drum sander a few times to bring it down to 2.60mm.  Depending on the type of wood dictates the thickness...but there are several opinions on how thick or thin it should be.  Some builders are even doubling up the backs...so two pieces at 2.5mm each.

We would run each piece twice through the sander.  The second pass we rotated the piece 180 degrees and sent it through so we would get an even sanding job across the entire piece.  Then after each piece had gone through, we would drop the sanding head 1/4 turn and do it again until we arrived at the desired thickness.


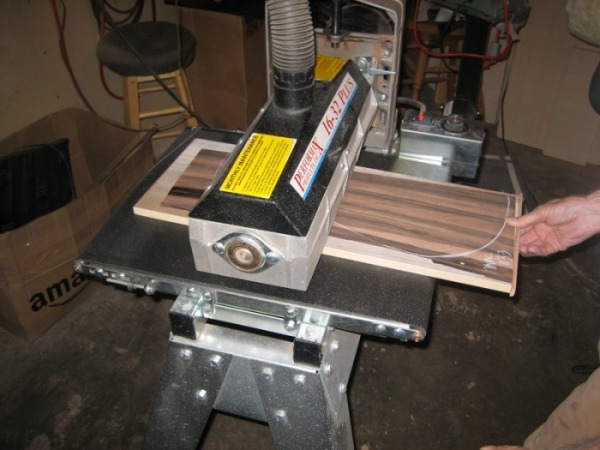
Then we needed to make sure the edges were square and ready for glue. There are several different ways to do this.  One is on a belt sander (w/ 80 grit paper), and the other we used was with a piece of glass w/ sandpaper (various grits 80-120) glued to it as shown below.  To check how the edges match up, simply hold the pieces together toward a light source...in our case, the shop window.  Usually you would sand the pieces sandwiched together...but you can also sand them separately.

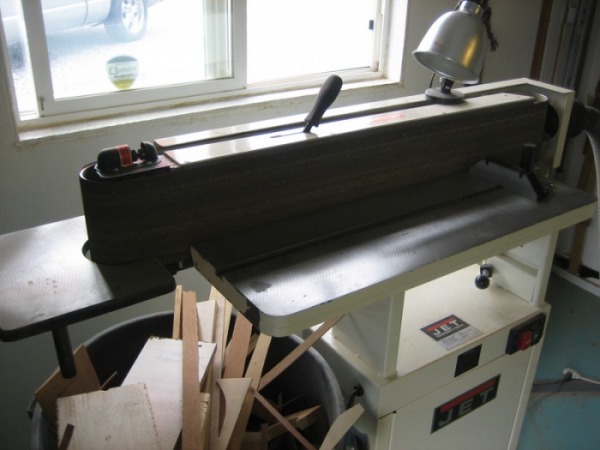
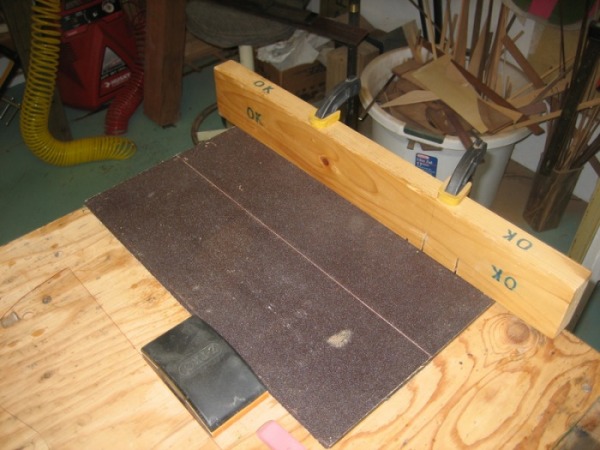
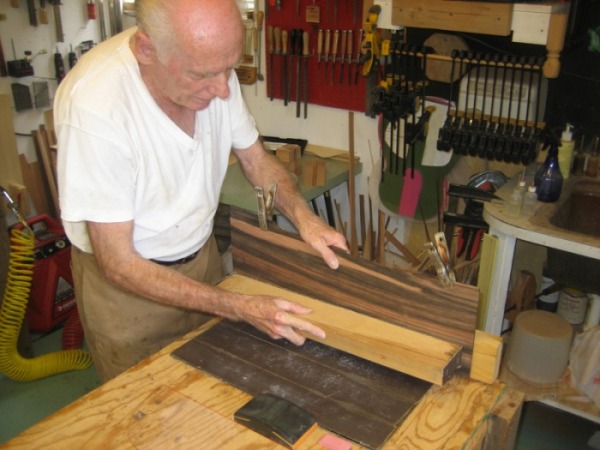
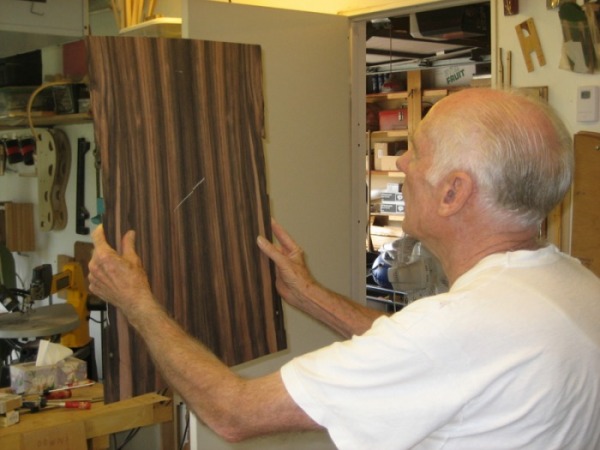
Now we need to get set up to glue the two halves together.  The two halves are from a thick piece that has been split down the middle, then you fold the pieces out so you have a mirror image of the grain.

Dad's gluing set up included a custom board notched for the long clamps.  First, a sheet wax paper is laid down.  Then a special white glue is applied to one of the two halves.  The glue we used is LMI Instrument Makers White Glue (www.lmii.com).  It sets up in 15-30 mins and then over 6 hrs dries to a hard, clear finish.  Then a second sheet of wax paper is laid over the top.  Before pressure is applied to the clamps, boards are placed on top of the two halves to prevent the pieces from buckling when the side pressure is applied via the clamps.

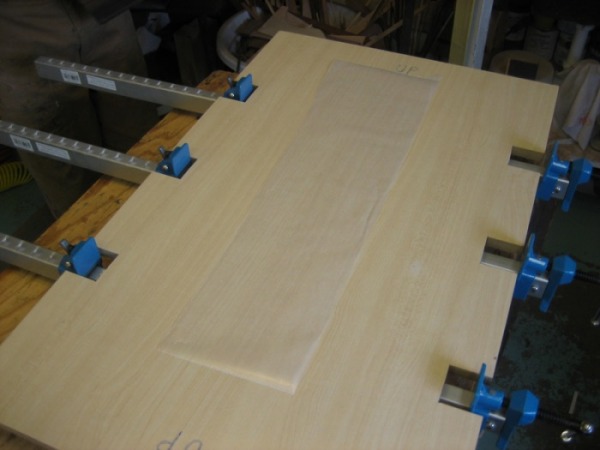
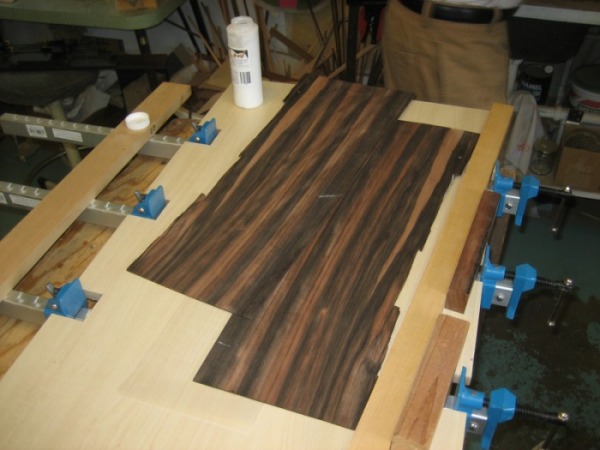
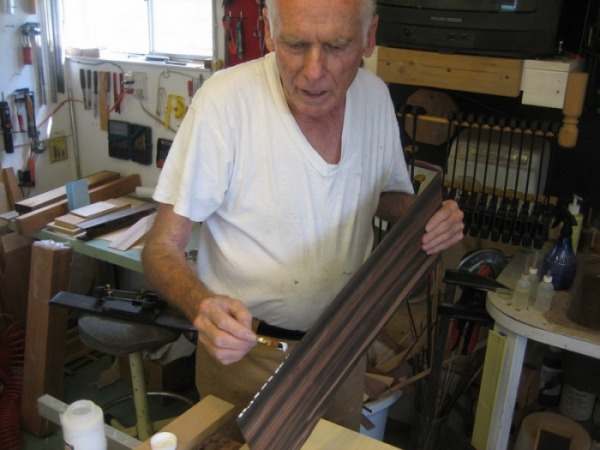
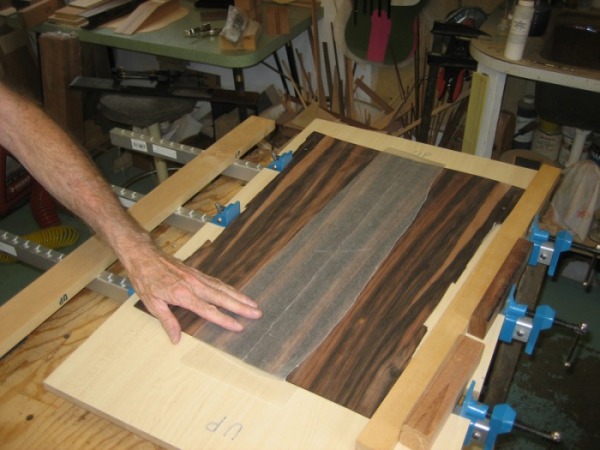
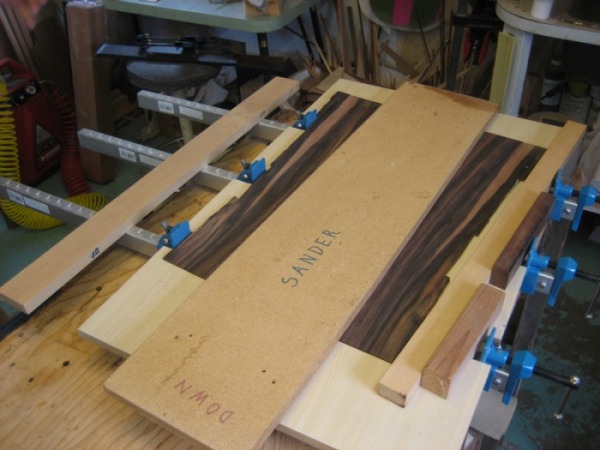
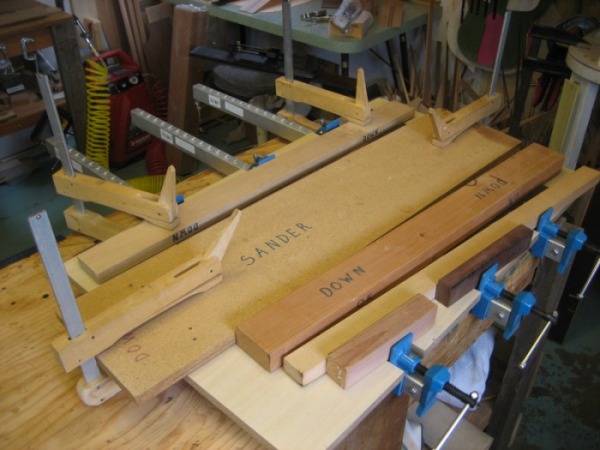
We let the glue dry for about an hour then worked on removing the excess glue with a cabinet scraper.  The scraper is a piece of steel anywhere from .4mm - .7mm thick and about 4-5 inches long and 2-3 inches high w/ a sharp edge.  The edge is applied by filing the square edge at a 45 degee angle then burnishing (w/a steel burnisher) the edge to 90 degrees.  And when the edge gets dull, simply grind it flat and make a new edge.  We also followed up the scraping w/ some 100 grit paper on a sanding block.

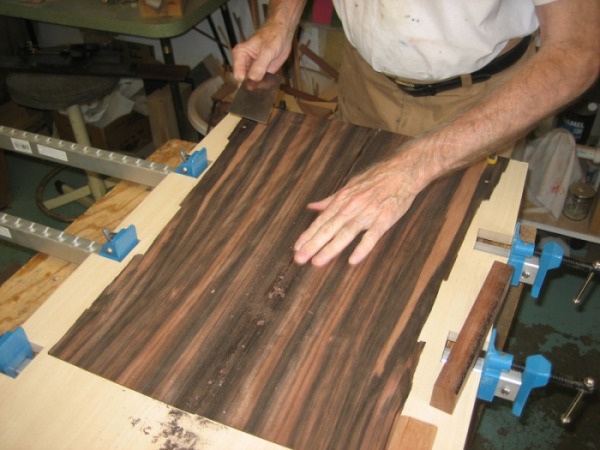
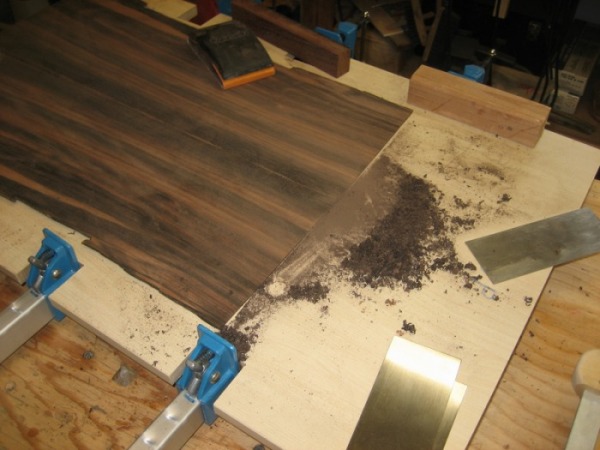
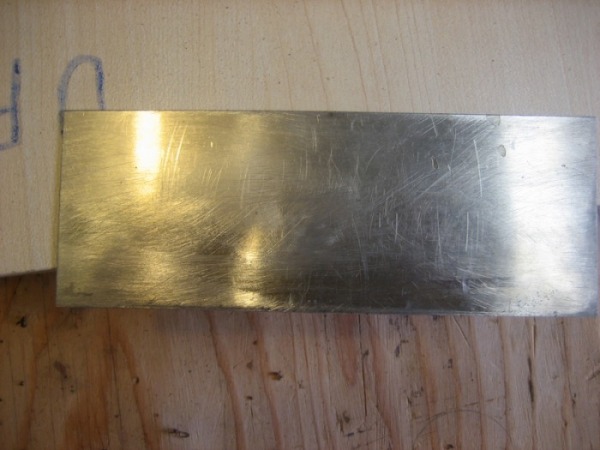
Once the glue was sanded down and the seam looked as though it wasn't even a seam, we were ready to trace the pattern onto the wood.  You want to make sure and leave at least 1/4 inch between the pattern and the edge of the wood.  Dad has a plexiglass pattern of one side of the guitar, so you trace the first half, flip it over and trace the second.  We traced the pattern onto both sides of the back.  And now we are ready to move on to the top...where the exact same steps were taken - thinning the wood, squaring the edges, gluing, and removing the excess glue.

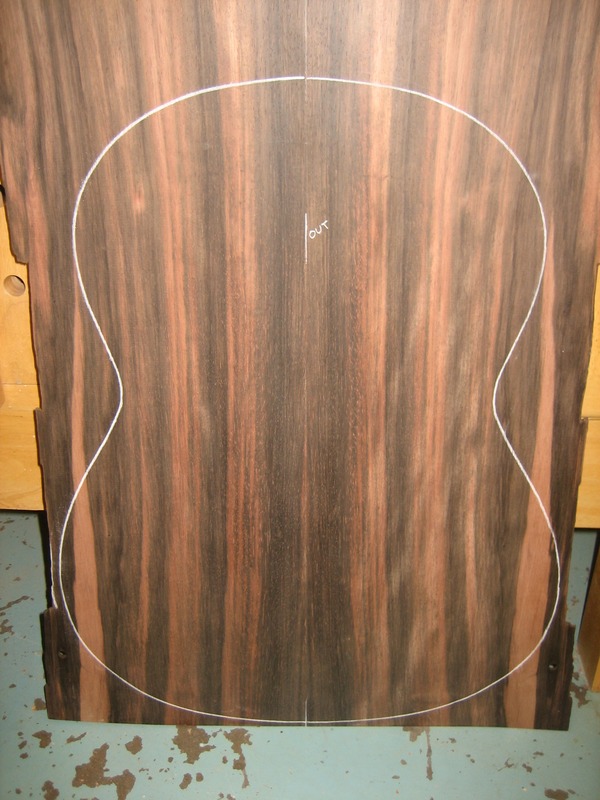
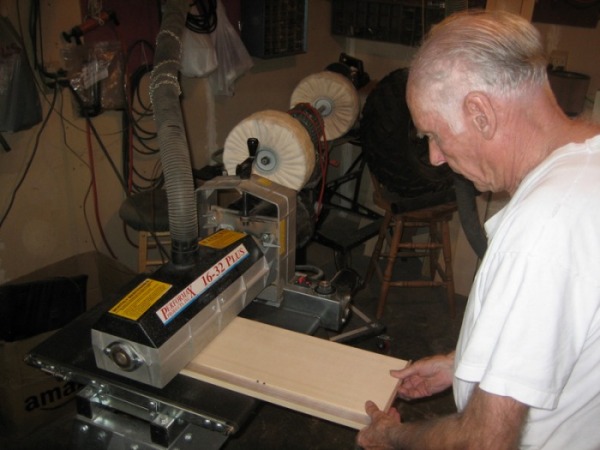
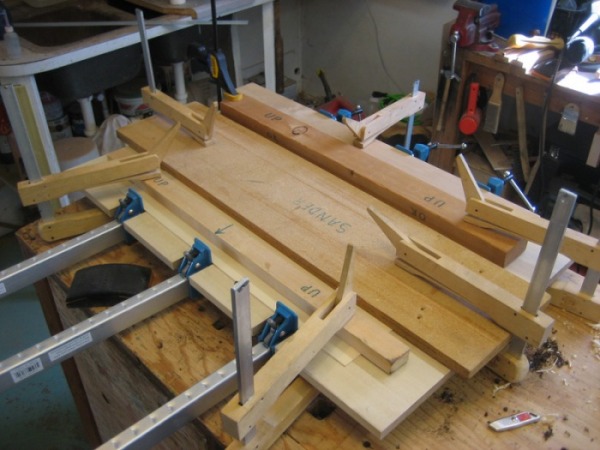
Work Day #2 - October 7th, 2008 (4 hrs)

Today we continued work on the back.  But before that, we cut out both the top and back.

When the top and back are cut, you want to leave an edge of about 10mm-15mm around the drawn pattern.

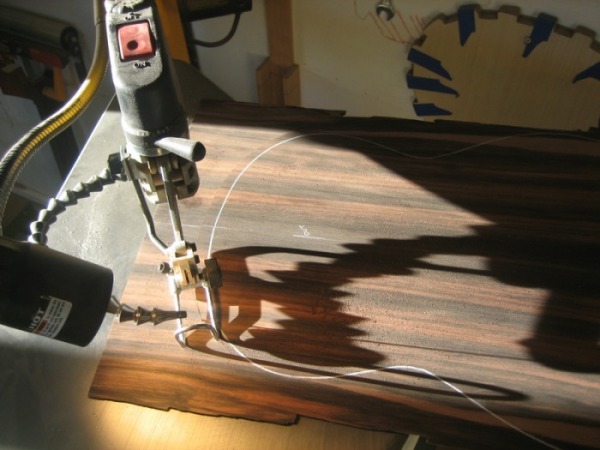
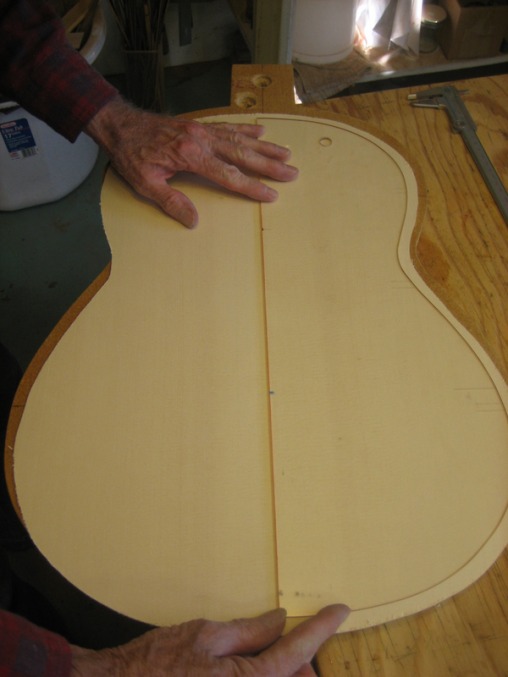
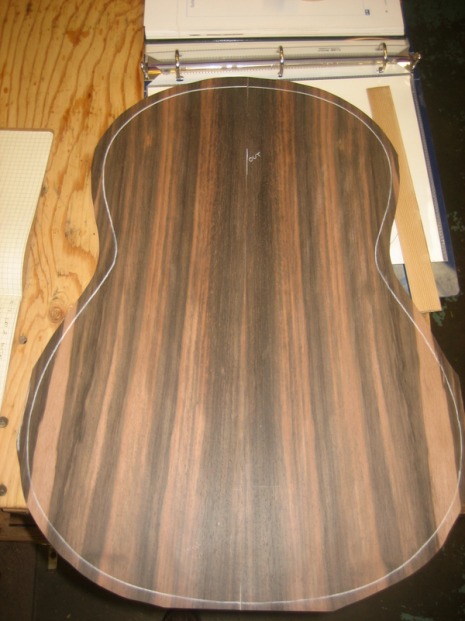
Ok...on to the back.  The first piece to be applied is a vertical brace that runs along the seam. The brace is made from two pieces of Spanish cedar glued together.  The vertical brace should have the grain running perpendicular to the grain of the back. This brace is 3mm thick by about 30mm wide and the length varies.  But it should start about 1 inch from the top of the back to about 2-3 inches from the bottom.

Apply an even coat of glue to the brace and center it exactly over the seam of the two back halves.  Place a piece of wood over the brace then clamp in place.  Take care when clamping as setting the clamps can cause the brace to shift.

If the right amount of glue has been applied, you should see a little leaking out of the side of the brace...a little...not a lot.  Let that excess glue dry for a few minutes then use a chisel to scrape it away.

This leaves the inside of the back a clean and professional look.  You never know when someone will take a mirror and look inside your finished guitar. This is similar to your mom always telling you to put on clean underwear...you never know when you might end up visiting the emergency room!


Scraping the excess glue w/ a small chisel.


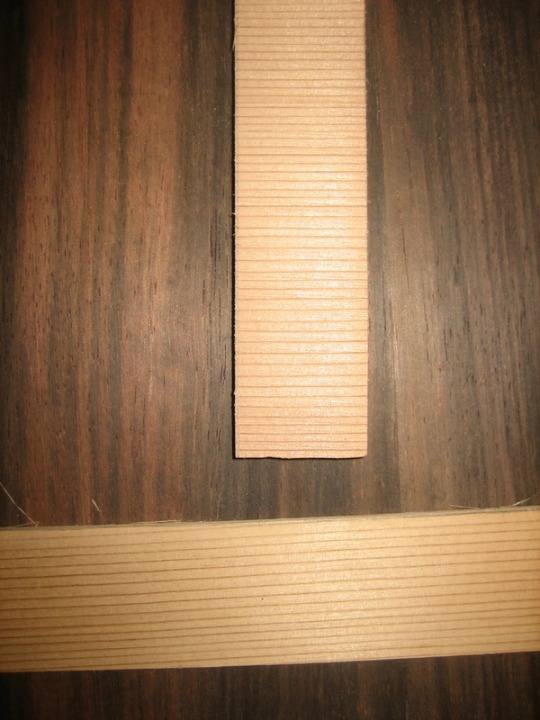
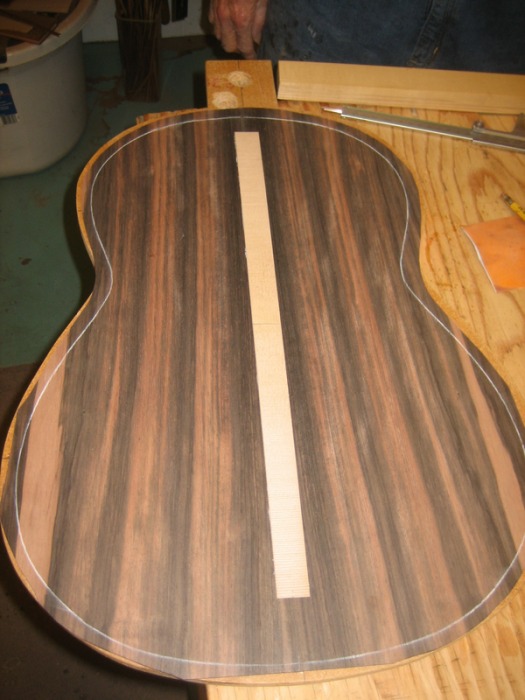
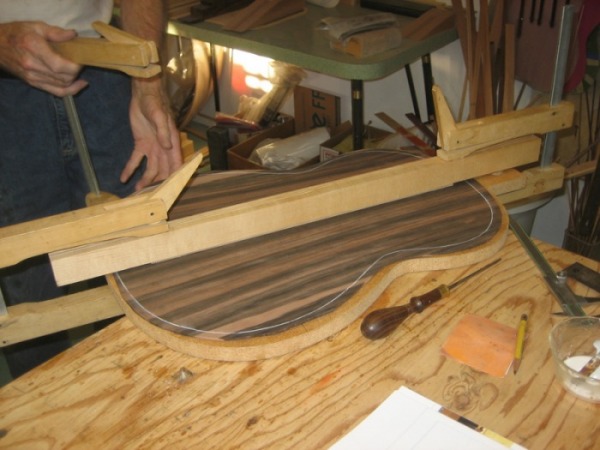
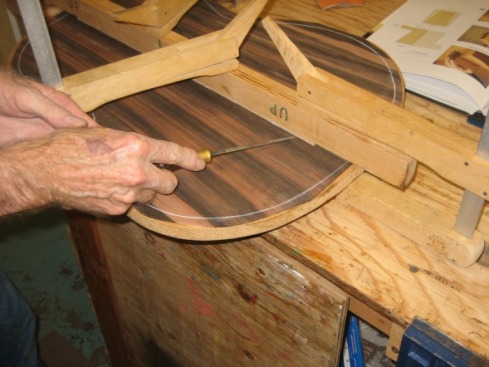
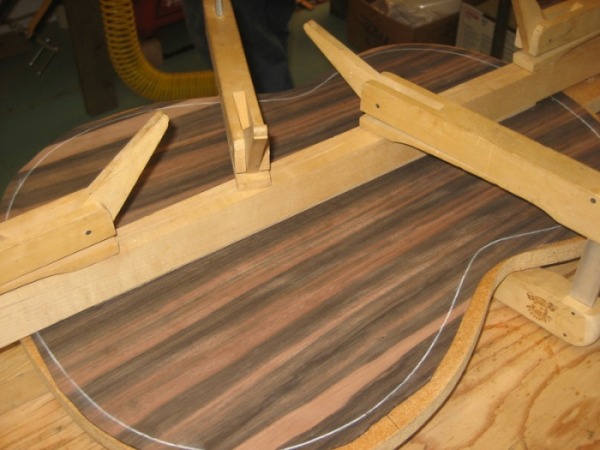
While the vertical brace dried, we moved on to the horizontal braces.  For this guitar, mahogany will be used. The horizontal braces range from 6mm thick to 7mm thick.  Brace 1 (starting from the top of the back) is 6mm thick and about 14mm tall and will be placed approx 4 inches from the top. Brace 2 is 6.5mm thick, 14mm tall and will be 4.5 inches below brace 1.  Finally, brace 3 is 7mm thick, 14mm tall and will be 4.5 inches below brace 2. 

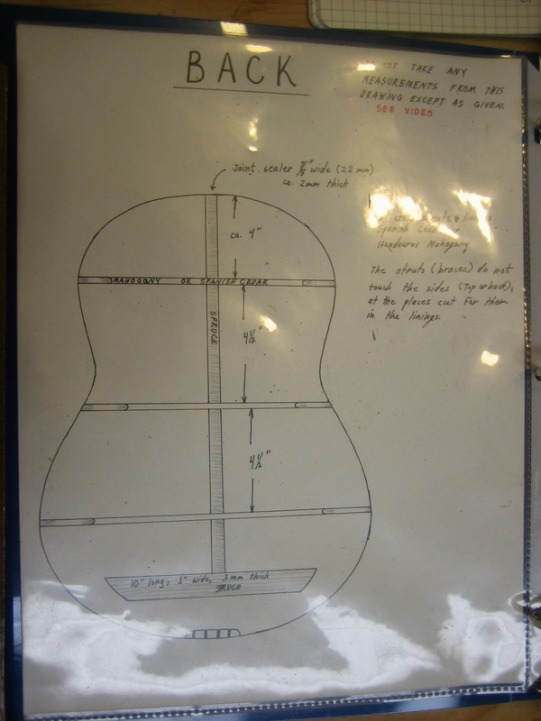
From what my dad says, it seems like the bracing is largely subjective.  Some guys will do 5mm thick braces that are taller...like 18mm. Others will use 6mm thick bracing on all 3.  And the type of wood used varies as well.  Dad suggested the mahogany as it is a nice hard wood and the pieces we used are aged enough to have the strength we want.

Dad told me about a back he had done where he had to remove and replace all the bracing on the back because it weakened and caused the back to lose its curve.

Dad already had the bracing sized so we just needed to cut it to length. We simply set the horizontal brace over the vertical brace and cut it so it would extend a 5mm over each edge of the back.  We did this for all 3 braces.


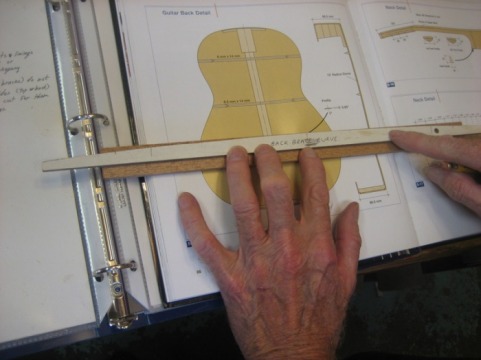
After the 3 braces were cut to size, we penciled in the curve from a pre-made template.  The curve added to the braces when glued to the back, gives the back its delicate curve.  The curve is equivalent to a circle made with a 20' radius...so it's easy to see how gentle the curve really is.

We used the belt sander to get the curve just right.


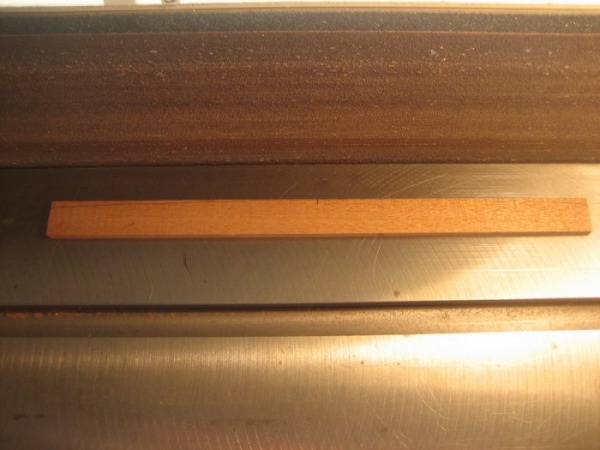
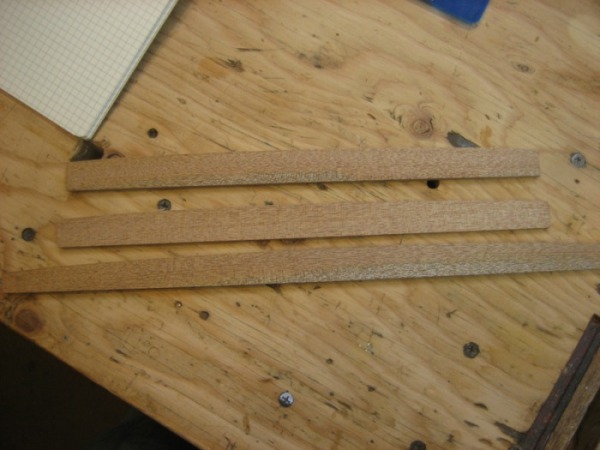
Now with the vertical brace glued we removed the clamps and started shaping it.  Here is a before and after look:

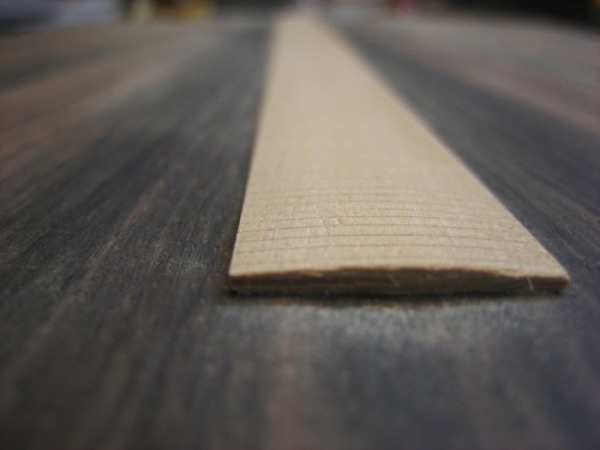
The finished brace will have a slight curve to it but you don't what to thin the edge flush w/ the back, you want to leave a .5mm edge.

To shape the brace we used a combination of a mini-planer, chisel, rasp file, and sandpaper (100, 150, and 220 grit).  Dad uses the chisel to remove most of the material and give the brace the curve.  But a chisel requires a steady hand a feel for the wood...neither of which I really have right now!  So I used the mini-planer then moved to the sandpaper.  Starting w/ 100 grit then 150 and finishing w/ 220.

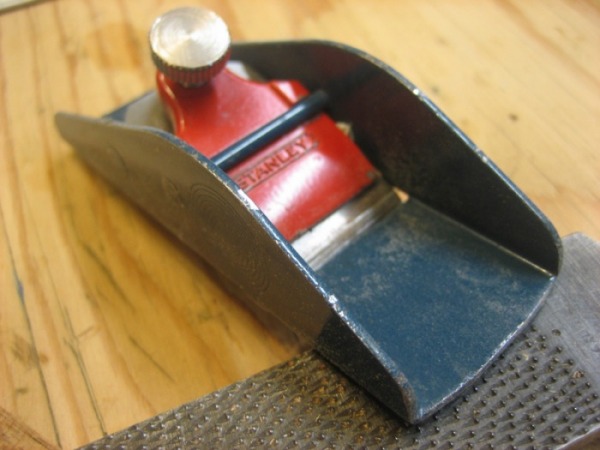
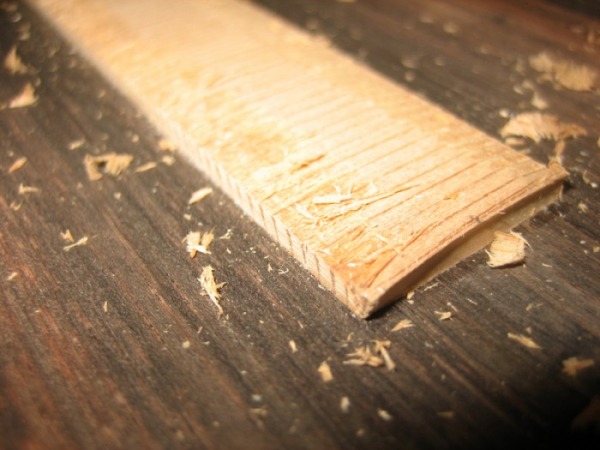
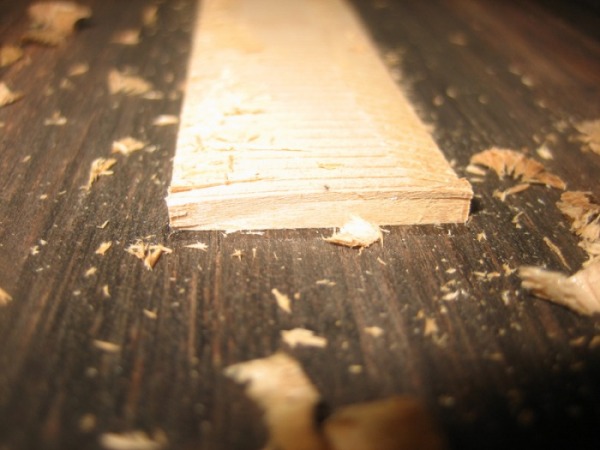
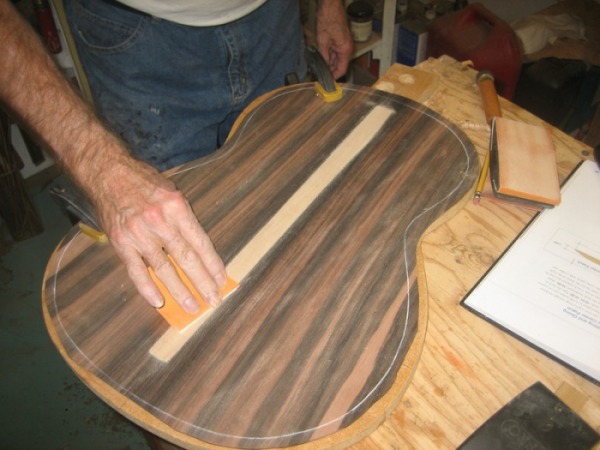
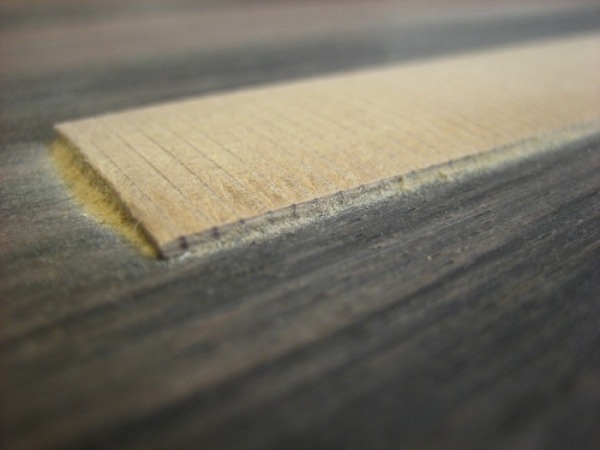
With the vertical brace shaped, it's time to cut the grooves for the horizontal braces.

Starting at the top, we measure down 4" and mark the width of the horizontal brace on the vertical brace.  To make sure the brace is a perfectly perpendicular, we use a triangle square when marking the lines.  The lines can be drawn with a sharp pencil or a marking knife shown below.  Mark the lines on the vertical brace where the groove will be cut, and a mark at both edges of the back to help with alignment when it comes time to glue the horizontal braces to the back.


The lines can be drawn with a sharp pencil or a flat edge marking knife shown here.  These knives are sold as a left and right pair.  One side of the knife is straight and the other has the bevel for the edge.


With the lines drawn perfectly straight we took a sharp cutting knife and cut on the lines.  Be careful not to use too much pressure to cut into the back.  You only want to cut the brace.


With a sharp and narrow (3mm) chisel, carefully chisel out the cut section of the vertical brace.  We used the chisel as a scraper as well to clean off any glue and to make the edges clean and straight.


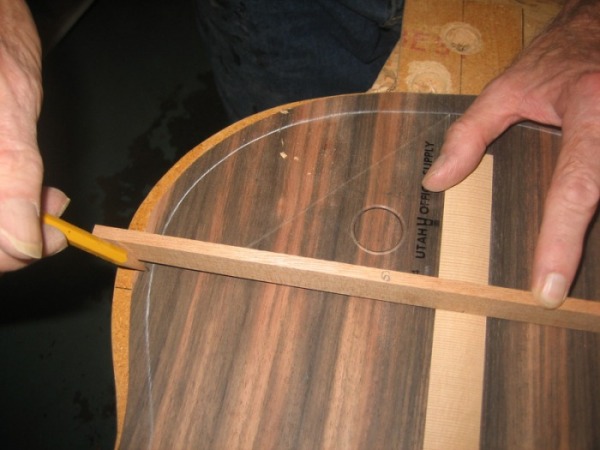
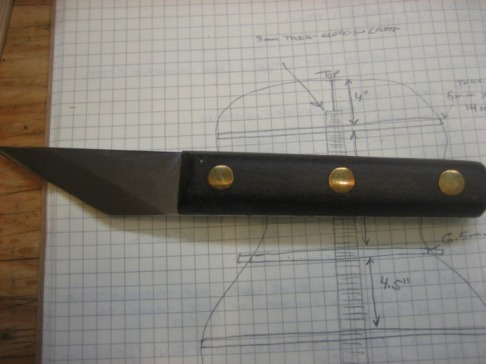
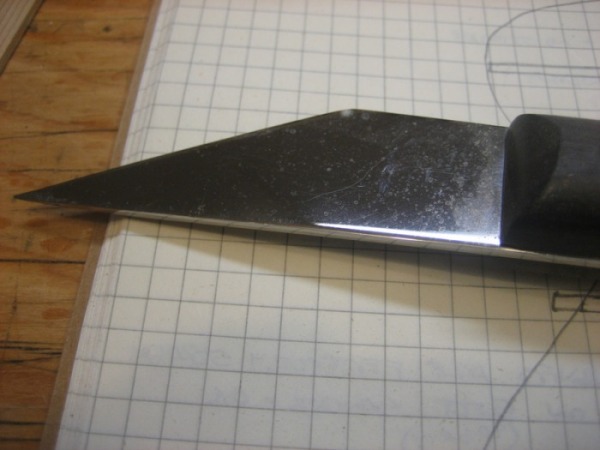
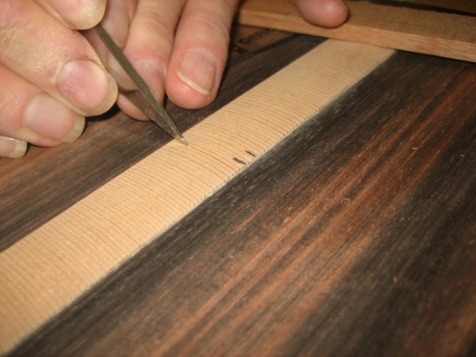
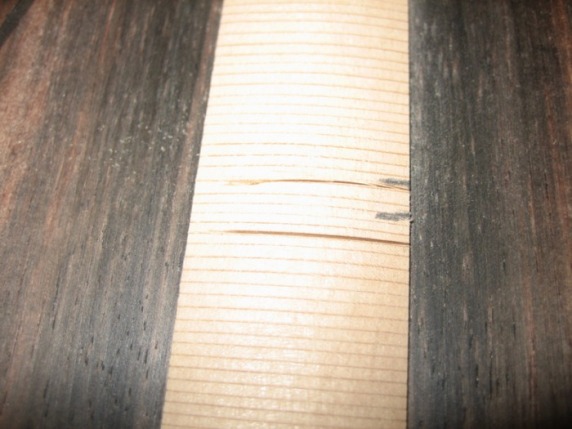
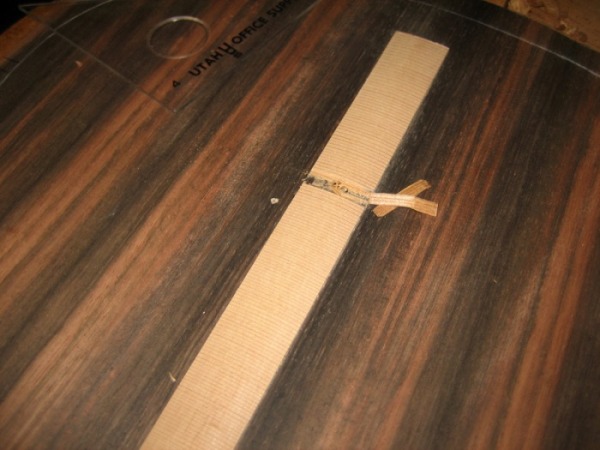
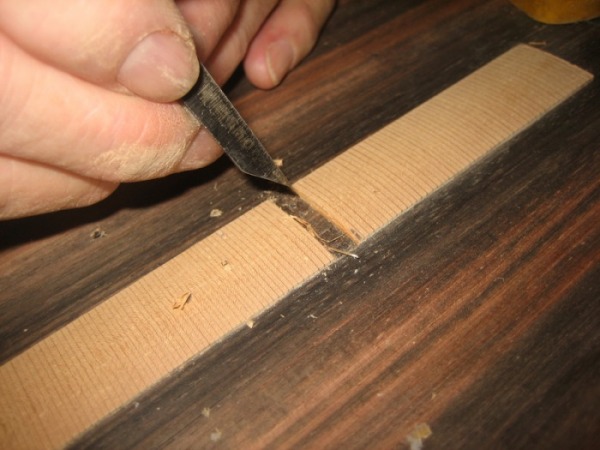
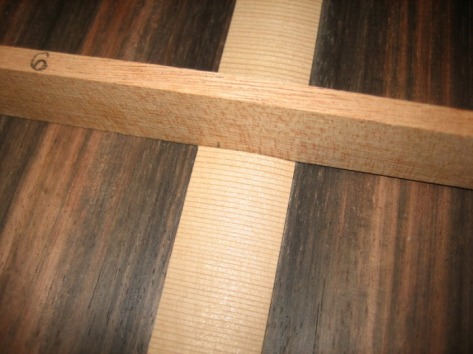
The finished groove should allow the horizontal brace to easily slide down and contact the back.

With the 1st groove finished, we moved on the the 2nd and 3rd.  The 2nd groove will be 4.5" below the 1st groove.  And the 3rd groove 4.5" below the 2nd.

Each horizontal brace is a different thickness, so make sure to use the correct brace when marking the lines for the width of the groove.  As you can see in the picture, a "6" is penciled onto the brace which identifies it as the 6mm brace (the first one from the top).


All 3 grooves cut...we're ready for glue.


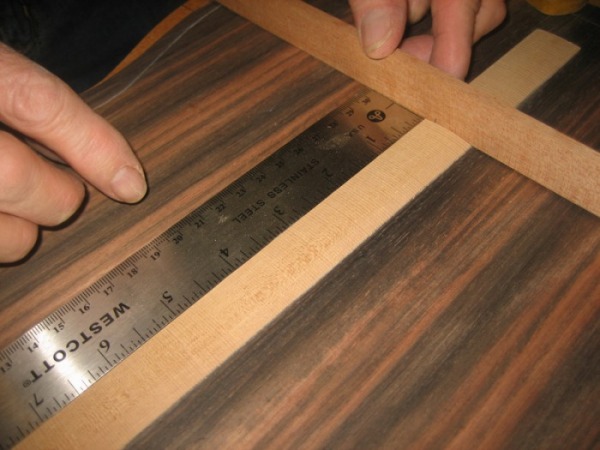
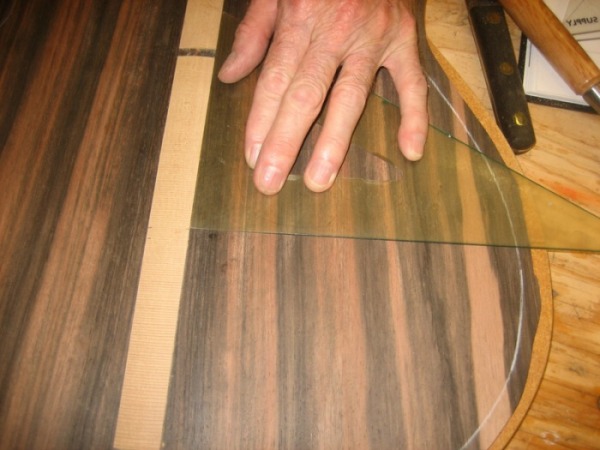
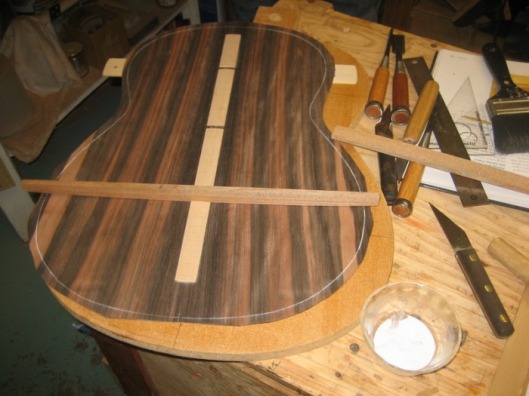
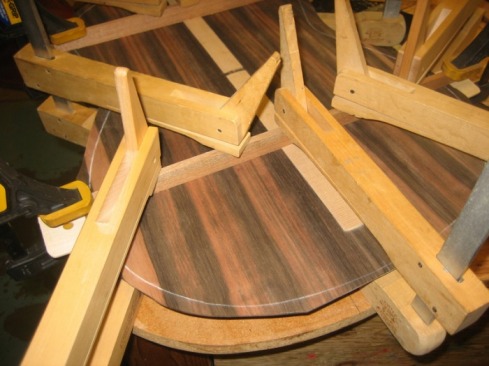
With the glue applied to the curved side of the brace we dropped it into the groove.  Make sure to line up the ends w/ the marks at the edge of the back made when marking the lines to cut the groove.

We glued the top and bottom brace first and let the glue set up for at least an hour before removing the clamps and moving to the center brace.  Also, don't forget to scrape off the excess glue (after it sets up for about 10 minutes) that squeezes out under the pressure of the clamps.


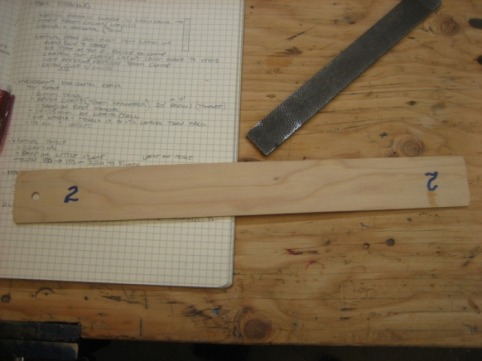
We used thin pieces of wood between the clamps and the back as tightening the clamps draws the back around the curve of the horizontal braces so the pieces need to be flexible and we wanted the clamps to not rest directly on the outside of the back. 


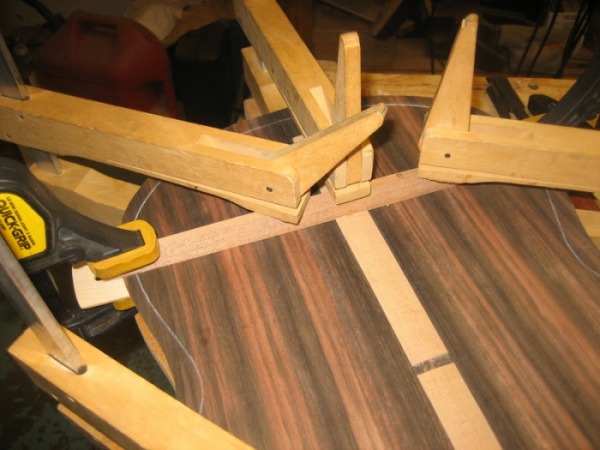
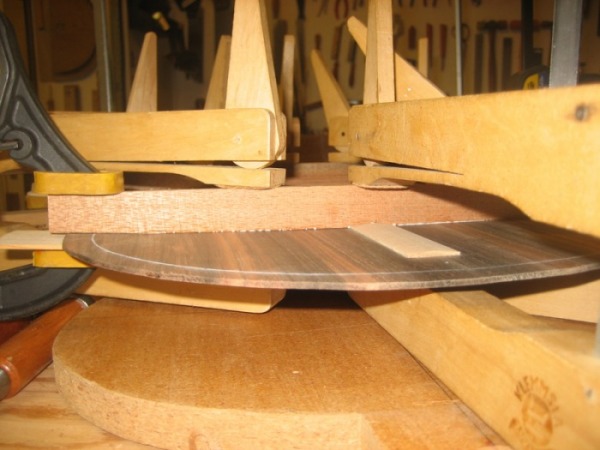
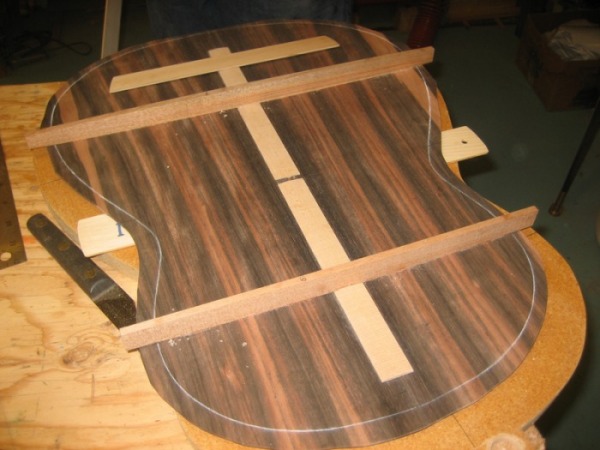
Before gluing the center brace, we prepared a brace that Hannabach uses to prevent splitting from the bottom of the back.  This piece is 2mm thick and varies in length.  Ours is approx. 9" wide and 1.5" wide.  The piece started as a rectangle, and we added a bit of a curve to each end...just for decoration.  We also tapered the edges slightly as seen in the picture above.

Once the piece was shaped, we again made the marks on the vertical brace to cut out the groove where this final brace would be placed.  This brace was placed about 3" up from the bottom of the back.


With the bottom groove ready, we clamped both the thin bottom brace and the center horizontal brace.  For the center brace, we again used the thin wood guide to clamp against.


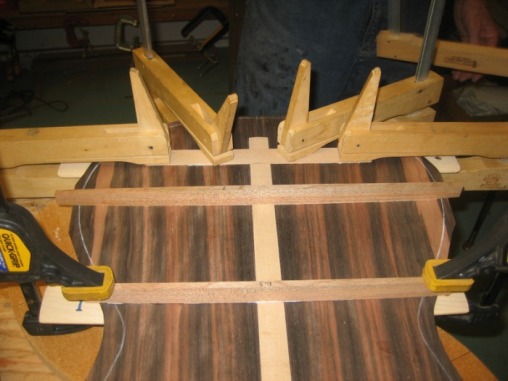
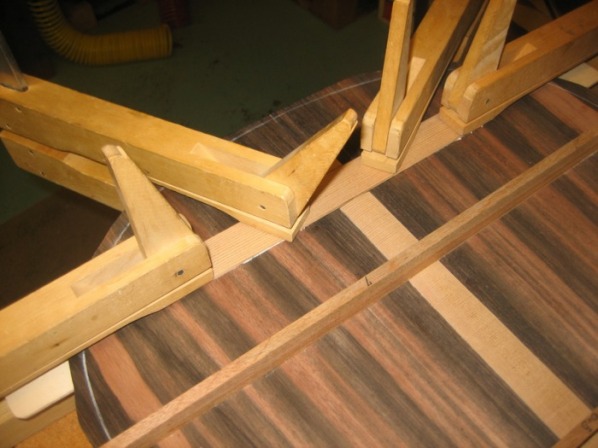
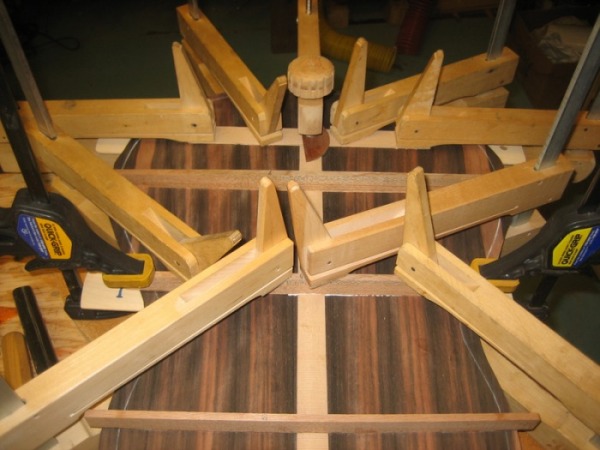
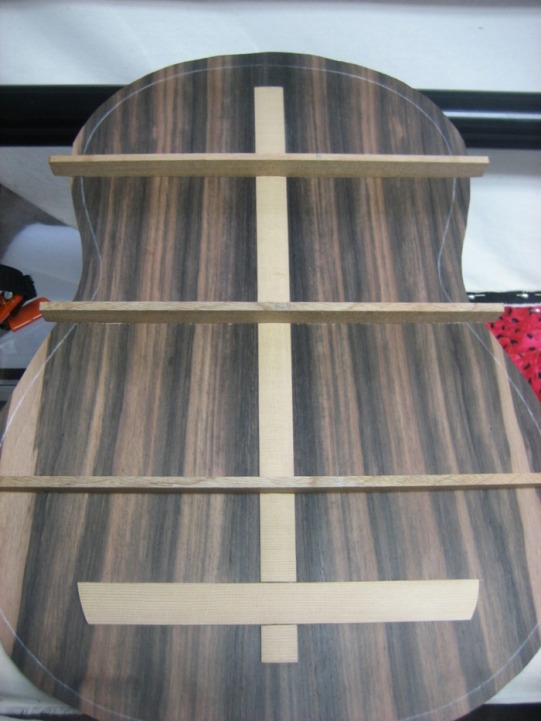
And that's where we ended on work day #2.  After the glue set up for an hour or so, Dad removed the clamps and set it aside to be finished later.

We've decided to shape the horizontal braces after we have the top, neck and sides ready to go.  We want to ensure the curve of the back will stay as it is now, and leaving the horizontal braces alone will help.  

1 Comment
Tom Bates
9/21/2008 02:19:46 pm

Erich, this is great! It'll make a great record of your project. I'll bet Marlo is pretty proud of this too.

Reply


Leave a Reply.

Powered by Create your own unique website with customizable templates.
  • Home
  • Guitar Gallery
  • Guitar
  • Leather Work
  • OS Gallery
  • Handmade Straps
  • My Collection
  • "Handmade" Blog
  • Piano Tuning
  • Contact