< Work Day 28 Work Day 30-31>
Work Day # 29 - February 17, 2009 ( 2 hrs)
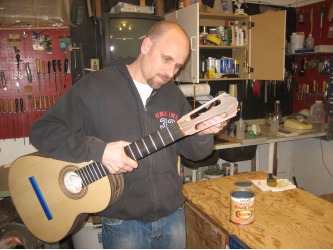
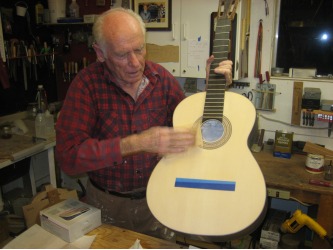
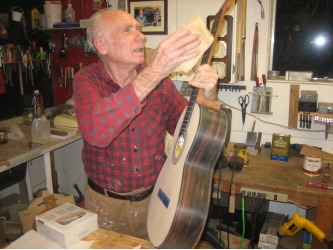
We did a final sanding with 220 and looked for any other imperfections we wanted to get out before we started putting down the shellac undercoats.
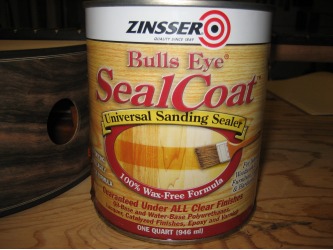
For the undercoats (we're going to do two) we use the shellac at full strength...no dilution like you would a wash coat.
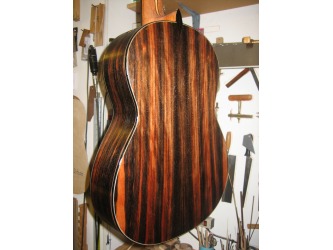
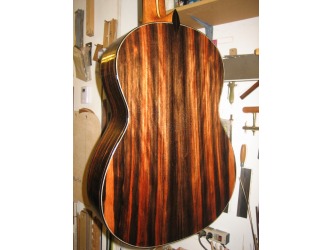
With some woods used for the back and sides, a pore filler would be necessary to help give the lacquer a nice smooth surface to lay on. But the macassar ebony we used didn't need any pore filling. If this was a rosewood back and sides, we'd definitely do some pore filling.
After we sand, we cleaned off the guitar using compressed air and wiped it down with a paper towel...a tack cloth would work too. Just don't use much pressure w/ the tack cloth. It can leave a residue.
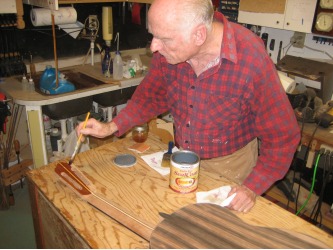
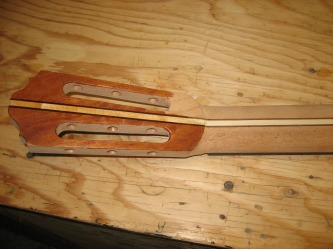
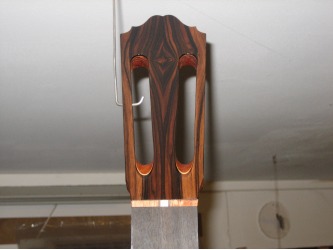
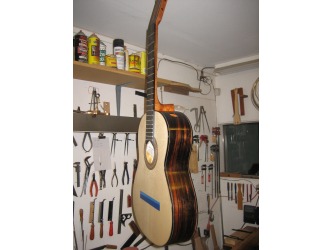
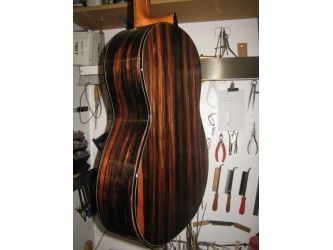
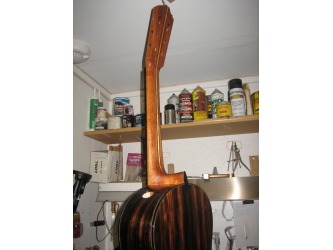
We started applying the shellac to the head and neck, then moved to the back and sides. The top already has a wash coat on it, so this first coat we leave the top alone. We used a small 1/2" brush on the head and neck. Make sure to get in where the tuners go but stay out of the channel for the nut. Also, only shellac the edges of the fingerboard...we don't do any shellac or lacquer on the top of the fingerboard.
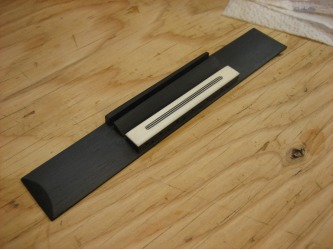
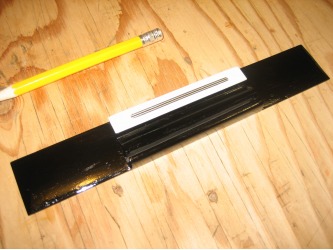
Apply the shellac evenly and try not to get it too thick in any one spot. This just adds to the time it takes to sand it smooth. The shellac also likes to run...so don't load up the brush with too much. We also did a coat on the bridge after we did a final sanding of it with 320.
We waited about 45 minutes for the shellac to dry then sanded the whole guitar with 320 (including the top). The shellac builds up quickly in the 320 sandpaper...so be prepared to go through a bunch of it.
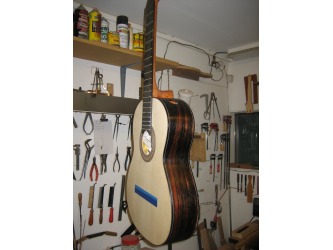
After we finished sanding, we cleaned it off again with the compressed air, tack cloth, and paper towel. Then applied the second coat of shellac. We started with the top since it is the lightest wood. Then moved to the head and neck. You don't want to risk pulling some of the dark color from the back and sides onto the light colored top or neck with the brush.
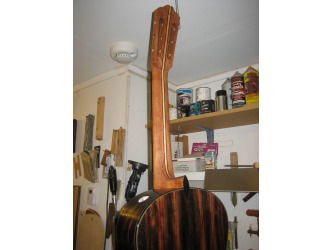
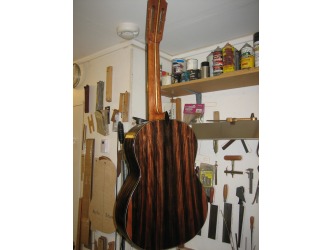
The second coat of shellac evened out the coloring in the neck. The curly spanish cedar goes a little blotchy with the first coat of shellac. But after we sanded it out and applied the second coat, it looks nice and even.
It's a good idea to test the shellac on some scraps to see the color change in the wood. You can experiment with thinning the shellac or buying a different color shellac.
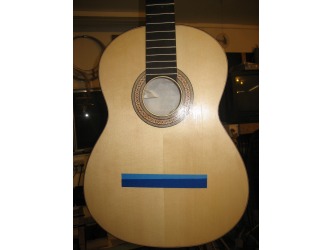
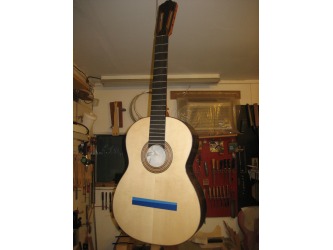
Again, we let this dry for at least an hour for this second coat, then we'll sand it out again with 320, thoroughly clean it off, and start putting on the lacquer. But for tonight, we got the second coat of shellac on and that's where we stopped.
