< Work Day 27 Work Day 29>
Work Day # 28 - February 14, 2009 ( 3.5 hrs)
We're in the final stretch...
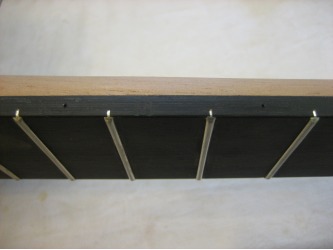
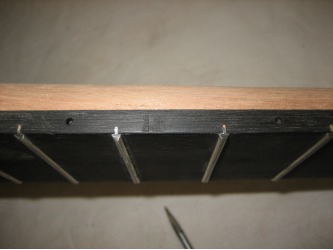
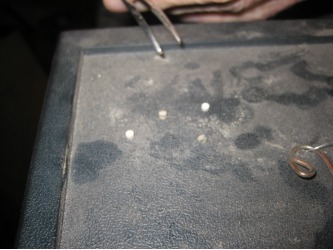
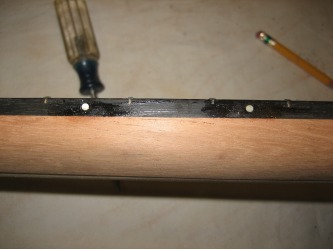
Today we added the dots in the fret board at the 5th and 7th position. Just mark the center of the frets and the fret board with a pencil then get a start w/ the awl. Drill a hole to match the size of the dot. Our dots are about 2.6mm and made from shells. With the holes drilled, drop in a bit of hide glue and tap in w/ a wood hammer. Once they are dry, file them flat and you're good to go!
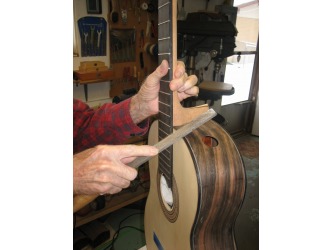
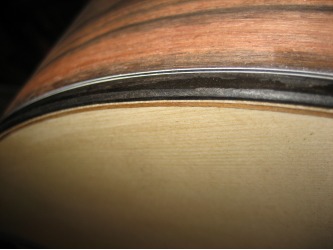
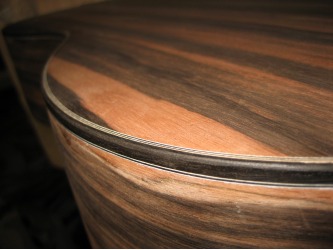
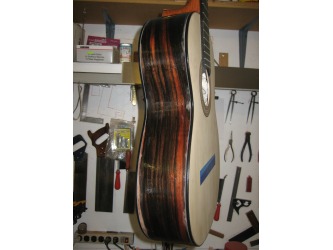
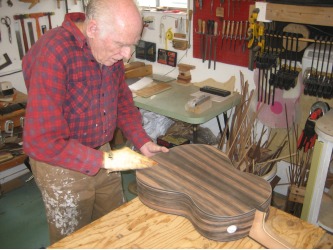
Next we rounded the binding. We used a combination of files and sand paper. Taking the sharp edge off the binding allows the lacquer to stick...lacquer won't adhere to sharp edges. Also it makes the guitar comfortable where you rest your right arm. So the amount of rounding you do on the binding is up to you...just make it look good!
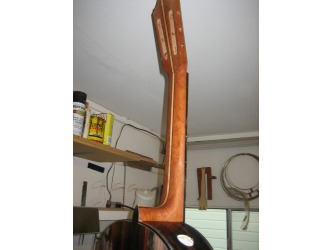
It's important to remember when filing near the neck to use a safe file...meaning one that has smooth edges. So if you brush the file against the neck, you don't cut into it. For the binding at the waist, use a 1/2 round rather than a flat file.
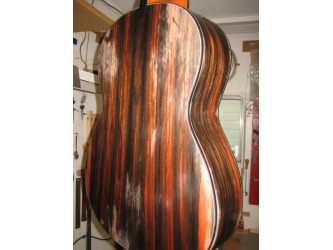
Now we start the finishing process. First we sand everything with 150 then 220. After the 220, we spray everything down with a bit of water to raise the grain.
We ended up doing this process 3 times because after we sprayed the guitar, we kept finding spots that needed more sanding. Specifically around the binding on the sides where there was some left over glue. After the water dried it was really easy to see the parts we had to touch up.
While I sanded the guitar and waited for the water to dry, dad worked on smoothing out the bridge and we put the bevel in the wings. One thing to keep in mind when doing the bevel, start in the center and work your way to the edges. And don't work your way too quickly to the edge. Keep an eye on the thickness of the wing at the bevel as well. It's easy to make the wing too thin at the center. And that was it for today.
