< Work Day Menu Work Day 2>
Work Day #1 - September 20th, 2008 (3 hrs)
Today I started building a classical guitar with my dad. I've wanted to do this for a long time. So today was the day to begin.
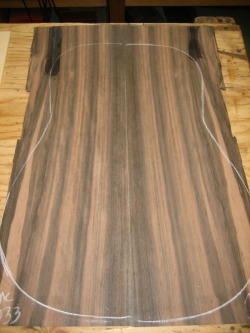
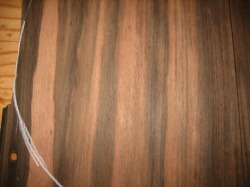
We started a few months ago getting all the wood together. I ordered a set of sides and a back from an online wood dealer. I picked macassar ebony for the back and sides.
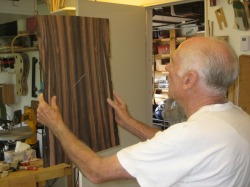
The stripes are amazing..
Then for the top we chose engleman spruce...it's a light-weight, light colored wood. For a top, you ideally want the grain to be tightly and closely spaced. This will add to the rich tone of the instrument.
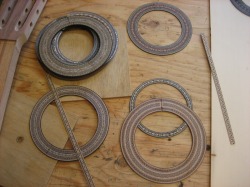
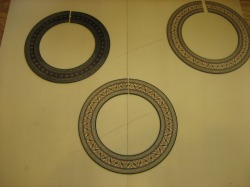
Then we looked at rosette's, the fingerboard, and head plate. We were trying to get an idea of what colors we could play with and what would look good.
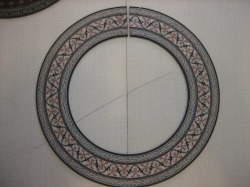
Depending on what we decide on for a head plate, my top pick for the rosette is this one. It picks up the light color of the top and has a real classic look.
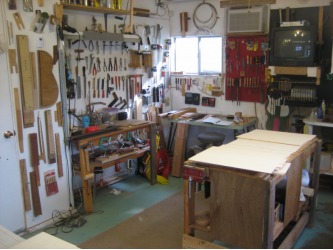
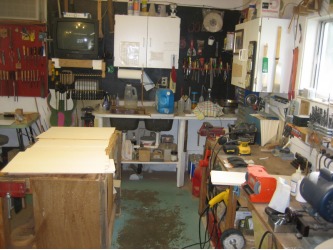
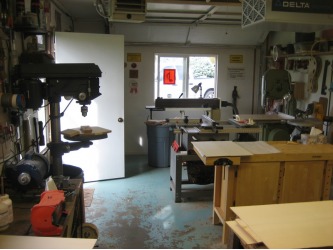
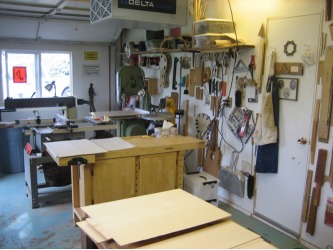
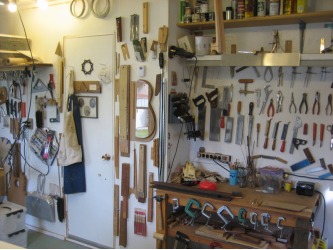
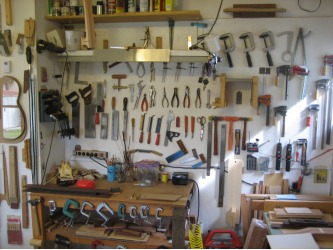
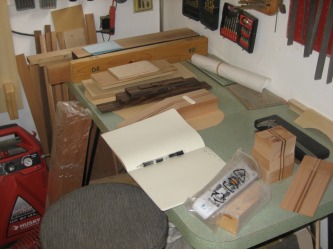
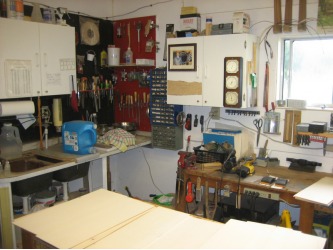
And before we go any further, here's a look at my dad's workshop.
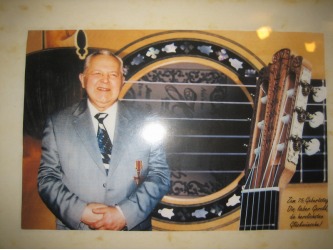
Above is a picture of Gerold Karl Hannabach...he is the master guitar builder from Germany who taught my dad how to build guitars. He came to my dad's house in 1997 and built a guitar w/ him while he was there...a pretty cool opportunity!
Ok...now on w/ the build.
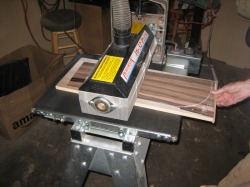
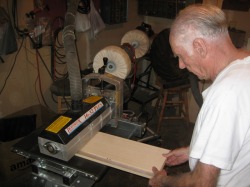
We first started on the back. With a rosewood back, Hannabach recommends a thickness of 2.3mm - 2.6mm. The pieces I bought were around 2.7mm. So we ran the wood through a drum sander a few times to bring it down to 2.60mm. Depending on the type of wood dictates the thickness...but there are several opinions on how thick or thin it should be. Some builders are even doubling up the backs...so two pieces at 2.5mm each.
We would run each piece twice through the sander. The second pass we rotated the piece 180 degrees and sent it through so we would get an even sanding job across the entire piece. Then after each piece had gone through, we would drop the sanding head 1/4 turn and do it again until we arrived at the desired thickness.
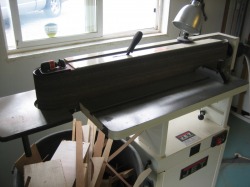
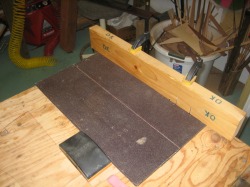
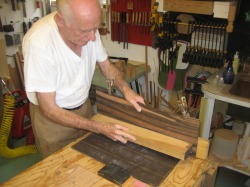
Then we needed to make sure the edges were square and ready for glue. There are several different ways to do this. One is on a belt sander (w/ 80 grit paper), and the other we used was with a piece of glass w/ sandpaper (various grits 80-120) glued to it as shown below. To check how the edges match up, simply hold the pieces together toward a light source...in our case, the shop window. Usually you would sand the pieces sandwiched together...but you can also sand them separately.
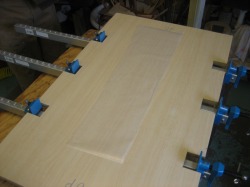
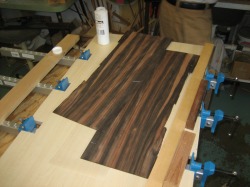
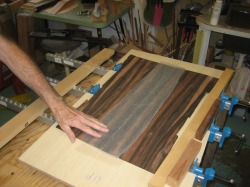
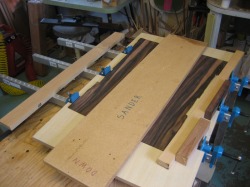
Now we need to get set up to glue the two halves together. The two halves are from a thick piece that has been split down the middle, then you fold the pieces out so you have a mirror image of the grain.
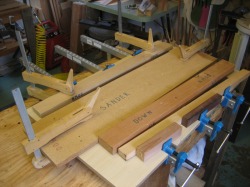
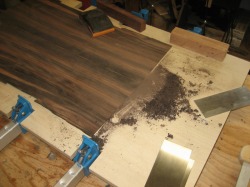
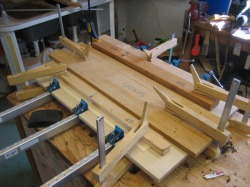
Dad's gluing set up included a custom board notched for the long clamps. First, a sheet wax paper is laid down. Then a special white glue is applied to one of the two halves. The glue we used is LMI Instrument Makers White Glue (www.lmii.com). It sets up in 15-30 mins and then over 6 hrs dries to a hard, clear finish. Then a second sheet of wax paper is laid over the top. Before pressure is applied to the clamps, boards are placed on top of the two halves to prevent the pieces from buckling when the side pressure is applied via the clamps.
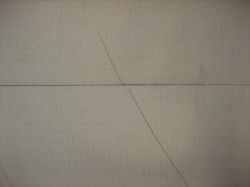
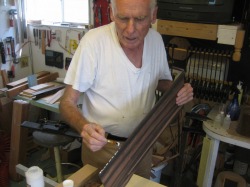
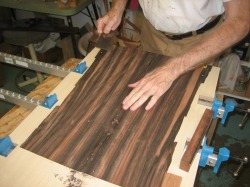
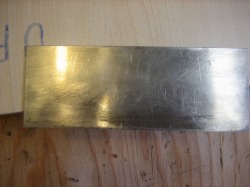
We let the glue dry for about an hour then worked on removing the excess glue with a cabinet scraper. The scraper is a piece of steel anywhere from .4mm - .7mm thick and about 4-5 inches long and 2-3 inches high w/ a sharp edge. The edge is applied by filing the square edge at a 45 degee angle then burnishing (w/a steel burnisher) the edge to 90 degrees. And when the edge gets dull, simply grind it flat and make a new edge. We also followed up the scraping w/ some 100 grit paper on a sanding block.
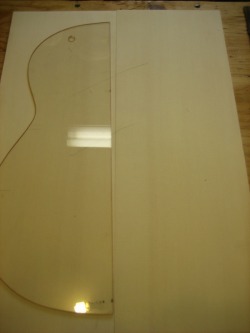
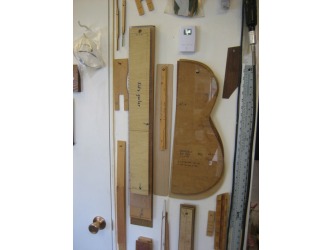
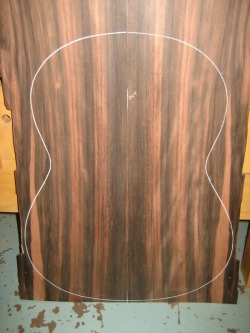
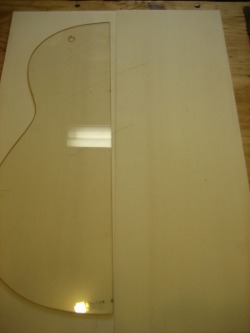
Once the glue was sanded down and the seam looked as though it wasn't even a seam, we were ready to trace the pattern onto the wood. You want to make sure and leave at least 1/4 inch between the pattern and the edge of the wood. Dad has a plexiglass pattern of one side of the guitar, so you trace the first half, flip it over and trace the second. We traced the pattern onto both sides of the back. And now we are ready to move on to the top...where the exact same steps were taken - thinning the wood, squaring the edges, gluing, and removing the excess glue.
